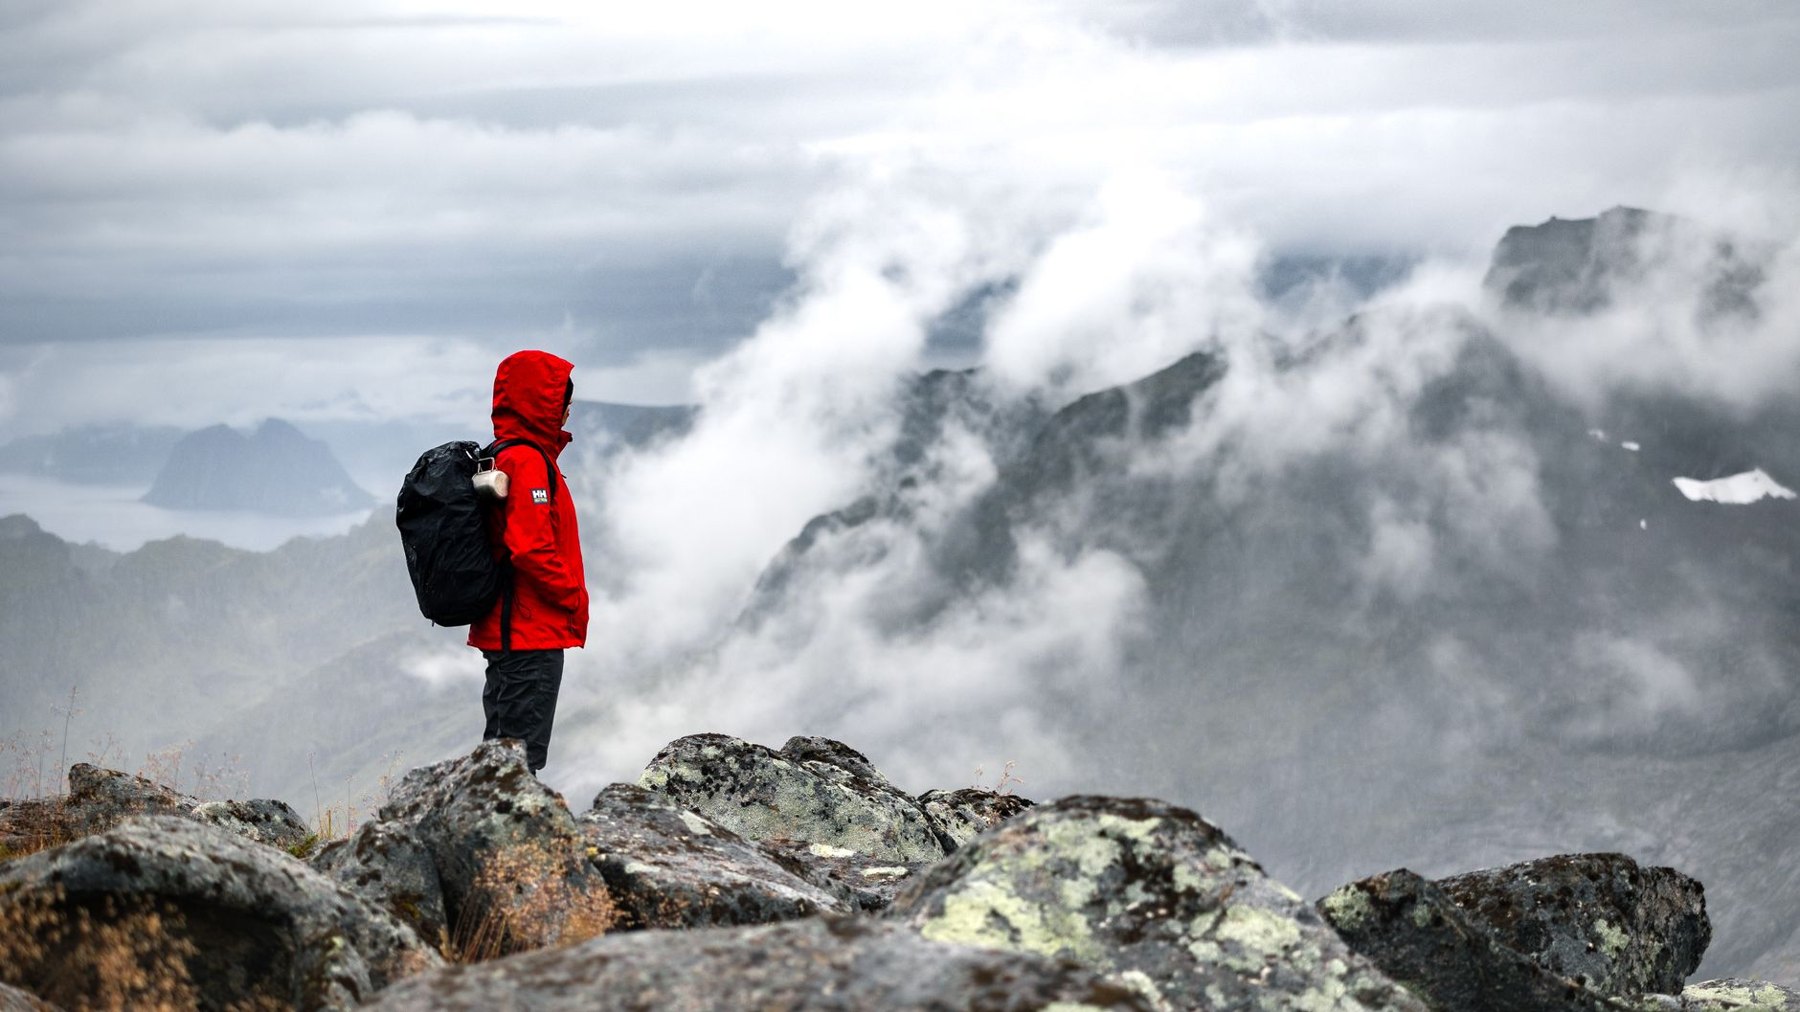
Your rain jacket is on, the trail is getting wetter, and your backpack still looks fine. The question is whether the spare fleece inside is staying dry. Water can enter through stitching, zippers, an open hydration port, or the gap between a rain cover and your back—even when the main fabric sheds rain.
For day hikes, start by deciding what must stay dry and how much wet weather you expect. Then examine the whole packing system: the backpack, its openings, and the protection around vulnerable gear. A comfortable daypack with a carefully closed liner may suit your trips better than a dedicated waterproof pack. In other conditions, waterproof construction can simplify the job.
Water-resistant fabric is only the first layer
Water-resistant backpacks are designed to slow water penetration, but that description alone tells you little about the complete bag. A surface treatment may help droplets bead and roll away. A coating or laminate can provide another barrier through the fabric. Neither feature automatically seals the holes made when panels are stitched together.
Read descriptions at the level of individual components. “Waterproof fabric” describes the material, while “waterproof backpack” makes a broader claim about the finished product. Even then, check the stated limits. Protection against rainfall should not be interpreted as protection during immersion.
A useful product description explains how the seams are sealed, how the main compartment closes, and whether external pockets share the same protection. If those details are missing, plan to protect important contents separately.
Where water gets into a hiking backpack
Seams and attachment points
Stitching creates potential entry points wherever a needle passes through the fabric. These include panel seams and, depending on the design, places where straps, handles, or pockets attach. A fabric barrier cannot compensate for unsealed construction around it.
Look for a clear explanation of seam treatment. Welded seams join compatible materials without a conventional stitched seam along that join. Taped seams cover stitching with a sealing layer. Both approaches depend on the materials, workmanship, and condition of the finished pack; the label alone is not a guarantee.
Zippers and access openings
A zipper is convenient for reaching snacks or a camera, but it also introduces another possible route for water. A water-resistant zipper can reduce ingress without making the opening suitable for immersion. Storm flaps add shelter, yet their effectiveness depends partly on coverage and how the pack is positioned.
Hydration hose openings, cable ports, and drawstring tops also deserve attention. Trace the path water could take into the main compartment. A lid may shield a drawstring opening from falling rain while leaving gaps exposed to wind-driven rain or water running along the pack.
Roll-top closures
A roll top closes by folding or rolling the opening and securing it. It avoids a long main-compartment zipper, but it needs enough unused material at the top to close properly. Follow the manufacturer's closure instructions rather than assuming one quick fold is sufficient.
Overpacking can undermine this design. If your waterproof pack only holds your day-hike kit when filled to the rim, choose more capacity or carry less. The closure needs working room, including space for a jacket you remove halfway through the walk.
Compare three ways to protect your gear
| Approach | Main advantage | Main limitation |
|---|---|---|
| Dedicated waterproof backpack | Builds water protection into the main compartment | Protection may exclude pockets, ports, or immersion; access and carrying features vary |
| Rain cover | Shields much of the pack's exterior from rain and splash | Usually leaves the back area exposed and can shift if poorly secured |
| Internal liner | Protects the contents enclosed inside it | Does not keep the backpack itself or items outside the liner dry |
When a dedicated waterproof pack makes sense
A dedicated waterproof backpack is worth considering when wet weather is a regular part of your hiking, especially if you prefer one protected main compartment. Check that the construction supports the claim and that the closure is practical with cold or wet hands.
Try the pack with a realistic load. Waterproof construction does not tell you whether the shoulder straps fit, whether the back panel feels comfortable, or whether bottles are easy to reach. A simple sealed compartment may also offer less organization than a conventional hiking daypack. Decide whether you are happy using small pouches inside it.
What a rain cover adds
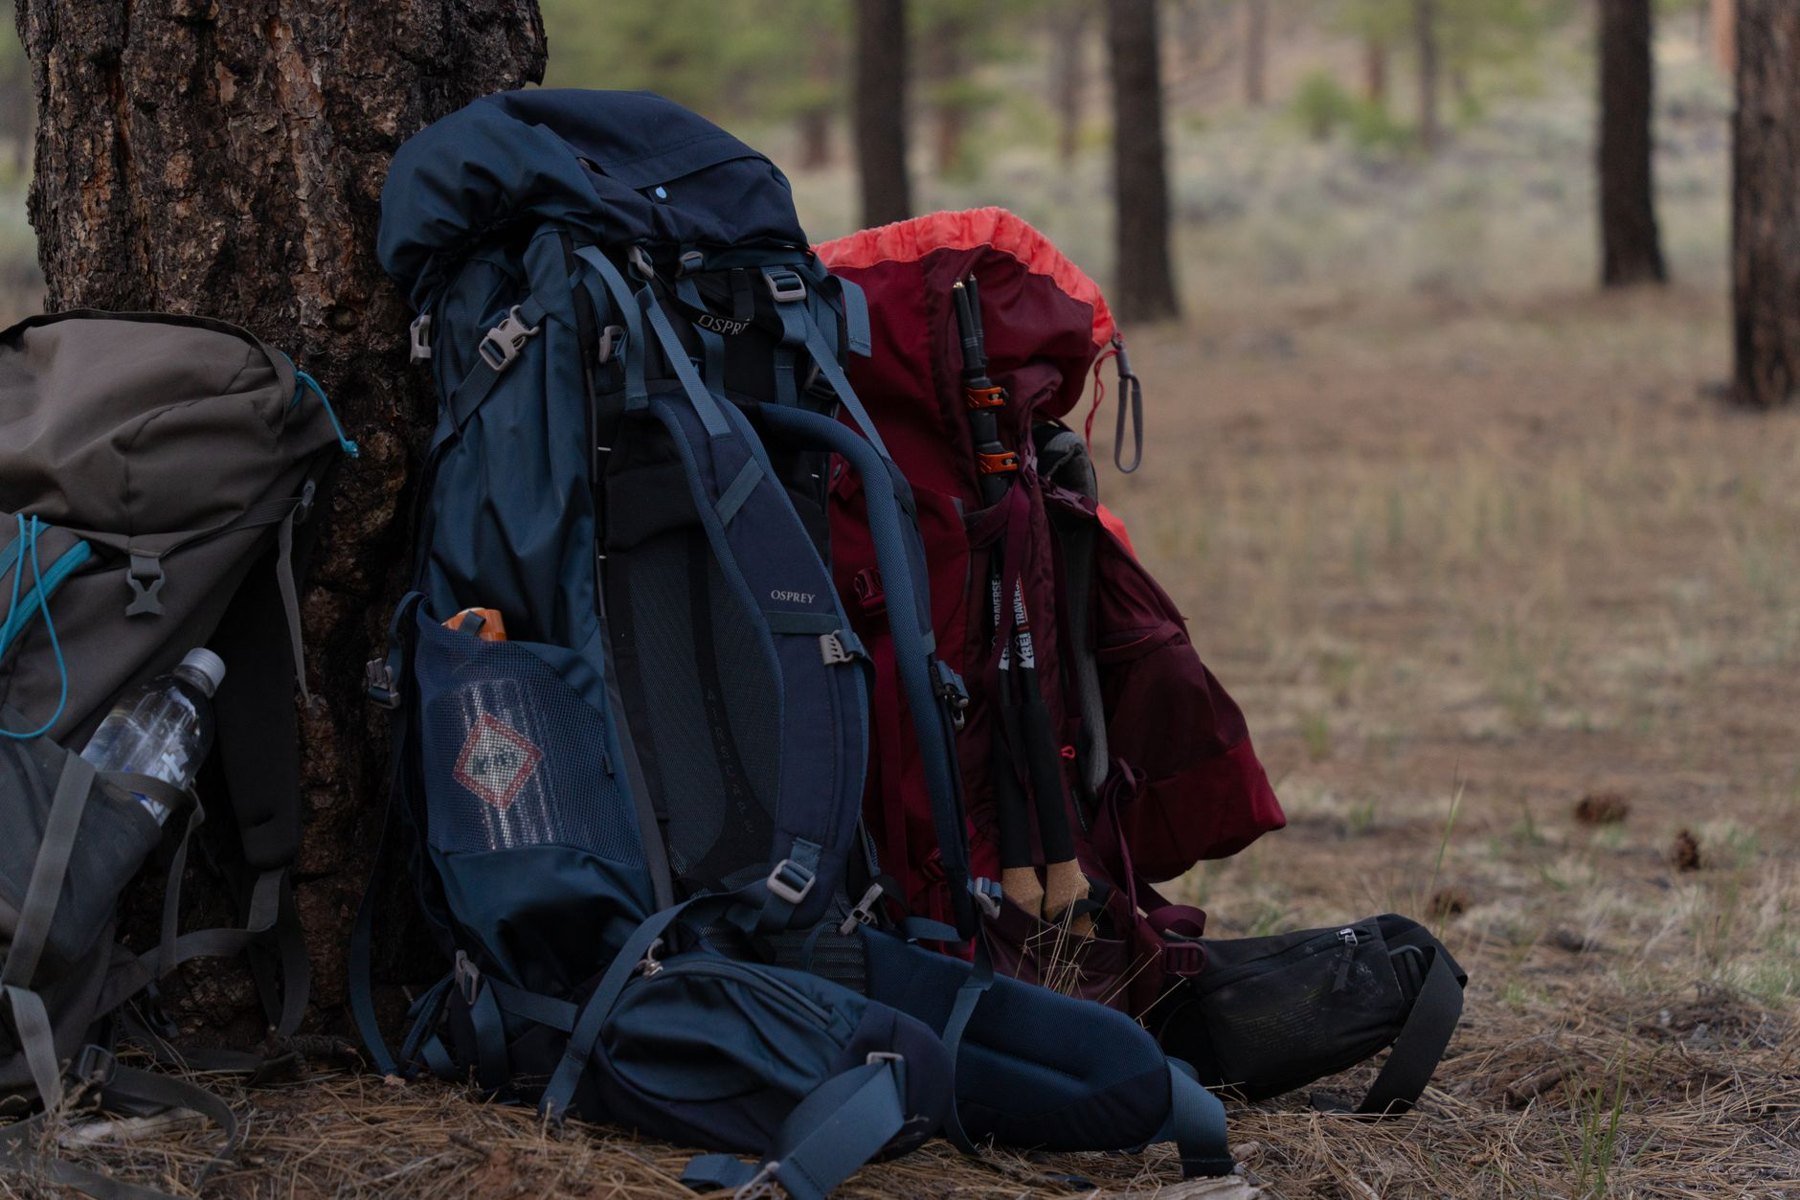
A rain cover can reduce the amount of rain reaching the pack body and help shelter exterior fabric from muddy splashes. Fit matters: it should wrap securely around your loaded pack without being stretched so tightly that edges pull free.
The opening against your back remains a limitation. Water may reach uncovered areas, and loose sections can catch the wind. Covers also complicate access to bottle pockets and external gear. Treat the cover as useful exterior protection, while giving dry clothing and electronics their own barrier inside.
Why an internal liner is useful
A liner creates a protected space within an ordinary backpack. Put dry clothing and other vulnerable items inside, then close it carefully according to its design. A purpose-made waterproof liner offers a closure intended for this task. A durable plastic bag can serve as a simple barrier, but punctures and an improvised closure are weaknesses to watch.
The tradeoff is that the pack can still become wet. Items in the lid, bottle pockets, or outside the liner remain exposed. You also need a routine that keeps a wet jacket from being pushed into the same protected space as your spare layers.
Match the system to the day hike
For occasional showers on a short walk: a comfortable water-resistant daypack with a properly closed liner is a practical starting point. Keep the spare layer inside the liner and place frequently used items where you can reach them without repeatedly opening it.
For sustained rain: consider combining a liner with a secure rain cover, or using a backpack with documented waterproof construction. Separately protect anything whose failure would cause a serious problem, such as essential electronics. Extra protection is most useful when it addresses a different failure point.
For routes beside water: distinguish splashes from possible immersion. A pack suitable for rain may not protect its contents if dropped into a stream. Where immersion protection matters, look for an explicit statement covering that use and follow all closure conditions. Pack protection does not make a hazardous crossing safe.
For example, on a rainy woodland loop, a liner can protect your fleece and lunch while a cover shelters the pack exterior. On a walk involving frequent photography, a separate protective pouch can let you access the camera without exposing the entire dry compartment each time.
Pack so wet and dry items stay separate
- Identify the dry essentials. Group spare clothing, sensitive electronics, paper items, and other moisture-vulnerable gear before loading the pack.
- Inspect the barrier. Check your liner or dry bag for holes, abrasion, damaged seams, and debris around its closure.
- Protect against sharp objects. Keep utensils, loose tools, and other pointed items from pressing directly against the liner.
- Leave closure space. Avoid filling a roll-top bag so tightly that you cannot close it as instructed.
- Separate wet gear. Give a soaked shell or muddy item its own location outside the protected clothing compartment.
- Plan access before rain starts. Keep snacks and the rain cover accessible so you can avoid unpacking on an exposed trail.
Think about bottles and food containers, too. Rain protection cannot prevent a leaking drink inside the dry compartment from soaking the items beside it. Close containers carefully and, where practical, keep liquids separate from spare clothing and electronics.
What to check before buying
When comparing waterproof hiking backpacks for day trips, use the same questions for every candidate. This makes vague marketing easier to spot and keeps comfort in the decision.
- Does the waterproof claim apply to the completed main compartment or only its fabric?
- How are seams sealed, and are any attachment points left unsealed?
- What closure procedure is required?
- Are external pockets and hydration openings protected?
- Does the description address rain, splashes, or immersion explicitly?
- Can you comfortably carry your usual water, food, layers, and emergency supplies?
- Can you reach a bottle or snack without opening the protected compartment?
- Are care and repair instructions available?
If you already own a comfortable daypack, evaluate a liner before replacing it. If the current pack also fits poorly or makes wet-weather packing awkward, a replacement may solve more than one problem.
Check your setup before relying on it
Practice closing the pack or liner at home with your normal load. If the manufacturer's care guidance permits it, use dry paper or cloth inside an empty compartment to help reveal leaks during a gentle rain-like check. Keep valuables out, avoid pressure jets, and do not treat this as proof of immersion protection.
After a wet hike, empty the backpack and let the pack, liner, and separate pouches dry thoroughly before storage. Inspect high-wear areas and follow the maker's cleaning guidance. Before the next trip, check the closure again: dry gear depends on both suitable construction and the small packing habits that keep its protection working.