If your tent came home damp, muddy, or packed in a hurry, unpack it before putting away the rest of your camping gear. A stuff sack is useful for transport, but it gives trapped moisture little opportunity to escape. Even a tent that felt dry at the campsite may have damp folds, a wet floor underside, or condensation beneath the rainfly.
The post-trip routine is straightforward: remove loose dirt, clean only where needed, dry every component, inspect for damage, and store loosely in a suitable place. Keep the manufacturer's care instructions nearby, especially before using cleaners, treating seams, or renewing water-repellent finishes.
1. Unpack and separate the components
Take out the tent body, rainfly, footprint, poles, stakes, guylines, and storage bags. Open any bundled fabric so you can check what is actually wet. Keep muddy stakes away from mesh and lightweight fabric while you work.
If you cannot clean everything immediately, prioritize opening and airing the fabric. Spread it in a clean, sheltered space or hang it over broad supports. Avoid leaving the tent bundled while waiting for a convenient washing day.
- Tent body: Check the floor, corners, pockets, and mesh.
- Rainfly: Open folds and examine the underside.
- Footprint: Separate it from the tent floor so both surfaces can dry.
- Accessories: Empty stake bags and uncoil damp guylines.
- Storage bags: Turn them out and check for moisture and grit.
2. Remove loose dirt before adding water
For a mostly clean tent, a full wash may be unnecessary. Start by opening the doors and gently shaking out leaves, crumbs, and loose soil. If the tent is freestanding, lift and tip it only if its instructions allow this; do not drag the floor or strain the pole structure.
Use a soft brush to lift dry dirt from the floor and corners. Work gently around mesh, seams, and zipper tracks. Brush away from the fabric rather than forcing grit into it. Empty interior pockets, where small items and food wrappers are easy to overlook.
When mud is wet and smeary, let it dry enough to brush away if that suits the fabric and available drying conditions. For sand, remove as much as possible before wiping. Scrubbing a gritty surface can grind particles against the material.
3. Spot-clean first, then decide whether to wash
Read the care label or the manufacturer's instructions for your specific tent. Fabric, coatings, seam construction, and approved cleaning products vary. A method suitable for one tent may be unsuitable for another.
For small dirty areas, begin with a soft cloth or sponge and water at the temperature the manufacturer recommends. If a cleaner is needed, use one approved for the tent's materials and follow its dilution and rinsing directions. Test it on an inconspicuous area when instructed.
Use light pressure rather than repeated scrubbing. Pay attention to the floor and lower walls, where splashed mud collects, but avoid soaking clean fabric without a reason. Rinse away cleaner thoroughly according to the product directions.
Do not assume that laundry detergent, bleach, stain remover, solvent, or a household disinfectant is safe for tent fabric. Likewise, avoid machine washing, tumble drying, pressure washing, or applying heat unless the manufacturer explicitly permits the method.
When a fuller hand wash makes sense
A fuller wash may be useful when dirt covers much of the tent or an approved spot-cleaning method cannot remove widespread residue. If the manufacturer allows hand washing, use a clean container large enough to handle the fabric without forceful pulling or twisting. Follow its instructions for water temperature, soaking, agitation, and rinsing.
Support wet fabric as you lift it, and let water drain without wringing. Keep the tent away from rough paving, sharp tub fittings, and dirty surfaces. Washing creates more drying work, so choose a time when you can leave every component spread out until it is completely dry.
Persistent smells or visible mildew
If you find mildew or a stubborn odor, separate the affected components and consult the tent manufacturer's recommended treatment. Avoid improvising with strong chemical mixtures. Cleaning may not remove every stain, and a better appearance does not establish that damaged fabric or coatings have recovered.
4. Dry the tent inside and out
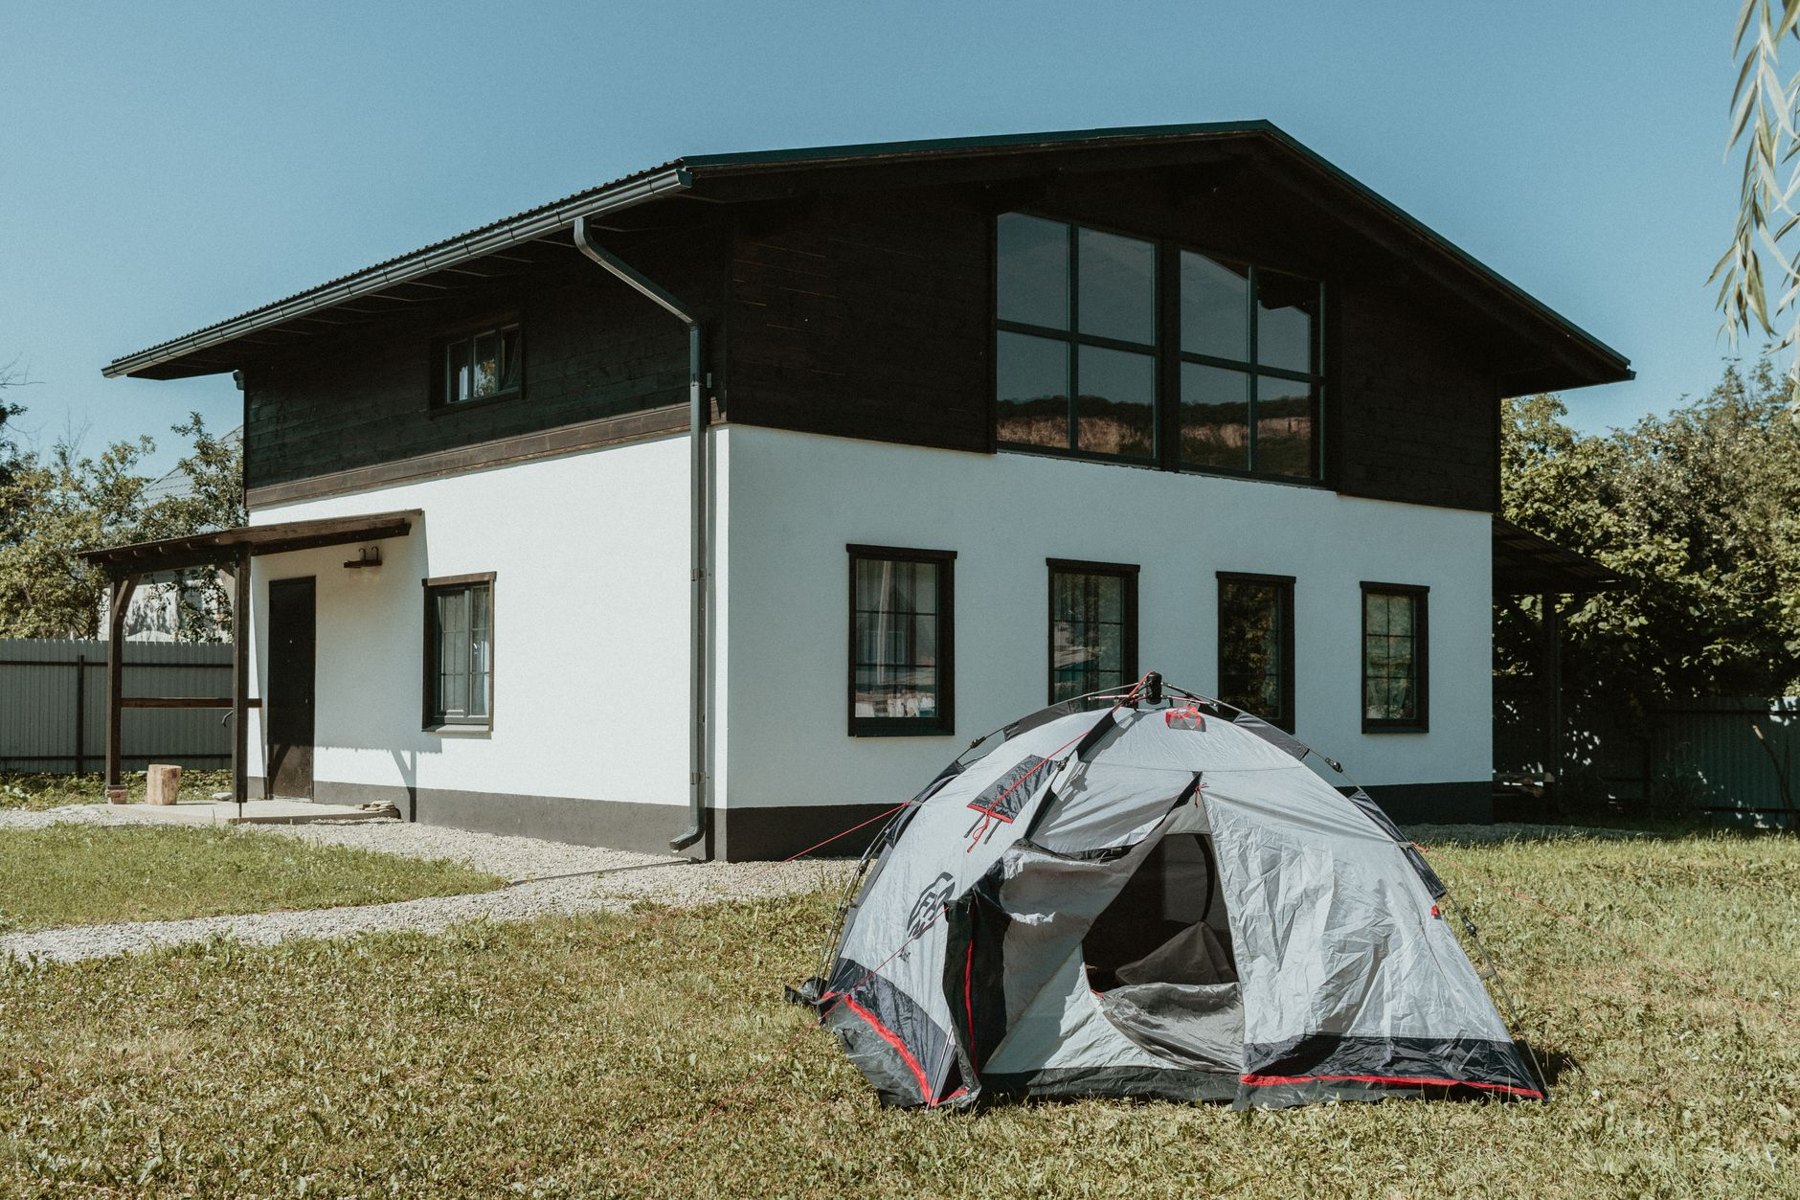
After cleaning, let excess water drain, then spread or pitch the tent in a well-ventilated location. A sheltered outdoor area can work well when conditions allow. Indoors, use clean, broad supports and leave space around the fabric for air to move.
Avoid prolonged direct sun and keep fabric away from heaters, radiators, flames, and other concentrated heat sources. If using a fan, position it to circulate room air without blowing the tent into nearby objects.
Dryness matters more than a fixed number of hours. Humidity, airflow, fabric construction, and how wet the tent became all affect the process. A tent that dries quickly in a breeze may remain damp much longer in a still room.
- Open doors and vestibules so enclosed areas can air out.
- Dry the rainfly separately when practical, exposing both surfaces.
- Turn or reposition the tent body to expose the underside of the floor.
- Unfold corners, reinforcement patches, and bundled guylines.
- Check seams, pole sleeves, pockets, and storage bags before packing.
If you must pack a damp tent for the journey home, treat that as a temporary transport step. Unpack it at your next suitable opportunity and complete the drying process before storage.
5. Check poles, stakes, and guylines
Wipe mud and grit from poles with a soft cloth, following the manufacturer's cleaning guidance. Let them dry before putting them in their bag. Examine joints and ends for debris that could prevent sections from seating correctly.
Look for cracks, splits, unusual bends, damaged connectors, and slack or deteriorated shock cord. Do not force a stubborn joint or attempt to straighten a damaged section without checking the recommended repair method. Note the tent model and affected section if you need a replacement.
Clean and dry stakes, then check for bent shafts and sharp damage. Inspect guylines for fraying and confirm that tensioners and attachment loops are intact. Keep stakes and poles contained so their ends cannot rub against tent fabric during storage or transport.
6. Give zippers and mesh a gentle inspection
Brush loose grit from zipper tracks with a soft brush. Support the surrounding fabric and move each slider slowly through its normal travel. If it catches, stop and look for trapped fabric or debris rather than pulling harder.
Use a zipper cleaner or lubricant only if it is appropriate for the zipper and approved by the tent manufacturer. Keep products off adjacent fabric unless their instructions permit contact. A slider that repeatedly separates the teeth may need repair rather than more force or lubricant.
Check mesh for snags and small holes, and examine door tiebacks, clips, buckles, and attachment points. Finding a small problem at home gives you time to arrange a suitable repair before it becomes a campsite inconvenience.
7. Assess seams and waterproofing before treating them
With the tent clean and dry, inspect seams and coated surfaces in good light. Look for lifting seam tape, peeling or flaking coatings, persistent stickiness, and visible damage. Record where rain entered on the trip, if it did; that detail is more useful than treating the entire tent without identifying the problem.
Interior moisture can also come from condensation. A wet inner wall alone does not establish that the rainfly coating has failed. Consider the location of the moisture, ventilation, weather, and whether fabric layers were touching.
- Seam leakage: Follow the manufacturer's guidance on whether sealing is appropriate and which sealant matches the fabric and coating.
- Reduced surface water beading: Check whether the manufacturer recommends renewing a water-repellent finish and which treatment it approves.
- Peeling tape or deteriorating coatings: Ask about repair options before applying products over the affected area.
A surface water-repellent treatment and a seam sealant serve different purposes. Neither should be assumed to repair every leak. Follow preparation, application, ventilation, and curing instructions, and allow any required curing time before folding or storing the tent.
8. Store loosely in a cool, dry place
Once every component is dry and any repair has cured, place the fabric in a roomy, breathable storage bag or another container recommended by the manufacturer. Avoid leaving it tightly compressed for long-term storage. Follow model-specific guidance if the tent requires a particular folding or packing method.
Choose a clean, dry location away from direct sunlight, pests, chemicals, and temperature extremes. A closet inside the home may offer more consistent conditions than a damp basement, hot attic, or vehicle. Do not seal away fabric that still feels damp.
Store accessories alongside the tent in their own bags and keep a short repair note with the kit. Before putting it away, confirm that the body, fly, footprint, guylines, and bags are dry; the poles and stakes are accounted for; and any unresolved damage is clearly noted. That leaves the next trip's preparation focused on packing, rather than discovering last trip's mud or a broken zipper.