If you miss a junction an hour before sunset, can you check your location, put on a warm layer, and find your headlamp without emptying your backpack? That is a useful test of a hiking emergency kit. The contents matter, but so do their location, their condition, and your ability to use them when you are tired or the weather turns.
Build your kit around the route you plan to walk and the delays you could reasonably face. A short woodland loop near several exits calls for different preparation than a remote ridge with exposed terrain and unreliable communication. Start with the trip, then choose the equipment.
1. Identify what could turn a delay into a problem
Before packing, review the route, expected walking time, daylight available, forecast, and possible exit points. Look beyond mileage: steep ground, confusing junctions, stream crossings, and long stretches without shelter can change what you need.
- Duration: Could a slower pace or wrong turn leave you walking after dark?
- Remoteness: How difficult would it be to leave the route or receive assistance?
- Exposure: Where would you be vulnerable to wind, rain, heat, or cold if you stopped?
- Communication: What options would you have if your phone could not connect?
- Group needs: Does anyone need particular medication, extra insulation, or help operating equipment?
Leave your route and expected return time with a reliable person, along with an agreed plan for what they should do if you are overdue. An emergency kit supports this preparation; it cannot make an unsuitable route or dangerous forecast manageable.
2. Give navigation a backup
Carry a navigation method you understand. If you use a phone, download the relevant map before leaving and confirm that it opens without a connection. Check that the map covers alternate exits as well as the planned trail. A saved route line is more useful when you can also interpret the terrain around it.
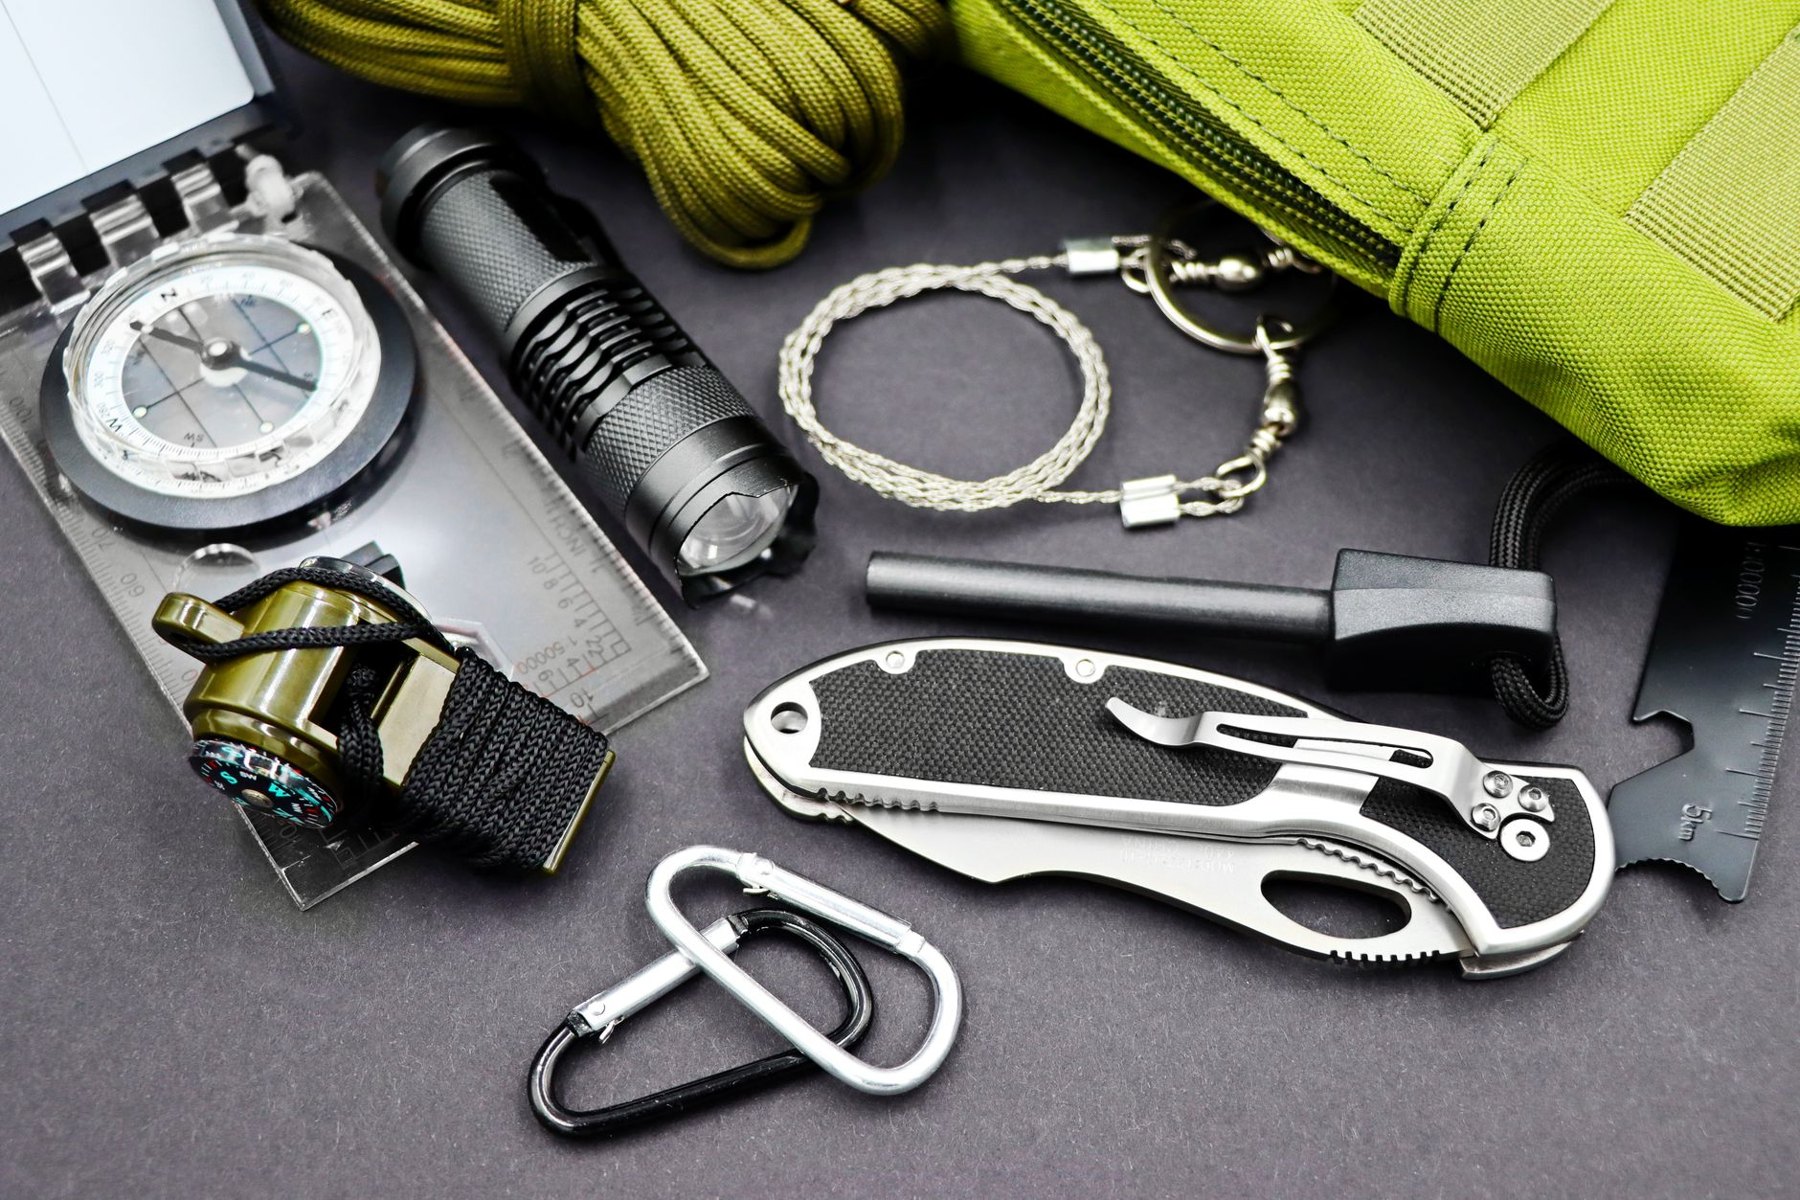
For routes where navigation errors would have serious consequences, carry an appropriate paper map and compass and learn to use them together. Protect the map from water. A compass is a tool, not an automatic solution: practice orienting the map and identifying your position on straightforward outings.
Keep the primary navigation tool accessible in a secure pocket. Carry backup materials somewhere protected, rather than grouping every navigation option in one easily lost pouch. When your position becomes uncertain, pause somewhere safe and resolve it before continuing farther.
3. Pack lighting for an unplanned finish
A headlamp lets you keep your hands available for poles, map reading, or putting on clothing. Carry one even when you intend to finish in daylight, and test it before departure. Know how to change brightness and prevent it from switching on inside your pack.
Choose a backup that addresses the likely failure. Spare compatible batteries help a replaceable-battery lamp; a charged power bank and correct cable may support a rechargeable model. Neither solves a broken lamp, so a small independent light can be useful when darkness would make an exit difficult.
Check runtime information for the setting you expect to use, rather than assuming the brightest setting will last all evening. Keep the lamp near the top of your pack, and put it on before visibility becomes poor. Your phone light can help briefly, but relying on it also consumes the battery used for navigation and communication.
4. Prepare to stop in the forecast conditions
Walking generates warmth; an unexpected stop changes your needs. Choose weather protection for waiting as well as moving. Depending on the route and season, that may mean a waterproof shell, an insulating layer, a warm hat, gloves, or protection from strong sun.
Keep essential insulation dry inside a waterproof liner or suitable dry bag. Pack covers can be helpful, but do not assume they protect every opening or keep clothing dry when a pack sits on wet ground.
An emergency bivy or compact shelter can add protection during a delay. Consider whether it accommodates your group and whether you could deploy it on the terrain you will encounter. A thin emergency blanket offers different protection from an enclosed bivy or group shelter; understand the limits of the item you choose. These items supplement suitable clothing and route decisions.
If the forecast makes an unplanned stop difficult to manage with what you can carry, choose a shorter or more sheltered route, or postpone the hike.
5. Make signaling equipment usable
A whistle provides an audible signal without requiring repeated shouting. Attach it where you can reach it while wearing your pack, and learn the recognized distress signals for the area before your trip. Avoid burying it inside a repair pouch.
Keep your phone protected and charged, with relevant emergency contact details available offline. Check local guidance about contacting emergency services and sharing your location. Do not assume that a map displaying your position means the phone can place a call or send a message.
For remote travel, consider whether a satellite messenger or personal locator beacon fits the route and communication gaps. Understand the differences between devices, including activation procedures, coverage, power needs, and any registration or service requirements. Complete setup and permitted tests before departure. A device packed away without preparation is a weak part of an emergency plan.
6. Carry repairs that match your equipment
A repair kit should address failures that would disrupt your particular hike. Lay out your footwear, pack, poles, shelter, and sleeping equipment, then identify a few practical repairs you could perform outdoors.
- Repair tape: Suitable for temporary patches on compatible fabric or equipment.
- Spare cord or a shoelace: Useful for a failed lace or some simple securing tasks.
- Compatible buckles: Worth considering when a particular pack buckle is important for carrying comfort.
- A small tool: Choose one that fits actual fasteners or repairs on your gear.
- Item-specific patches: Add the correct repair materials for an inflatable sleeping pad or other essential equipment on overnight trips.
Check material compatibility and instructions at home. Some repairs need a clean, dry surface or time to set, which limits their usefulness in rain. A compact kit you understand is more useful than a large assortment of unfamiliar pieces. Retire damaged equipment before the trip when possible.
7. Adjust the kit to the outing
Use a core kit, then add equipment where the route increases the consequences of a delay. This keeps packing deliberate without treating every walk as an expedition.
| Trip type | What changes | Packing emphasis |
|---|---|---|
| Short, familiar day hike | A wrong turn or minor delay can still extend the outing. | Navigation, headlamp, weather layer, whistle, and basic repairs. |
| Long day hike | More time outside increases exposure to darkness and changing conditions. | Lighting reserves, dry insulation, food, water planning, and battery capacity. |
| Remote hike | Communication and assistance may be harder to obtain. | Independent navigation, emergency shelter, communication planning, and greater self-sufficiency. |
| Overnight route | Sleeping and shelter equipment become part of the emergency plan. | Repairs for essential overnight gear and enough protection for expected conditions. |
These are starting points. A short exposed mountain route may demand more protection than a longer sheltered trail. Forecast changes should trigger a fresh packing decision, not simply another item added to an already overloaded bag.
8. Organize by when you need each item
Keep navigation, your whistle, and any immediately needed personal medication accessible. Put the headlamp and weather layers near the top of the pack. Store less urgent repairs in a labeled pouch, with moisture-sensitive contents protected.
Try accessing these items while wearing your normal hiking clothing. Small zippers and tight containers may become awkward with gloves. In a group, show everyone where shared shelter and communication equipment are stored. Share bulky items deliberately, while ensuring each person has essentials they may need if separated.
The equipment discussed here belongs alongside first-aid supplies, personal medication, food, a water supply or treatment plan, and appropriate sun protection. Choose those for the same route and group rather than treating this kit as a complete packing list.
A short check before departure
- Open the offline map and review exits.
- Test the headlamp and check backup power.
- Confirm that protective layers are dry and reachable.
- Check signaling equipment and communication setup.
- Replace used repairs and inspect essential gear.
- Share the route and overdue plan with your contact.
Finally, ask someone in your group to name a plausible delay: a missed junction, a broken pack buckle, or an hour waiting in rain. Talk through what you would reach for first. Any difficulty finding or explaining an item gives you something useful to fix before the trailhead.