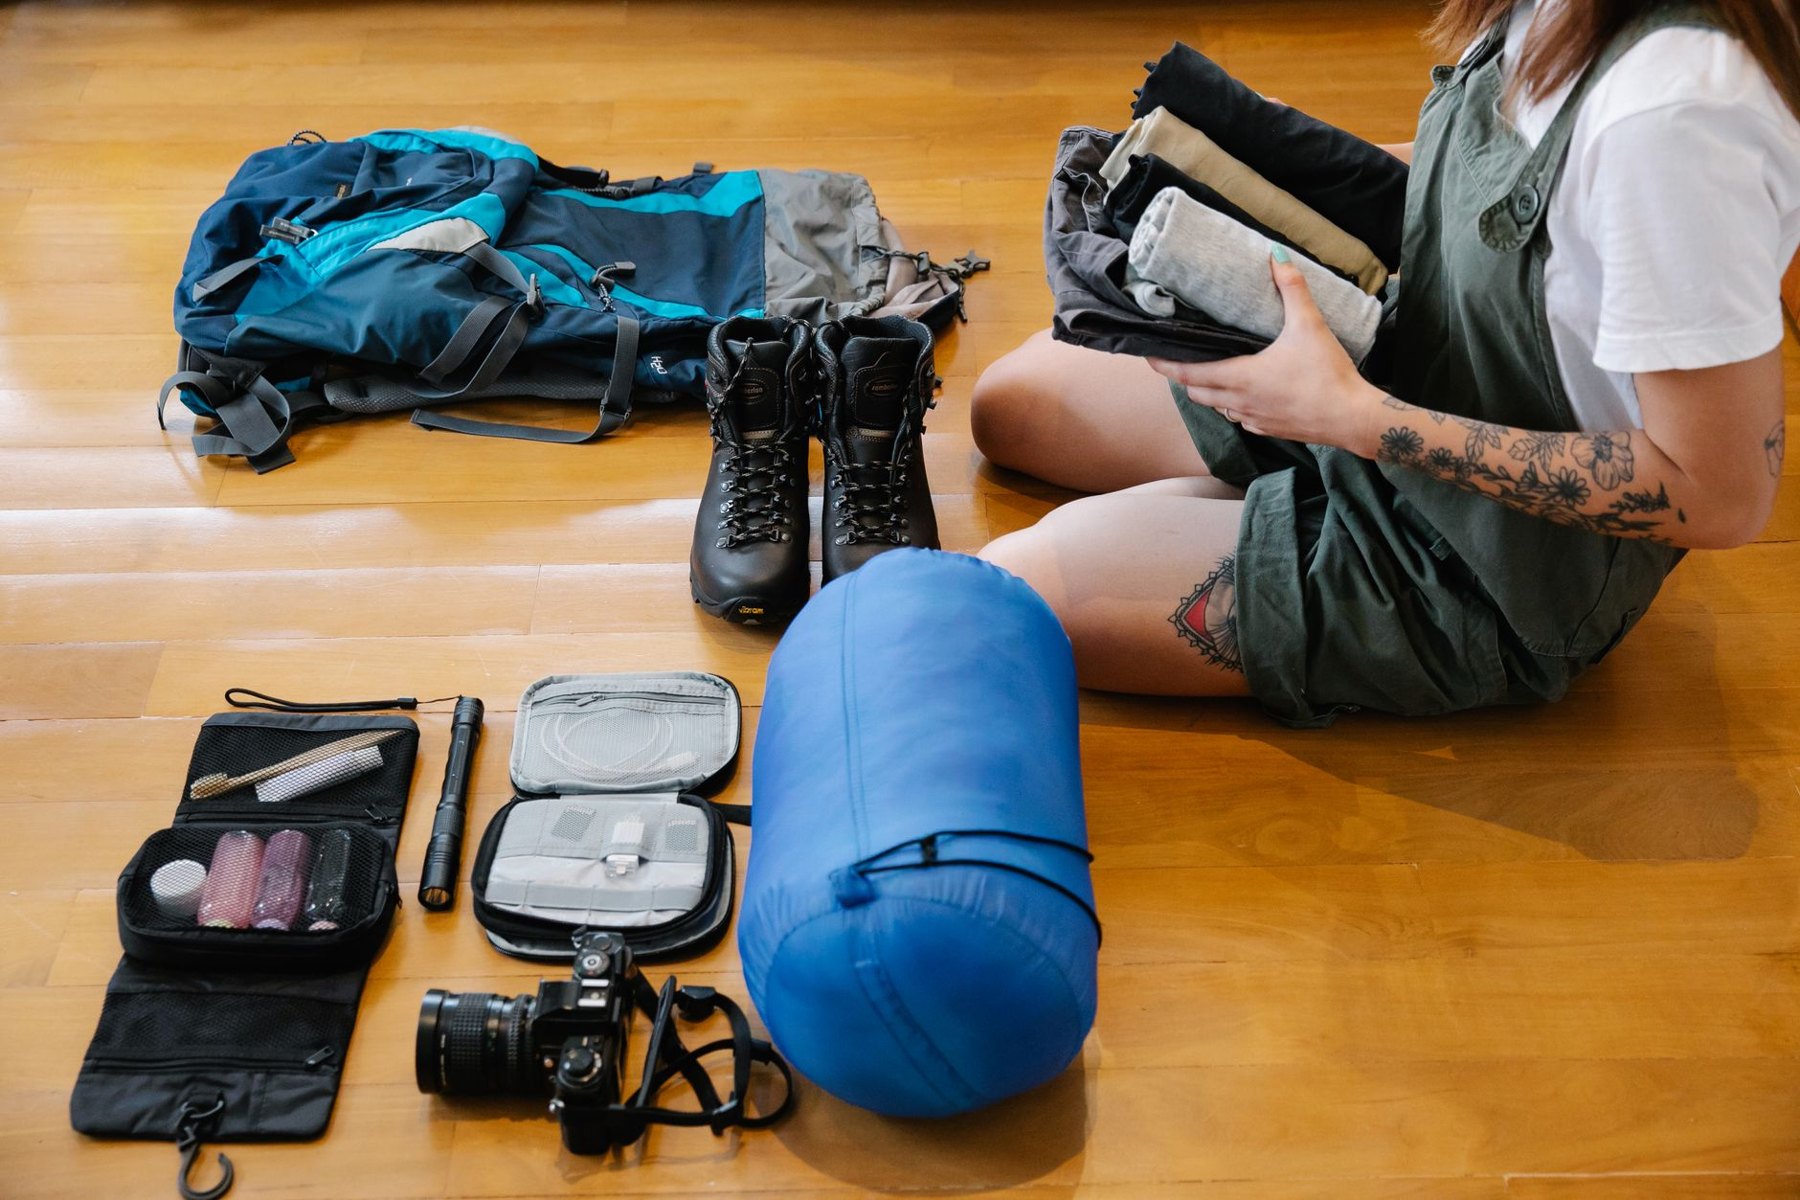
If your backpack feels heavy before you add water, start by unpacking it onto the floor. Separate the equipment you need from the equipment you carry out of habit. A spare mug, oversized stuff sacks, and overlapping clothing can add weight without making the trip more comfortable.
For beginners, the most useful approach to ultralight backpacking is a sequence: weigh your gear, remove unnecessary duplication, then examine your shelter, sleep system, and backpack. Keep decisions tied to your route, expected conditions, and experience. A lighter pack should help you enjoy walking while still giving you the equipment to camp safely.
1. Establish your base weight
Base weight is the weight of your packed equipment before consumables such as food, water, and fuel. It generally includes the backpack itself, shelter, sleep system, packed clothing, cooking equipment, and other carried gear. Clothing and equipment worn while walking are usually recorded separately.
Use that definition consistently. Moving a heavy item into a pocket changes your spreadsheet, but your body still carries it. Track worn gear separately if that helps you see the full picture.
Weigh individual items with a kitchen scale and record them in a simple list. Include stakes, charging cables, backpack liners, and storage bags. Weigh a final packed load on a suitable scale as a cross-check.
- Base weight: your equipment starting point.
- Consumables: food, water, fuel, and supplies that diminish during the trip.
- Total starting pack weight: everything in or attached to the pack when you begin walking.
You do not need to reach a particular weight label. First make your existing setup more deliberate, then decide whether buying anything would solve a real problem.
2. Write down what the trip requires
Before removing gear, describe the trip you are packing for. A sheltered summer overnight and an exposed route with cold rain need different equipment, even when their distances are similar.
- Expected overnight temperatures, with allowance for forecast uncertainty.
- Rain, wind, exposure, and likely campsite conditions.
- Water availability and the longest stretch between reliable sources.
- Distance from help, navigation demands, and communication limitations.
- Local requirements for food storage, cooking, and permitted campsites.
- Whether you are traveling alone or sharing equipment.
These requirements set the boundaries of your audit. Avoid cutting weather protection, essential medication, navigation capability, or necessary water capacity simply because those items look heavy on a list. Check current local information before departure.
3. Remove duplication before replacing equipment
Give every item a clear job. Then look for several items doing the same job. A bowl, plate, and mug may be unnecessary if your meals work with one eating vessel and a cooking pot. Several extra shirts may offer less benefit than a carefully chosen dry layer.
Ask three questions: When will I use this? What happens if I leave it home? Does another item already cover that need adequately?
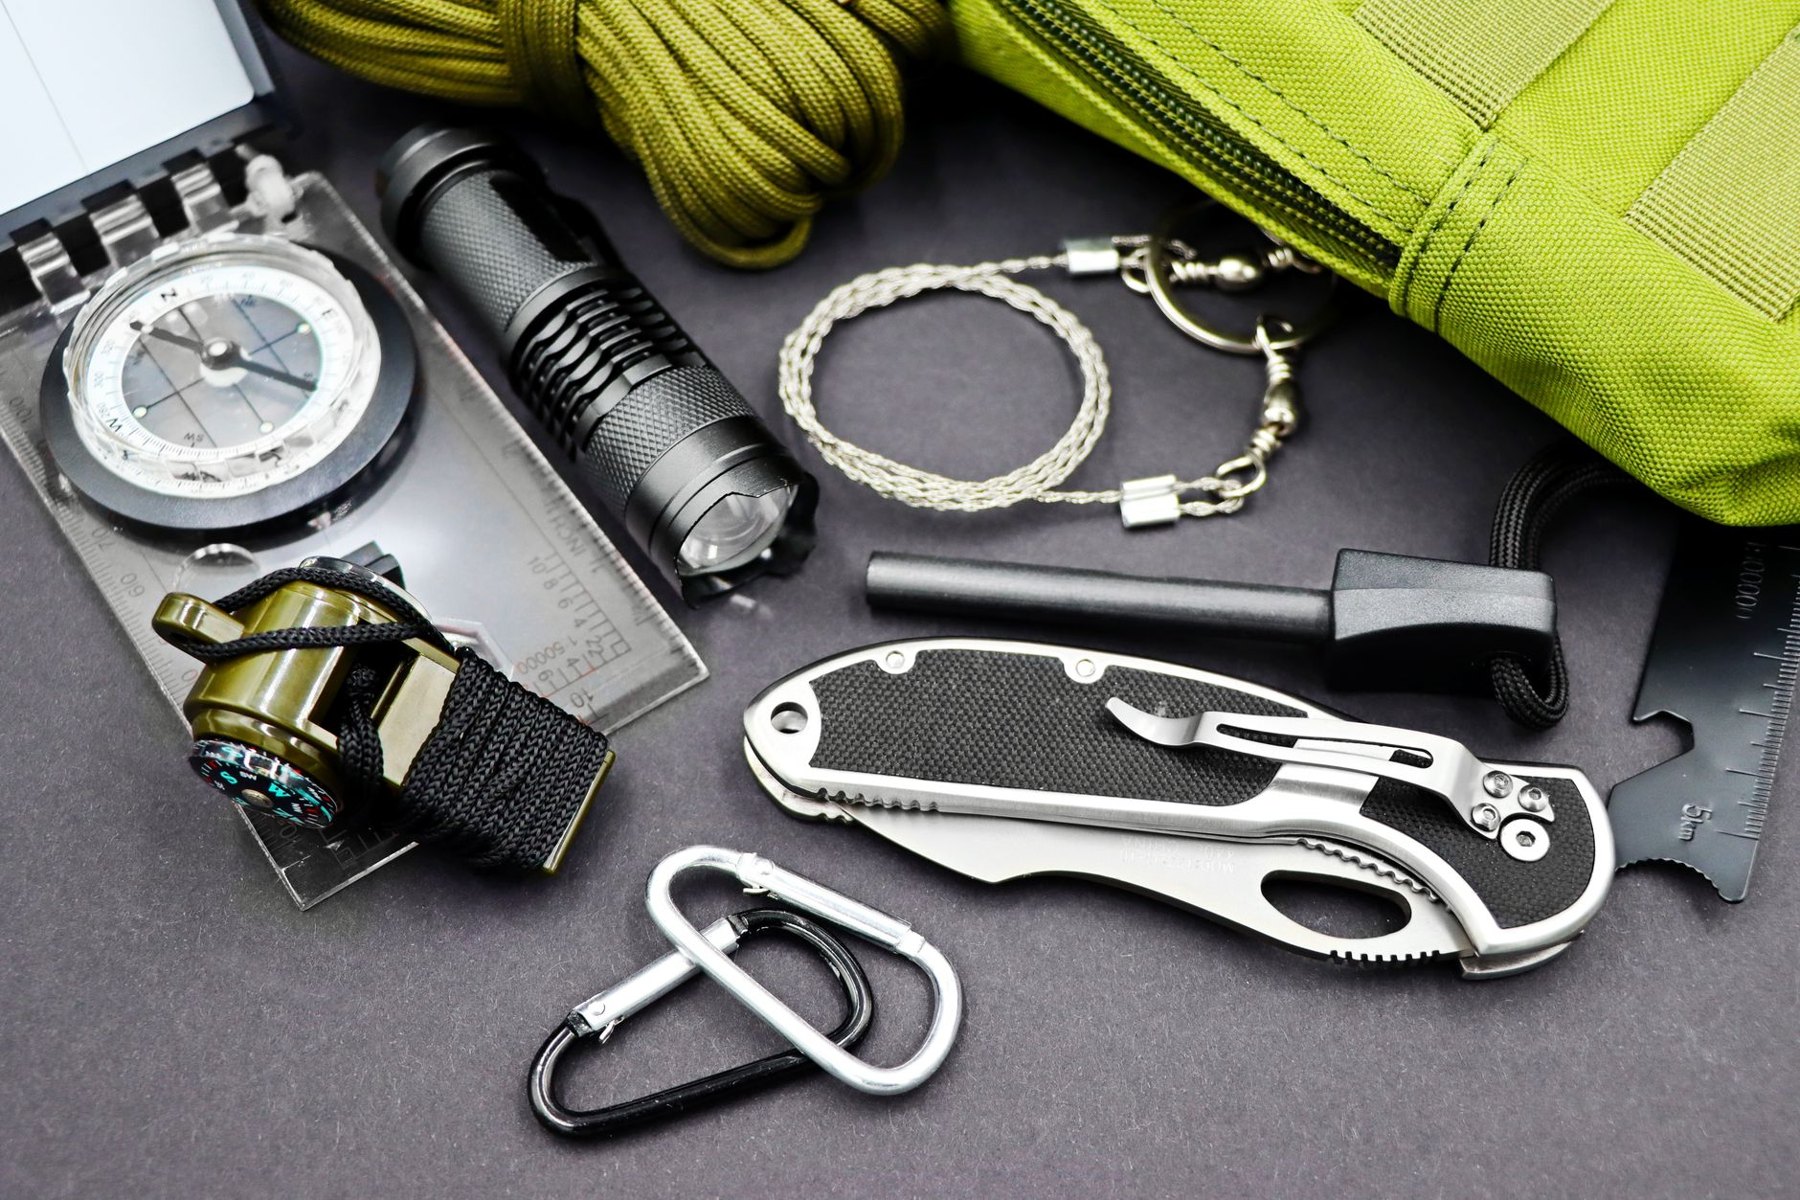
Some redundancy is sensible. A backup way to navigate or start a stove may be worthwhile depending on your trip. The distinction is between a considered backup and an item included because it always lives in the gear box.
Make three piles: required, optional comfort, and unnecessary duplication. Keep comfort items visible rather than treating them as mistakes. A small pillow might earn its place if it helps you sleep; several unused accessories might not.
4. Audit your shelter as a complete system
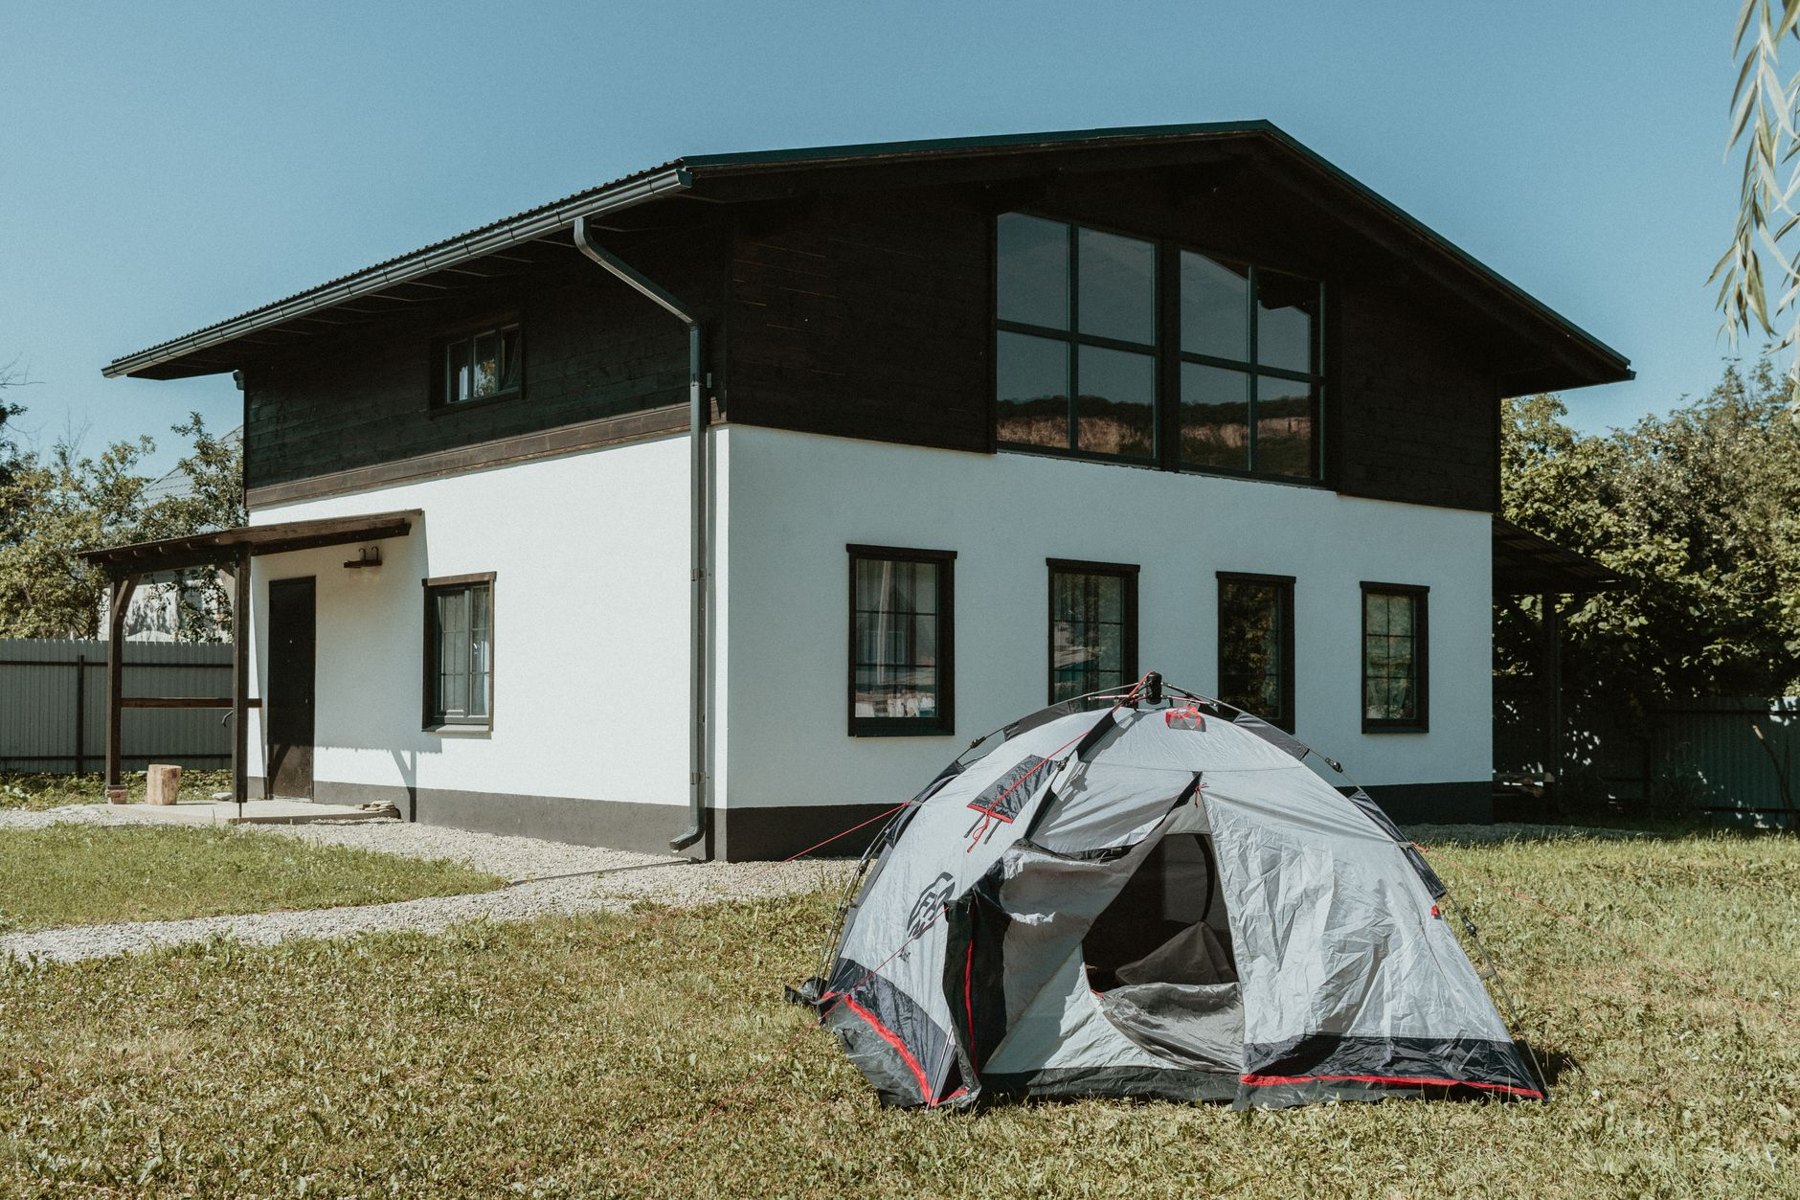
Your shelter is a useful place to investigate substantial savings, but compare complete setups. Count the shelter body, fly, poles, stakes, guylines, required ground protection, and storage bags. For a trekking-pole shelter, consider whether you already carry suitable poles.
Begin with your current shelter. Remove packaging and unnecessary accessories, but retain the components needed to pitch it securely. Only omit a footprint after considering the manufacturer's guidance, ground conditions, and the shelter floor's protection needs.
Match the shelter to how you camp
A smaller shelter can save weight while reducing room for changing clothes, managing wet equipment, or waiting through poor weather. A trekking-pole shelter may require more attention to site selection and pitching. Some lightweight designs also demand more careful condensation management.
For a beginner, reliable setup matters. Practice pitching at home, including the guylines you would use in wind. Check whether the shelter suits the surfaces and space you expect to find.
If two people share a shelter, divide its components when practical. Compare the group's total equipment as well as each person's load; sharing can reduce duplication without requiring a purchase.
5. Review the sleep system together
Consider your sleeping bag or quilt, sleeping pad, sleep clothing, and protection from moisture as one system. Reducing the weight of one component does little good if it leaves you too cold to sleep.
Choose insulation for the coldest plausible overnight conditions on your trip, accounting for your own experience sleeping outdoors. Read temperature-rating details carefully: comfort and limit ratings describe different things, and a rating is not a guarantee of personal comfort.
Balance warmth, fit, and packed size
A lighter summer bag can make sense for consistently warm trips, but it narrows your options when temperatures fall. A quilt may reduce weight for some sleepers, while introducing a learning curve around drafts and pad attachment. Check that the width and length suit your sleeping position.
Down and synthetic insulation involve tradeoffs in packed size, care, drying, and cost. Whatever you choose, protect it from water with a suitable packing system.
Do not overlook the pad. Compare insulation, dimensions, comfort, and repair needs alongside weight. A narrow or thin pad may save weight but make side sleeping uncomfortable. Try your full sleep setup on a short trip before relying on it farther from an easy exit.
6. Choose the backpack after the contents
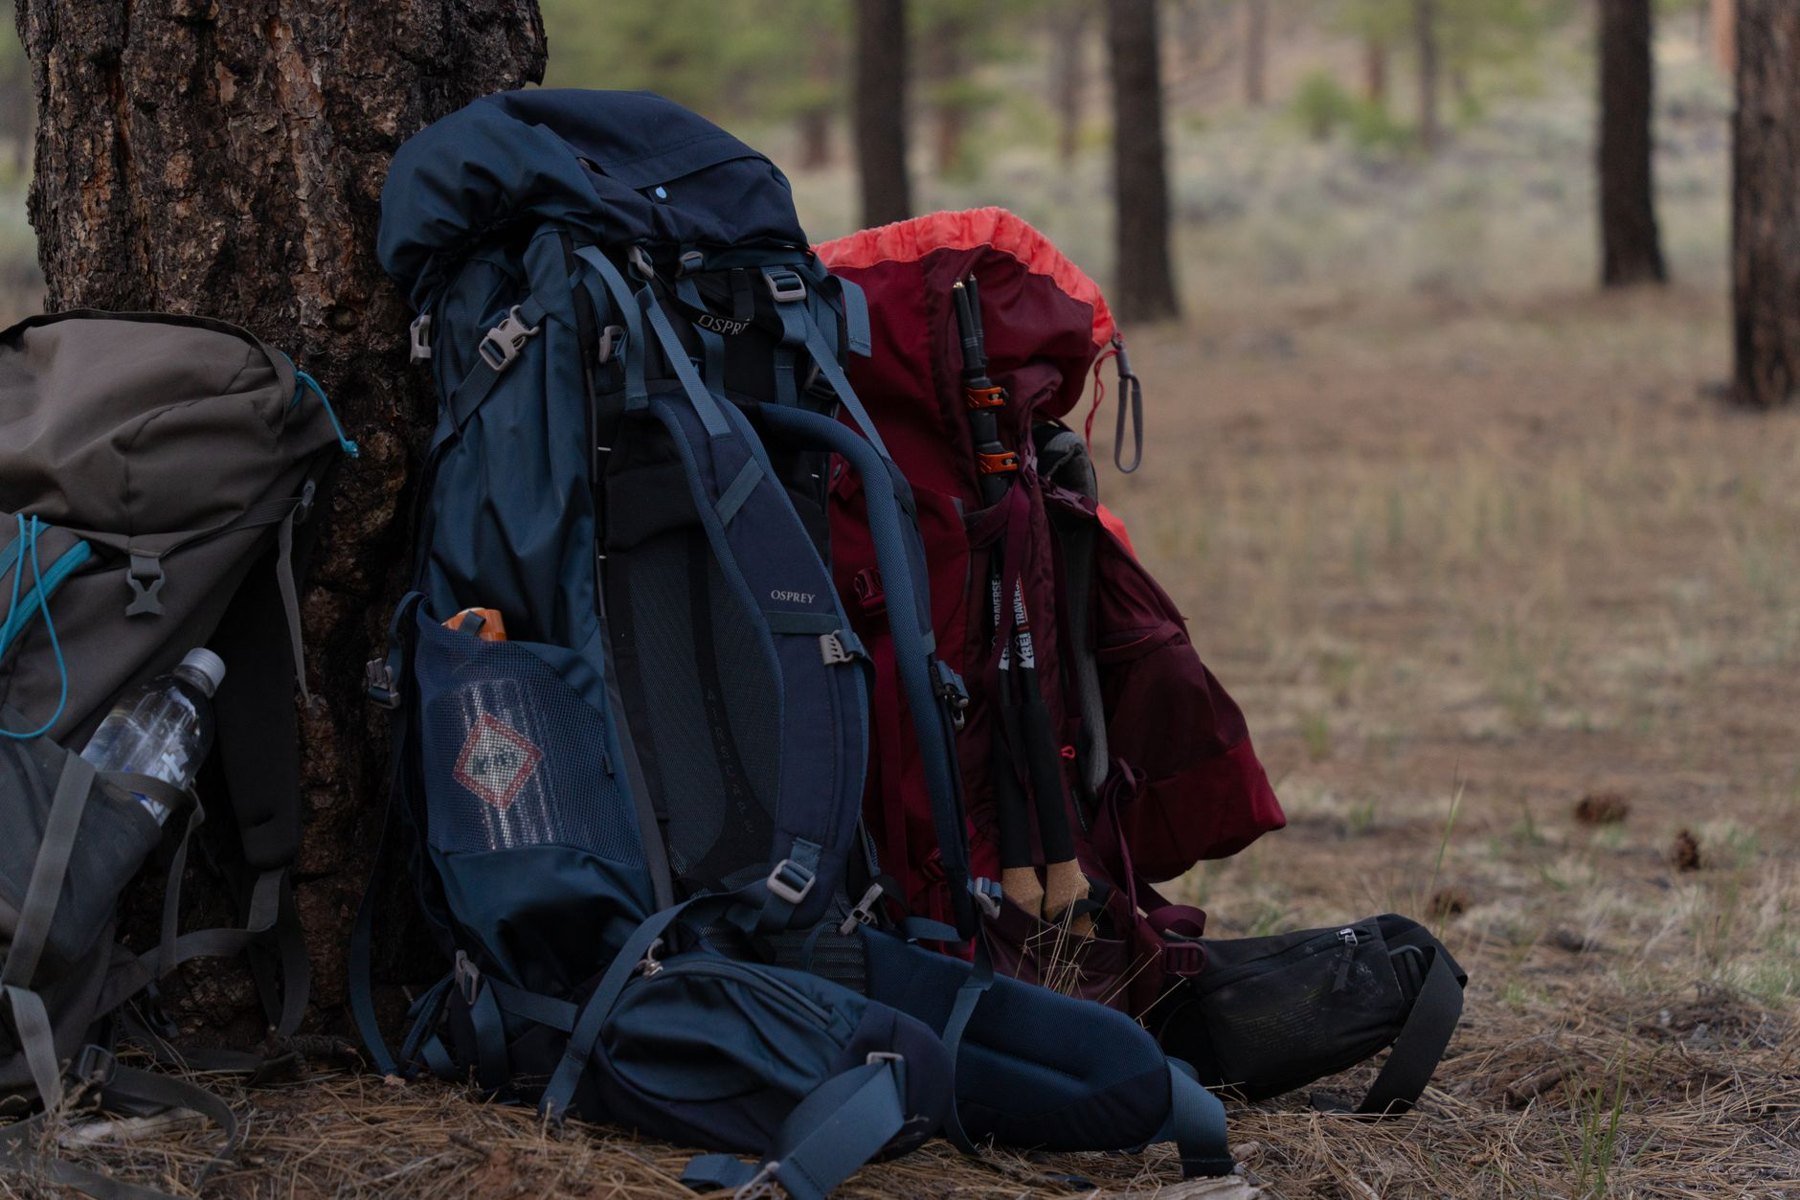
Reduce the bulk and weight of your other equipment before buying a smaller backpack. You need enough space for your actual gear, food, and required food-storage equipment, plus a suspension that carries the load comfortably.
A lighter backpack can become uncomfortable if its load exceeds what its design supports. Review the manufacturer's load guidance, then test the pack with a realistic starting load, including water and food.
- Check torso fit and whether the hip belt stays comfortable while walking.
- Confirm that bulky equipment fits without awkward external attachment.
- Test access to water, rainwear, and frequently used items.
- Consider the heaviest day, including long water carries.
A supportive pack that weighs more may be the better choice for your current equipment. Revisit the backpack when the rest of your setup is settled.
7. Calculate what each change achieves
Record the weight saved, cost, and practical consequence of each proposed change. Use measured weights where possible, and distinguish complete product weights from advertised minimum weights.
The following numbers are illustrative calculations, not product specifications or savings you should expect:
| Possible change | Example saving | Tradeoff to check |
|---|---|---|
| Remove a duplicate eating vessel | 90 g | Whether meals and hot drinks remain convenient |
| Replace a shelter system | 600 g | Space, weather suitability, setup, and cost |
| Replace a backpack | 400 g | Support, fit, capacity, and durability |
To compare purchases, divide the added cost by the grams saved. If a hypothetical replacement costs $180 and saves 600 grams, that is $0.30 per gram saved. This helps compare options, but comfort, suitability, and reliability still determine whether a purchase makes sense.
Prioritize free removals and changes that solve an existing frustration. Tiny savings across many expensive accessories can be less useful than one well-chosen change to a heavy system.
8. Check the smaller categories
After the major systems, review clothing, cooking gear, electronics, and storage. Pack clothing as a coordinated set for walking, insulation, weather protection, and sleeping. Remove overlapping pieces only when the remaining layers cover the conditions.
Match cookware to your meals and group size. Count fuel separately from base weight, but still plan enough for the trip. Review battery needs, cables, and charging compatibility together. Carry the capacity your route requires.
Consolidate storage where practical. A pack liner and a few purposeful bags may be easier to manage than putting every item in its own pouch. Keep essential equipment accessible and moisture-sensitive gear protected.
9. Test the lighter load close to home
Take a loaded walk, then a short overnight with straightforward exit options. Check how the pack carries, whether the shelter pitches easily, and whether you sleep comfortably. Change a few things at a time so you can identify what helped.
Afterward, note what you used, what frustrated you, and what you missed. An unused emergency item may still belong in the pack; an unused second mug deserves another look. Let those observations guide your next adjustment, and keep the comfort items that make the trip better for you.