Start with the adjustment system, not the shaft material. A trekking pole that slips under pressure or takes too much effort to adjust will be frustrating whether it is made from aluminum or carbon. For a first pair, look for a comfortable grip, a suitable length range, and locks you can operate confidently. Then decide how much packed size and weight matter for your trips.
Adjustable aluminum poles with external lever locks are a sensible starting point for many beginners. They offer flexibility as you learn your preferred length and how you use poles. Folding poles deserve a closer look if you regularly stow them inside a pack. Carbon becomes more appealing when reducing carried weight matters enough to justify the additional expense and more careful handling.
Set the length before comparing features
A pole must fit both your height and your walking style. With your hiking footwear on, stand upright on level ground, hold the grip naturally, and place the tip beside your foot. An elbow bent roughly to a right angle is a useful starting point. Keep your shoulders relaxed rather than lifting them to reach the handles.
This is an initial setting, not a rule you must maintain throughout every hike. Walk a short distance and check whether the poles plant comfortably without making you reach forward or hunch your shoulders. Adjust in small increments until the motion feels natural.
- Check the usable range. Make sure your level-ground setting falls comfortably within the pole's adjustment range.
- Leave room for terrain changes. You may prefer shorter poles uphill and longer poles downhill, depending on the slope and your technique.
- Respect extension marks. Never extend a section beyond its marked limit.
- Test the locks. After adjustment, apply controlled downward pressure before relying on the pole.
On a long traverse, different lengths on the uphill and downhill sides may feel more comfortable. For a brief change in terrain, an extended foam grip lets you hold the shaft lower without stopping to adjust it. Avoid changing settings so often that the poles interrupt your walking rhythm.
Telescoping or folding poles?
Telescoping poles use nested sections that slide into one another. Folding poles break down into connected sections, usually held together by an internal cord. Some folding designs also include a sliding section for length adjustment; others have a fixed deployed length. Check the specific design rather than assuming every folding pole adjusts.
| Design | Main advantage | Main tradeoff | Useful for |
|---|---|---|---|
| Telescoping | Often offers a broad adjustment range | May remain relatively long when collapsed | Learning preferred settings and adapting to varied terrain |
| Adjustable folding | Combines a short packed length with some adjustment | Adjustment range may be narrower | Hikers who frequently pack poles away |
| Fixed-length folding | Compact storage with fewer length adjustments to manage | Requires careful sizing and cannot adapt in the same way | Walkers who already know their preferred length |
When telescoping makes sense
Telescoping poles are worth considering when fit flexibility matters most. They can suit changing terrain and may accommodate different users, provided the adjustment range fits each person. Their collapsed length is the main detail to check: a pole can be easy to shorten yet still extend well above a small daypack.
When folding makes sense
Folding poles are useful when you alternate between walking with poles and carrying them. Their shorter sections can fit more neatly inside luggage or a pack. Check both folded length and bundle thickness, though. A short bundle may still take up an awkward amount of space in a narrow pocket.
Before choosing either design, practice deploying and stowing it. The mechanism should be understandable, with a clear indication that every section is secure.
Aluminum versus carbon shafts
Aluminum is a practical material for a first pair, particularly when price and resilience to everyday knocks matter. Carbon is often chosen to reduce weight. However, the complete pole matters more than the material label: shaft dimensions, grips, locks, and baskets all affect weight and handling.
Aluminum: a practical starting point
Aluminum poles generally cost less than comparable carbon models. An aluminum shaft may bend under an overload, although it can also break. A bend is damage, not a useful safety feature; do not assume a bent pole can be straightened and trusted again.
If you are still learning where to plant the tips or expect frequent contact with rocks, aluminum is a reasonable choice. You can put more of your budget toward comfortable handles and reliable adjustment hardware.
Carbon: consider the whole design
Carbon poles can feel light in the hand, especially when swung repeatedly over a long walk. They also deserve care around sharp impacts and sideways loading. A tip trapped between rocks can create leverage that neither carbon nor aluminum poles are intended to withstand.
Avoid choosing carbon solely because it sounds more advanced. Compare the weight of the complete pair, inspect the locking system, and consider replacement-section availability. A well-fitting aluminum pair may serve you better than a lighter pair with uncomfortable grips.
Choose grips by feel
Grip material affects comfort, but shape is just as important. Hold each candidate with a relaxed hand. Check whether the handle supports your palm without forcing your fingers into uncomfortable grooves. If you hike with gloves, try the poles while wearing them.
- Cork: Often chosen for its feel against the hand. Cork content and construction vary, so judge the actual handle rather than the label.
- Foam: Often soft and lightweight. Extended foam below the main grip is useful for briefly holding the pole lower on climbs.
- Rubber: Can feel secure and is easy to wipe clean, but some hikers find it less comfortable against sweaty bare hands.
Notice the top of the handle too. A broad, rounded top may feel comfortable when you briefly rest your palm over it, while a narrow or sharply shaped top may not. There is little benefit in paying for a premium shaft if the handle creates an obvious pressure point during a short fitting.
Use the straps deliberately
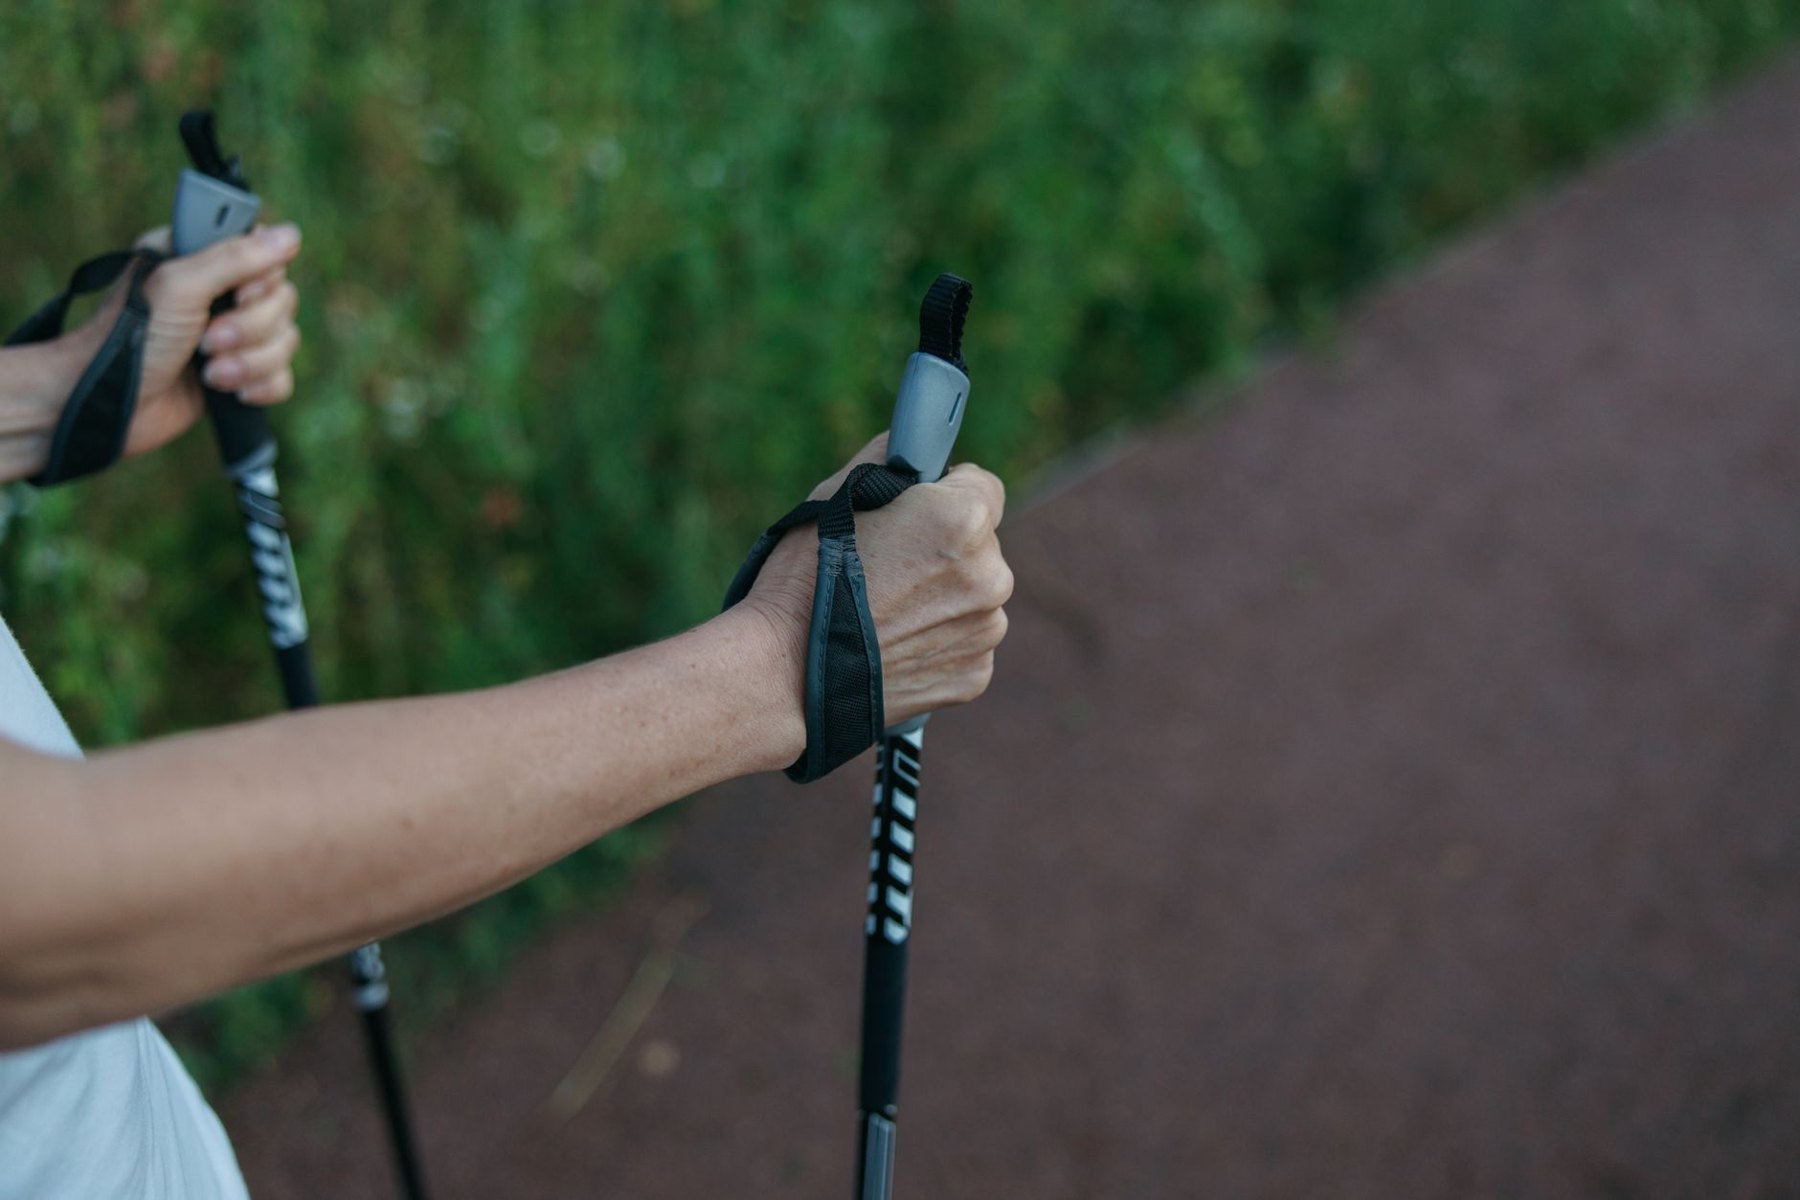
For conventional trekking-pole straps, bring your hand upward through the loop from below, then lower it onto the grip with the strap lying beneath your palm. Adjust the loop so it supports your hand without pinching. This can help you maintain a lighter grip rather than squeezing the handle continuously.
Strap designs differ, so follow the instructions supplied with your poles. Practice removing your hands easily before heading out. A strap that is twisted, too tight, or awkward to release needs adjustment.
Take your hands out when a caught pole could trap your arm or interfere with releasing it, including around moving water. Also stow poles when scrambling requires your hands. Poles provide additional contact points; they are not fall-arrest equipment, and their straps should not tether you to a hazardous placement.
Locks, tips, and baskets worth checking
External lever locks make it easy to see whether the clamp is open or closed. Some require tension adjustment before use or as parts wear. Twist locks have a cleaner profile, but their security is less visible. Either system needs correct operation and inspection; the mechanism name alone does not establish reliability.
For folding poles, check how the sections engage and how the release works. Assemble the pole fully before loading it. If a section will not seat correctly, stop and inspect it rather than forcing the mechanism.
- Replaceable tips: Useful because ground-contact parts wear. Check that compatible replacements are available.
- Rubber tip covers: Can reduce noise and soften contact on pavement or hard surfaces. Their grip depends on the surface and conditions.
- Small baskets: Help limit how far tips enter some soft ground or gaps, without making the pole especially bulky.
- Larger baskets: Relevant for soft snow, but unnecessary for many ordinary summer trails.
- Shock absorption: Adds mechanism and changes the feel under load. Try it before treating it as an upgrade.
Match the purchase to your actual hikes
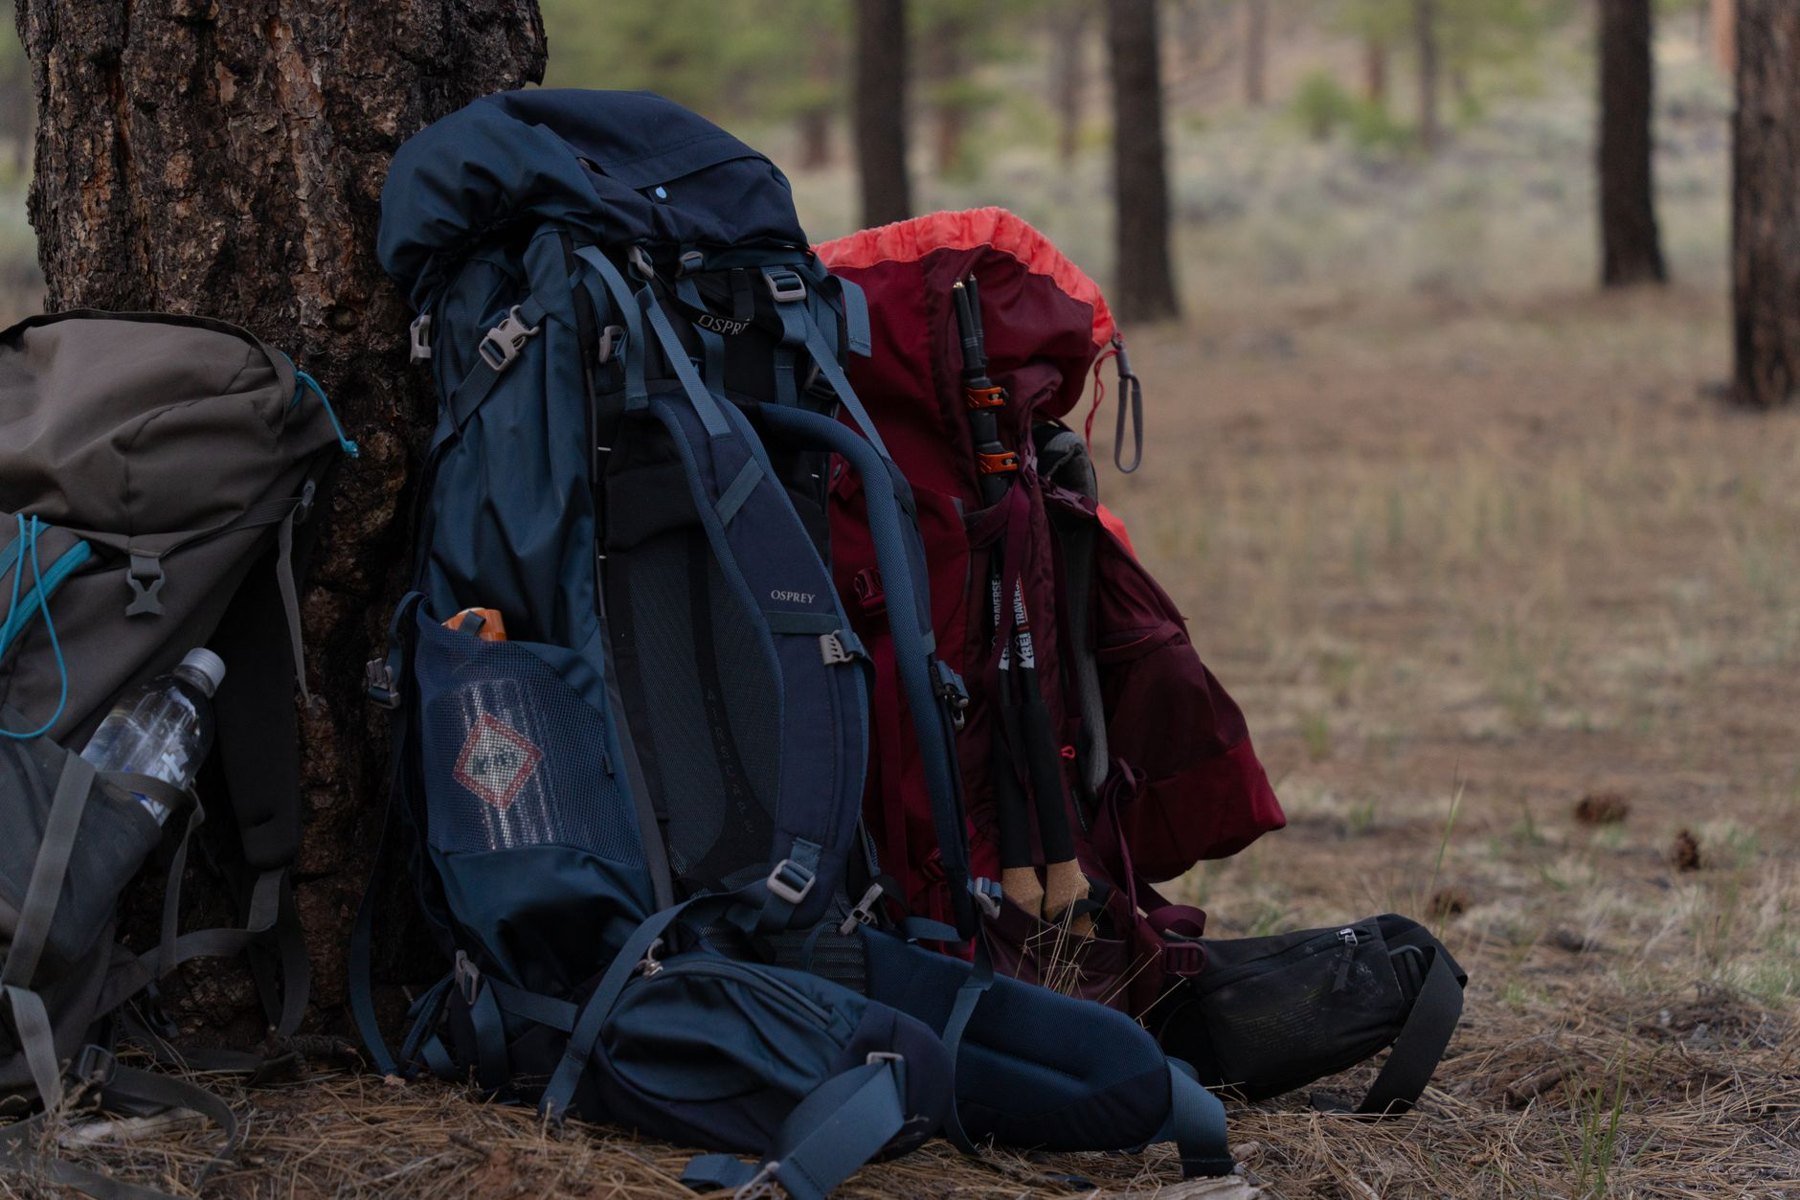
For occasional day hikes, prioritize fit, straightforward adjustment, and comfortable grips. For backpacking, also consider how the poles attach to your loaded pack. If you use a trekking-pole-supported shelter, confirm its required pole lengths and handle or tip arrangement before buying.
When comparing prices, include the parts you may need later. Replacement tips, baskets, straps, and individual shaft sections can make a serviceable pair easier to keep using. Check what comes in the package rather than assuming every pictured accessory is included.
Before your first full hike, take a short walk with the poles. Practice adjusting them, releasing the straps, and securing them to your pack. After muddy outings, clean them according to the manufacturer's instructions and let damp components dry before storage. A pair that fits well and is simple to maintain is a better beginner purchase than one whose extra features you rarely use.