If your toes touch the front of your footwear on a downhill ramp, a deeper tread or taller ankle collar will not fix the fit. Start with the shape and space your feet need, then decide how much structure, protection, and weather resistance your trips call for.
Hiking boots and trail shoes overlap more than their labels suggest. Some boots are flexible and relatively light; some low-cut shoes have firm soles and substantial toe protection. Compare the actual pair in front of you, using your usual trails, expected conditions, and loaded pack as the reference.
Start with the trip you actually take
Picture your next few outings rather than the most demanding hike you might attempt someday. A maintained woodland loop, a rocky overnight route, and a muddy walk through wet grass place different demands on footwear.
- Surface: Are you mostly walking on smooth paths, loose gravel, exposed rock, roots, or mud?
- Conditions: Expect warm, dry weather, frequent rain, shallow puddles, or sustained wet ground?
- Duration: Will you walk for two hours, spend a full day outside, or hike on consecutive days?
- Load: Are you carrying water and a jacket, or camping equipment and several meals?
- Preference: Do you feel comfortable in flexible footwear, or prefer a firmer platform underfoot?
For a beginner walking established trails with a modest daypack, a comfortable trail shoe is a reasonable starting point. Boots become worth comparing when you want more coverage, a firmer sole, or protection from repeated contact with rough ground. Neither category wins without those details.
How boots and trail shoes differ
| Factor | Hiking boots | Trail shoes |
|---|---|---|
| Fit and coverage | A higher collar adds coverage but may feel restrictive. | A lower collar allows freer ankle movement and leaves more skin exposed. |
| Traction | Depends on the outsole, tread, and surface. | Also depends on outsole design; a low cut does not mean less grip. |
| Stiffness | Often firmer, though flexible models exist. | Often more flexible, with some notably stiff exceptions. |
| Drying | Thick uppers and linings can take longer to dry. | Light, unlined mesh designs generally dry more readily. |
| Pack carrying | A firm platform may feel more comfortable under a heavier load. | Can work with a backpacking load if the fit and underfoot feel suit the wearer. |
Fit matters more than the category
A boot that squeezes your forefoot is a poor choice even if its features match the route. A trail shoe that lets your foot slide forward is equally unsuitable. Look for secure contact around the heel and midfoot, with room for your toes to spread and move.
Do not rely on your usual casual-shoe size. Shapes and sizing vary between models, and extra length cannot always compensate for insufficient width. If your toes feel crowded but your heel already slips, try a different shape rather than simply sizing up again.
Boot collars deserve particular attention. Walk, bend your knees, and use a ramp if available. A collar that presses against your ankle or lower leg may become distracting over a long day. Low-cut shoes avoid that contact, but their heel shape and tongue can still create pressure.
Judge traction by the outsole
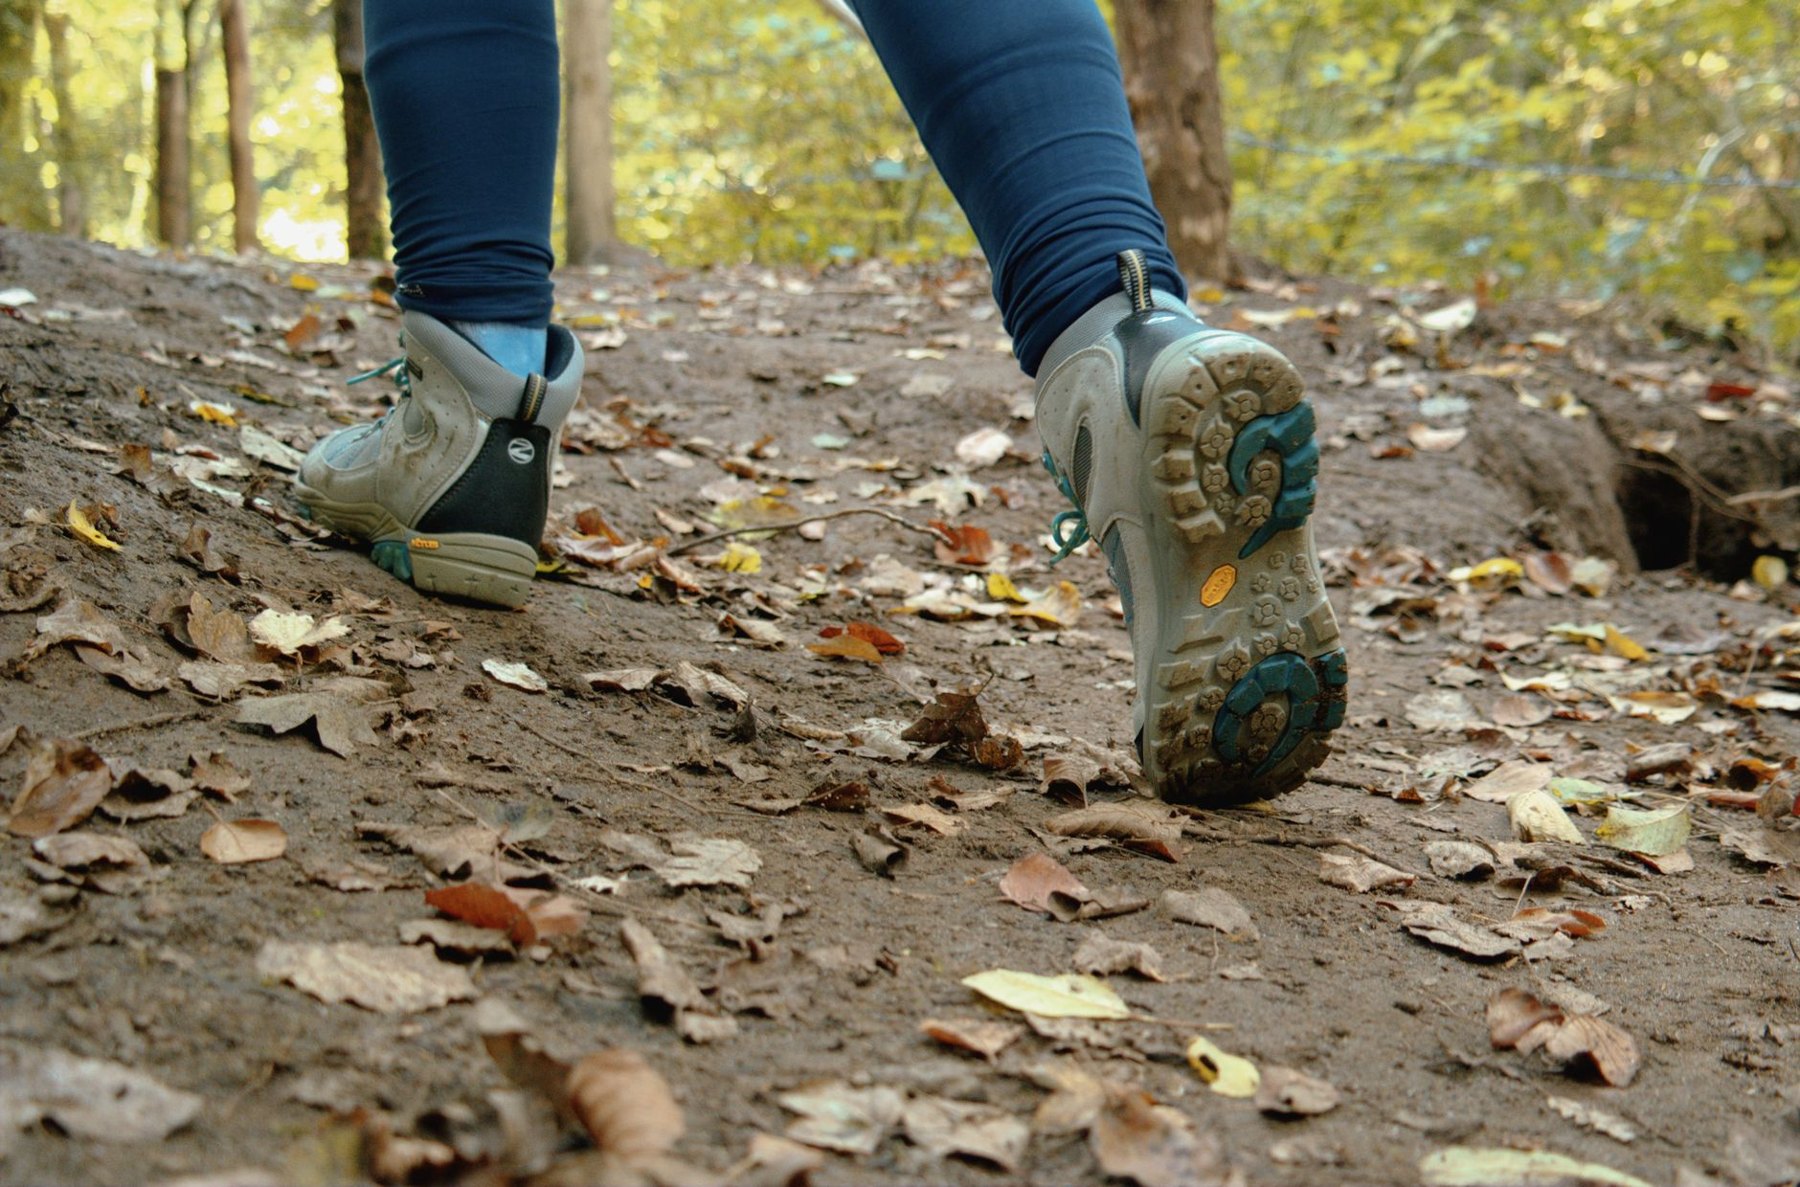
Boot height tells you little about grip. Turn the footwear over and examine the depth, spacing, and shape of the tread. Widely spaced lugs give mud more room to clear; shallower patterns may feel smoother on firm paths. Actual grip also depends on the rubber and the surface beneath it.
Match the tread to your most common terrain. Deep, pronounced lugs are worth considering for soft ground, while mixed trails call for a balance between penetration and stable contact on hard surfaces. Avoid treating any outsole as a guarantee on wet roots, smooth rock, or loose stones.
When trying footwear on, notice whether the sole feels steady as you turn and step onto an incline. A comfortable platform matters alongside tread. For routes involving snow or ice, assess the footwear and any required traction equipment separately; ordinary trail tread alone does not resolve those conditions.
Choose stiffness and cushioning separately
Stiffness describes how readily the footwear bends or twists. Cushioning describes how the material underfoot compresses. A shoe can be flexible and well cushioned, or firm and relatively thin. Do not assume a soft first impression means lasting comfort on your intended route.
A firmer sole can make sharp stones and uneven footholds feel less intrusive. It may also feel cumbersome on smooth trails if you prefer an easy, flexible stride. A more flexible shoe lets the foot move readily, but some hikers find rough surfaces tiring through a softer platform.
Compare both options while walking, rather than judging them only by hand. Your useful middle ground is enough protection for the trail without a sole that fights your normal stride. Beginners do not automatically need the stiffest footwear available.
Balance water resistance against drying time
Waterproof footwear can be useful in wet grass, shallow puddles, and cool, rainy conditions, provided water stays below the opening. It does not prevent water from entering over the collar. Once the inside is soaked, a waterproof lining can slow drying.
Unlined mesh trail shoes allow water in more readily, but their open construction also allows moisture to escape more readily. That tradeoff can suit warm trips where wet feet are likely and drying opportunities matter. It can be less appealing on a cold walk through soaked vegetation.
Compare construction as well as category. A waterproof trail shoe and a waterproof boot share some of the same moisture tradeoffs. A boot’s higher opening adds coverage, but neither option should be chosen on the assumption that feet will stay dry in every situation.
Let carrying load influence the test
There is no single pack weight at which everyone must switch to boots. Comfort depends on the load, terrain, footwear, and individual preference. A heavier pack is a reason to reassess your choice, especially if your current footwear feels unstable or uncomfortable during a representative walk.
If permitted, try footwear while wearing a pack close to your expected load. Check whether the sole still feels comfortable and whether your feet slide on inclines. A tall collar alone does not establish that a boot will provide the support you want; the whole construction matters.
A practical footwear try-on checklist
Try footwear later in the day if practical, and allow enough time to compare pairs without rushing. Check both feet: the fit that works for one may pinch or slip on the other.
- Wear your hiking socks. Bring the thickness you expect to use outdoors. Include any insoles or orthotics you normally wear, rather than testing with an unfamiliar setup.
- Settle your heel and lace evenly. Seat the heel gently, then secure the laces without overtightening. You should not need painful pressure to hold your foot in place.
- Check toe room while standing. Your toes should have space ahead and room to spread. Reject persistent contact at the front, sides, or top of the toe box.
- Walk on level ground. Notice pinching, rubbing, pressure beneath the arch, or an awkward bending point. Compare the feel of both feet.
- Walk uphill. Watch for repeated heel lifting or rubbing. Try a modest lacing adjustment; substantial movement suggests a fit mismatch.
- Walk downhill. Use a shop ramp or another permitted incline. Your toes should stay clear of the front without you curling them to hold position.
- Check sideways movement. Turn and make controlled changes of direction. Your foot should remain secure rather than sliding across the footbed.
- Keep them on for several minutes. Revisit any pressure point. Materials may soften with use, but cramped toes or painful contact are poor starting points.
Match the choice to a realistic example
A warm day hike on maintained paths: Start by trying breathable trail shoes with a secure heel and comfortable cushioning. Compare boots if you prefer their coverage or underfoot feel, rather than assuming they are required for hiking.
A cool, wet route through grass and muddy paths: Waterproof footwear and tread suited to soft ground deserve a closer look. A boot may provide useful extra coverage, while a waterproof low-cut shoe leaves the opening closer to splashes and vegetation.
A rocky overnight trip with camping equipment: Compare a firm trail shoe with a hiking boot while wearing your loaded pack. Focus on protection underfoot, downhill toe clearance, and comfort over uneven surfaces.
Before committing to a long outing, check the return policy and test your choice indoors where permitted. Then build up through shorter walks with your intended socks and pack. If a pair repeatedly pinches, rubs, or allows sliding, revisit the fit before adding more distance.