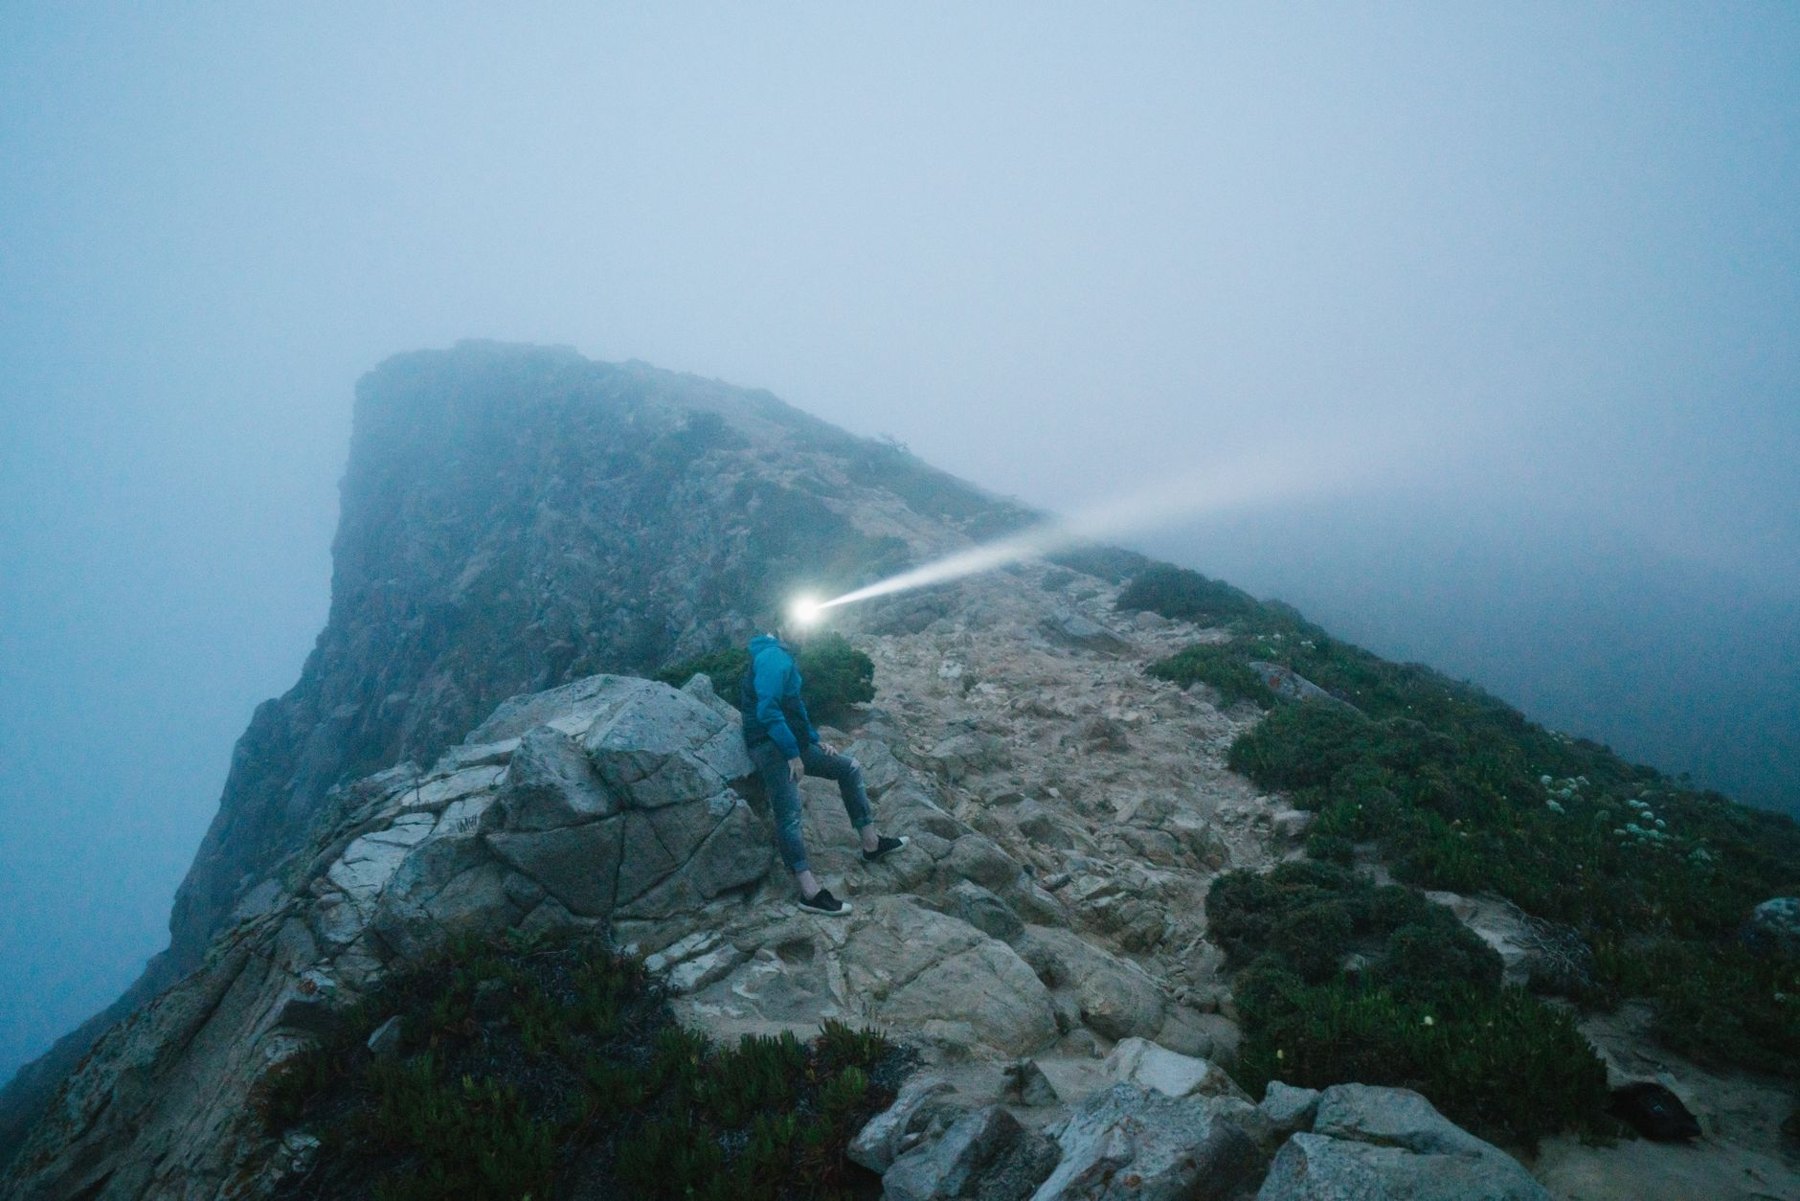
A headlamp that lights up a distant sign can still make roots at your feet difficult to see. Another may feel bright when you switch it on but lose useful output well before your walk ends. For night hiking, the important question is whether the lamp gives you usable light, comfortably and reliably, for the whole route.
Start with your longest expected stretch after dark, the terrain, and the conditions you might encounter. Then compare beam shape, sustained output, runtime, controls, and charging. The checklist below helps turn those specifications into a practical buying decision.
1. Match the beam to the trail
Night hiking involves two different lighting jobs: seeing where your next steps will land and looking farther ahead to understand the route. A good headlamp should handle both without making you constantly adjust it.
Beam distance: useful reach, not comfortable visibility
A focused spot beam helps you pick out trail markers, inspect a junction, or look ahead along an open path. Advertised beam distance is a comparison figure, however, rather than a promise that you can comfortably identify every obstacle at that distance.
For a slow walk on a clear path, distant reach may matter less than even lighting nearby. On an unfamiliar trail with scattered markers, an adjustable spot becomes more useful. Avoid choosing solely by the largest distance printed on the box.
Flood lighting: look at the ground around your feet
A flood beam spreads light over a wider area. It helps you see nearby rocks, trail edges, and the space where your next few steps will fall. Look for a smooth spread rather than a bright central patch surrounded by abrupt darkness.
A combined spot-and-flood setting can be convenient for walking, although it may use more power than either beam alone. Check whether you can select each beam separately and whether the lamp tilts far enough downward for close tasks.
- Mostly maintained paths: prioritize a comfortable flood and an easy-to-reach medium setting.
- Unfamiliar or uneven trails: look for nearby coverage plus a spot beam for checking ahead.
- Fog or mist: avoid assuming that maximum brightness will improve visibility; reflected light can make the view less comfortable.
2. Compare sustained output, not just maximum lumens
Lumens describe light output, but they do not tell you how effectively a beam illuminates a trail. Two lamps with similar lumen ratings can look quite different because their optics distribute light differently.
Maximum output may also be temporary. A high or boost mode can reduce brightness as the lamp heats up or its battery runs down. That may be acceptable for briefly checking a distant marker, but it makes the headline number a poor guide to all-evening performance.
Look for a runtime graph or a clear explanation of brightness over time. A reasonably steady walking mode is easier to plan around than a very bright start followed by a large drop. If the listing only gives maximum lumens and a single runtime, you do not yet know how those figures relate.
Identify the setting you would actually walk with. Ask how long that setting stays useful, whether brightness changes gradually or suddenly, and whether you can increase output briefly without cycling through every mode.
3. Read runtime figures mode by mode
A long advertised runtime may refer to the lowest setting, which could be suitable for sorting gear but insufficient for walking over rough ground. Compare runtimes at settings that provide the beam you need.
Also check what the runtime endpoint means. A lamp that is still producing a faint glow has not necessarily remained useful for hiking throughout the stated period. Clear manufacturer documentation is more helpful than an unexplained battery-life claim.
Build your estimate around the expected time in darkness, then allow for slower progress, navigation stops, and delays. For example, if you expect a two-hour walk after sunset, a lamp rated for exactly two hours at your intended setting leaves little flexibility. Choose more reserve or a practical way to restore power, while carrying independent backup lighting.
- Check runtime for the intended walking mode.
- Account for occasional use of brighter settings.
- Consider that cold conditions and battery aging can reduce available runtime.
- Check how the lamp warns you about low charge.
- Begin with a full charge rather than relying on what remained after the last outing.
4. Choose a charging system that fits your trips
Built-in rechargeable batteries keep the setup straightforward: charge the lamp, check it, and pack it. The tradeoff is that an empty battery may require waiting for a recharge, and replacing an aging battery may depend on manufacturer service.
A removable rechargeable battery offers another option: swap in a compatible charged spare. Check the exact battery requirements, whether replacement batteries are available, and whether you need a separate charger. Carry spare batteries with their terminals protected from metal objects.
Some headlamps accept both a rechargeable battery pack and specified disposable batteries. That flexibility can help on longer trips, but confirm whether brightness and runtime differ between power sources.
| Charging option | Practical advantage | What to check |
|---|---|---|
| USB-C port | May share a cable with other gear | Required power source, supported cable combinations, and port protection |
| Proprietary magnetic cable | Can make connection straightforward | Whether you must carry a dedicated cable and can obtain a replacement |
| Removable rechargeable battery | Allows a battery swap | Compatibility, charger needs, and safe spare storage |
| Dual-power design | Offers another battery option | Approved battery types and changes in performance |
Do not assume a lamp can operate while charging. If that feature matters, verify it in the instructions, including any restrictions. Test your actual cable and power bank before departure, and follow the manufacturer's guidance about charging temperatures and wet ports.
5. Read weather resistance carefully
A description such as “weatherproof” gives you less information than a stated ingress-protection rating and clear care instructions. Water resistance, resistance to immersion, and suitability for charging while wet are separate questions.
Match the documented protection to likely conditions. An evening walk with occasional drizzle differs from an exposed route in prolonged rain. Check whether the rating depends on a charging-port cover being fully closed, and inspect that cover for a secure fit.
Water resistance also does not cover every durability concern. Look at the battery-door latch, tilt hinge, and strap attachments. These parts affect how well the lamp stays positioned and how easily you can operate it when your hands are cold.
6. Try the controls before trusting them in darkness
A headlamp should let you reach a useful walking setting without a complicated sequence of clicks. Gloves, tired hands, and rain make small buttons and confusing shortcuts harder to manage.
Check whether startup behavior is predictable. Some lamps remember the last setting; others start at a fixed level. Either can work if you understand it. A low-light shortcut is useful for reading a map or checking equipment without immediately selecting a bright beam.
Lockout controls help prevent accidental activation inside a pack. Compare how lockout is enabled, how you confirm it is active, and how you release it. An electronic button sequence may be convenient; a physical disconnect may be easier to verify. Follow the instructions for the specific lamp.
Red light is an optional convenience for close tasks, rather than a substitute for a suitable trail beam. Prioritize accessible controls and useful white-light settings before extra modes.
7. Check comfort with your actual layers
Battery capacity and comfort need to work together. A larger battery may extend runtime but can also add weight or pull at the front of the strap. Some designs move the battery to the back of the head, changing the balance and adding a cable.
Try the lamp with the hat or hood you expect to wear. Walk around, look down, and turn your head. Check for bouncing, pressure points, slipping, and a tilt mechanism that moves too easily. A top strap may improve stability, though it adds bulk.
8. Build a lighting plan with a backup
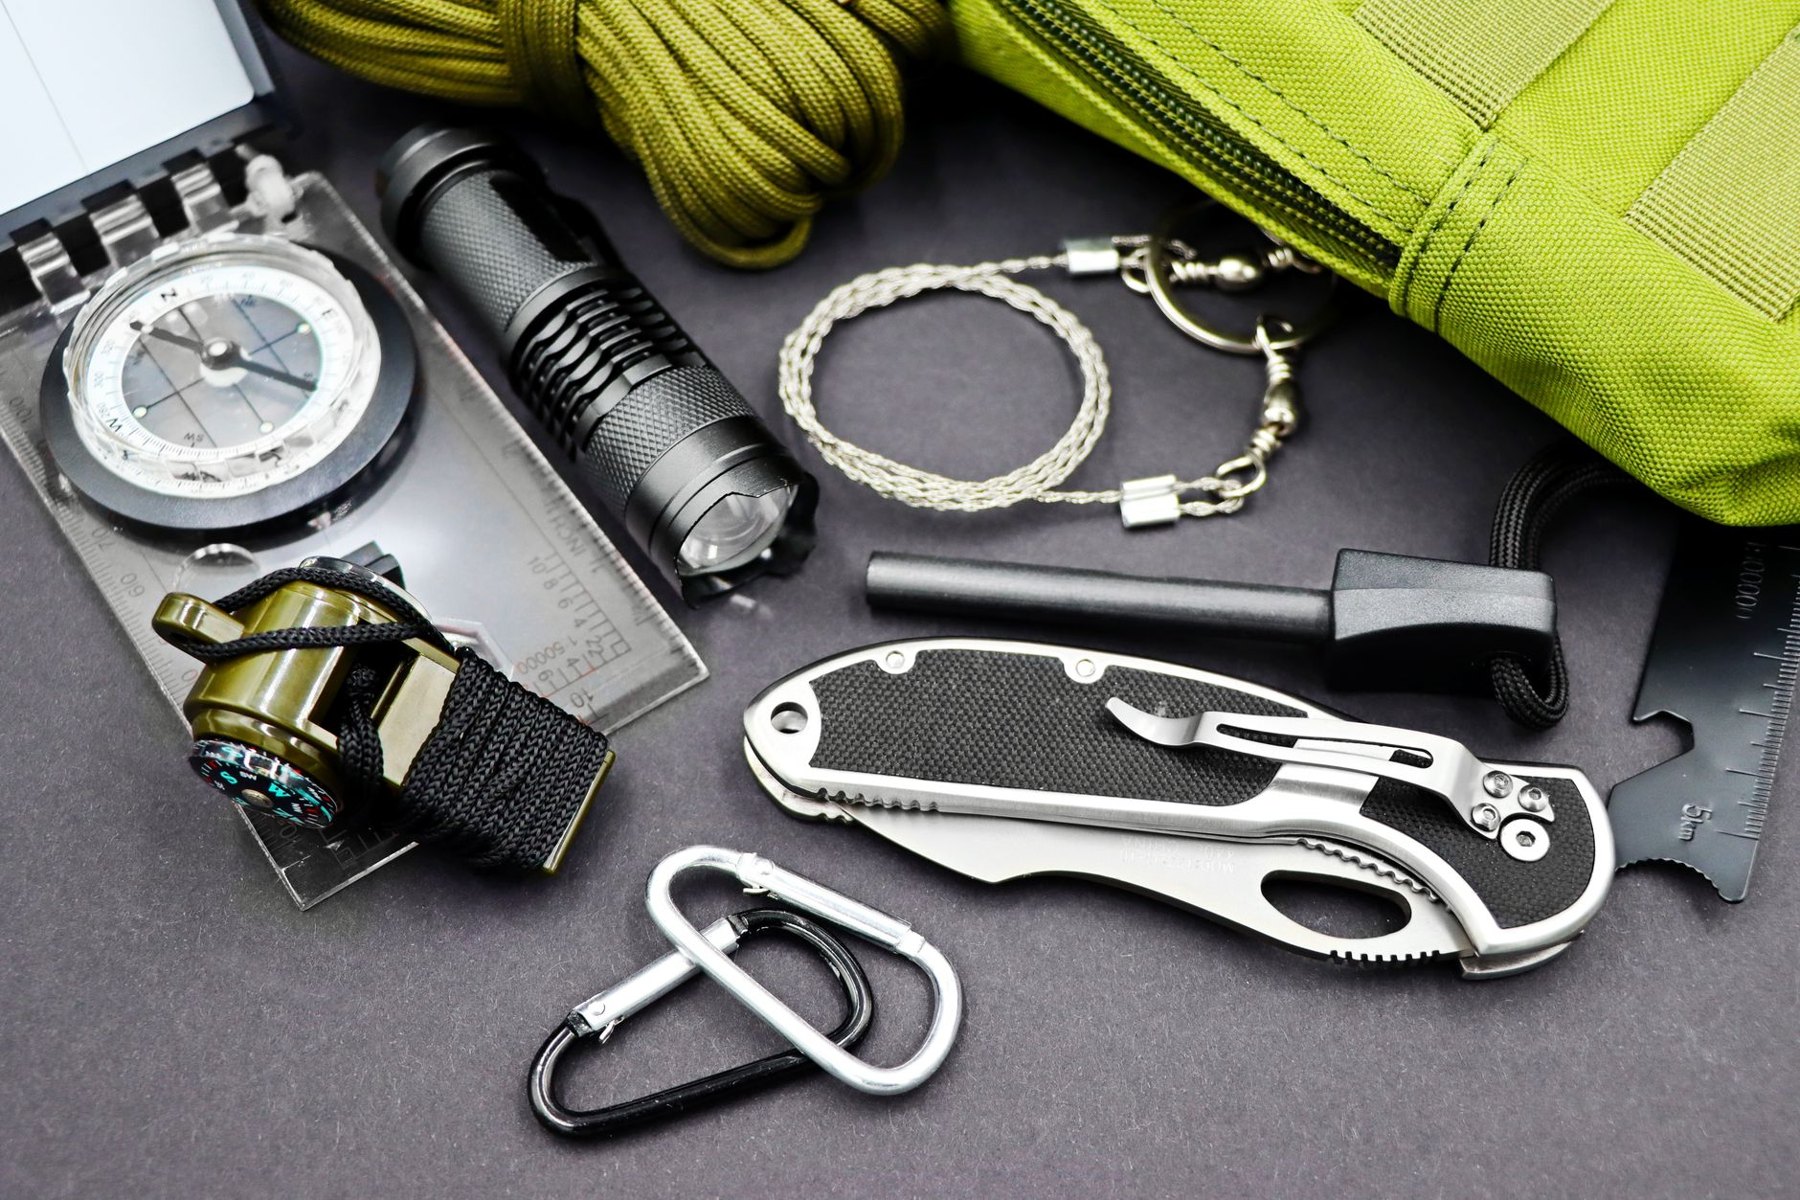
For longer walks after dark, carry a separate light that can support a safe walk out if the main headlamp fails. A spare battery helps with depleted power, but it cannot fix a broken switch, damaged housing, or lost lamp.
Choose backup lighting you can use while keeping your hands available for balance or trekking poles. Keep it accessible, check its charge or batteries, and learn its controls. A phone flashlight is useful for a brief task, but relying on it for the rest of a hike also draws on the device you may need for navigation or communication.
Before you buy: the final checklist
- Does the beam illuminate nearby footing and provide enough reach for your route?
- Is sustained brightness documented for a useful walking mode?
- Does runtime leave room for delays?
- Can you charge it with the equipment you already carry?
- Are weather protection and port-care instructions clear?
- Can you operate it with gloves and lock it for transport?
- Does it stay comfortable and stable with your usual layers?
- Have you planned an independent backup light?
Once you have the lamp, practice on a short, familiar route after dark with your backup packed. Adjust the beam, learn the controls, and check how the strap feels while walking. That small rehearsal makes it easier to spot an awkward setting or charging problem before a longer outing depends on it.