A backpack behind the door, a tent under the bed, and cooking gear scattered across kitchen cupboards can make packing for a simple overnight trip feel like a scavenger hunt. The solution is to give each item a clear home based on how often you use it, how much space it needs, and whether it is ready to put away.
Start with one rule: gear goes into long-term storage only when it is clean and thoroughly dry. Then build a layout around four functions: drying, everyday access, trip storage, and bulky insulation. Even a narrow closet and a little under-bed space can support this system.
Sort your gear before buying storage
Gather your outdoor equipment in one place and group it by use. Keep day-hiking essentials together, separate sleeping equipment from cooking supplies, and set repair items aside. This reveals what actually needs a container and what would be easier to hang.
Check for duplicates, damaged equipment, and items you no longer use. A second cook set may be useful for family trips; several forgotten bottles may simply be taking up shelf space. Keep what serves your trips, and repair, donate, or appropriately dispose of the rest.
- Frequent use: daypack, headlamp, rain jacket, water bottles, and trekking poles.
- Trip-specific equipment: tent, stove, cookware, water filter, and camp lighting.
- Bulky items: sleeping bags, quilts, insulated clothing, and sleeping pads.
- Small support items: repair patches, spare buckles, charging cables, and tent stakes.
Measure your available spaces before choosing bins. Include shelf depth, clearance beneath the bed, and the space needed to pull a container out. A bin that technically fits but cannot be opened easily will soon become a nuisance.
Give shelves, hooks, and bins different jobs
Shelves work well for equipment you want to see and retrieve without unpacking a stack. Hooks suit suitable hanging items, while bins contain small pieces that otherwise spread through a closet. Using all three usually makes better use of a small space than relying entirely on large tubs.
| Storage area | Useful contents | Main tradeoff |
|---|---|---|
| Accessible shelf | Day-hike kit, cookware, headlamps | Easy access, but open storage collects dust |
| Wall or door hooks | Empty daypacks, hats, suitable outerwear | Saves shelf space but needs secure mounting |
| Labeled bins | Repair supplies, tent accessories, cooking utensils | Keeps pieces together but can hide forgotten items |
| Under-bed space | Dry seasonal equipment in shallow containers | Uses spare space but requires clearance to retrieve |
| Upper shelf | Light, infrequently used equipment | Frees convenient shelves but is harder to reach |
Put weight low and useful items within reach
Place heavier equipment on lower shelves. Keep the items you use most often around a comfortable reaching height, and reserve upper shelves for light seasonal gear. Follow the shelving manufacturer's load limits and anchoring instructions, especially for tall units.
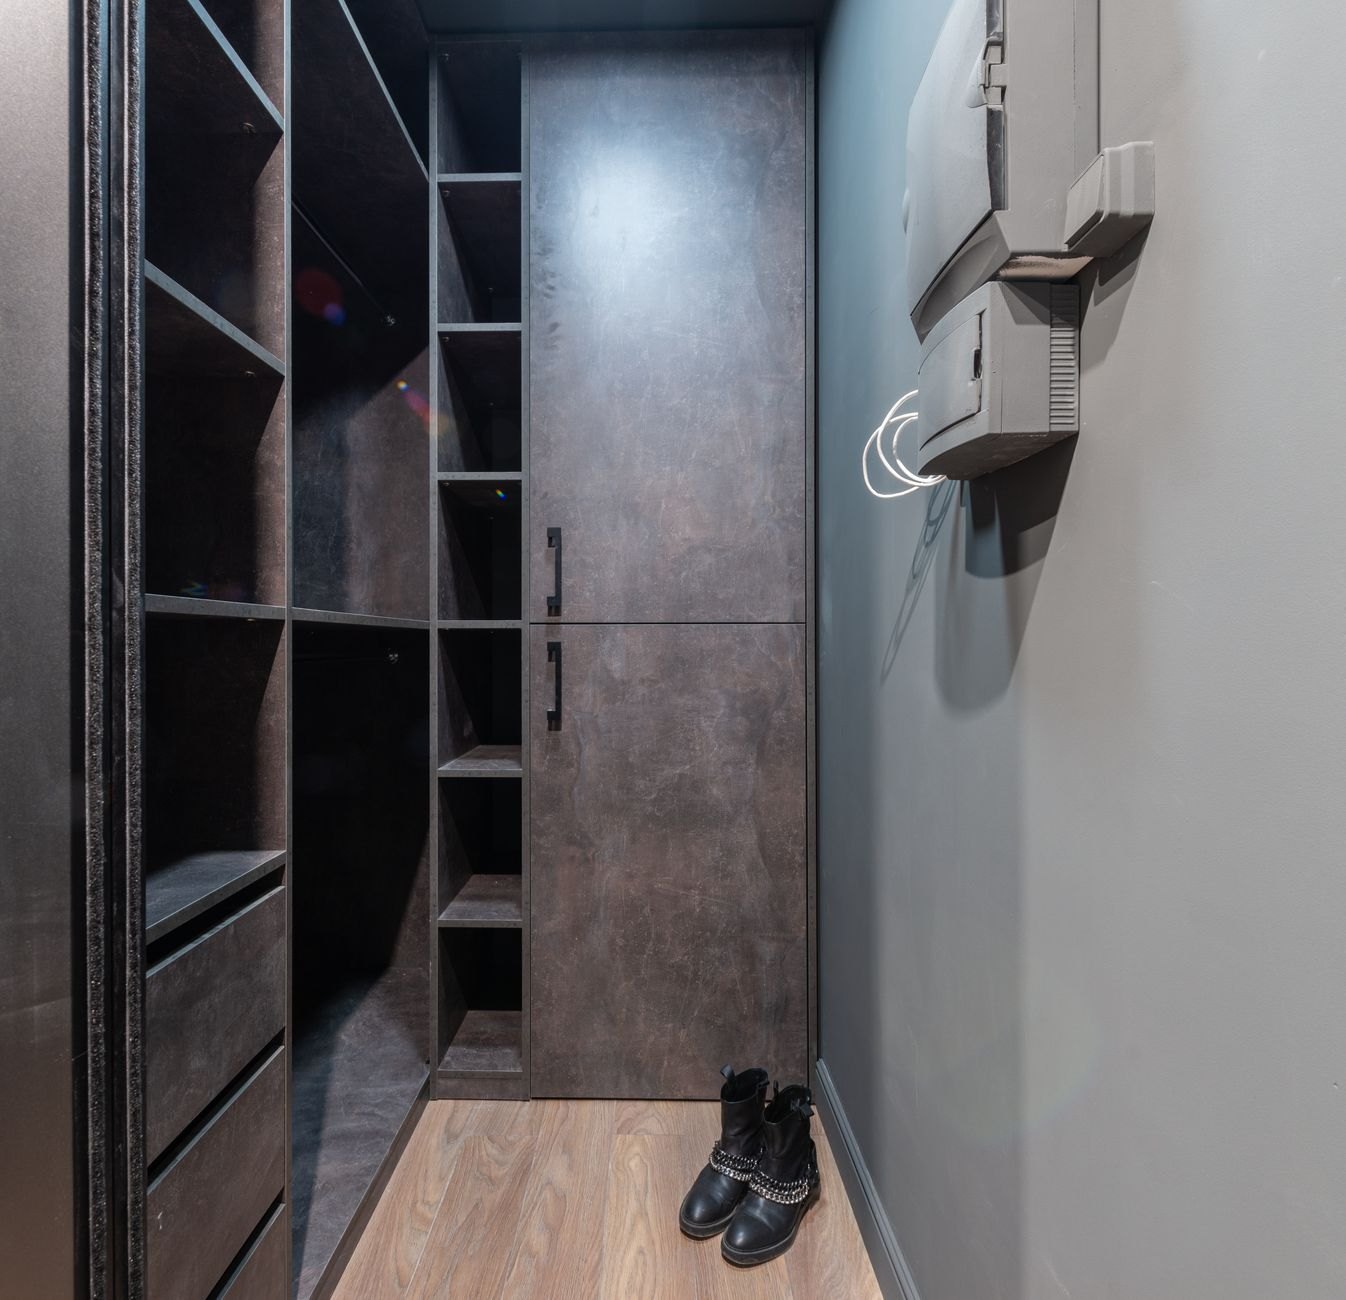
A narrow freestanding shelf can work beside a wardrobe or inside a closet. Before adding another unit, try adjusting existing shelf heights: tall gaps often waste space above short cookware or accessory bins.
Hang selectively
Use hooks for empty packs and items with suitable hanging loops. Avoid leaving a loaded backpack dangling from a small loop unless its manufacturer permits that use. Check both the hook rating and the mounting surface; an adhesive hook is not automatically suitable for a heavy pack.
In a rental, an over-door organizer may provide useful pockets for gloves, hats, and small accessories. Check that the door closes freely and that the organizer does not obstruct an exit or interfere with nearby fittings.
Label bins for the way you pack
Choose categories that match actual tasks. Labels such as “Camp kitchen,” “Tent accessories,” and “Repairs and spares” are more helpful than “Outdoor stuff.” Put labels on the side visible from the doorway, rather than only on lids.
Keep small parts in reusable pouches inside each bin. A tent accessory pouch might hold stakes, spare guylines, and the appropriate repair pieces. A kitchen bin might contain cookware, utensils, and a cleaning kit. Store food separately to avoid leaving crumbs and odors with equipment.
Avoid making every container a tightly fitted puzzle. Leave enough room to return an item without rearranging the whole bin. Transparent containers make contents easier to spot; opaque ones look tidier in a living area. Either works if the labels are clear.
Use under-bed space without compressing everything
Under-bed storage suits shallow containers holding dry, relatively infrequently used equipment. Consider a folded tent if its care instructions allow it, camp cookware, or seasonal accessories. Choose containers that slide out easily and can be cleaned underneath.
Do not assume this is the right place for every bulky item. A low container that requires you to squash a sleeping bag tightly is a poor substitute for loose storage. Under-bed areas can also conceal dampness, dust, or a leak, so inspect them periodically and keep equipment away from any affected area.
If two people share the space, label containers by function rather than ownership where practical. One shared shelter bin is often easier to manage than splitting tent parts between several places.
Build a drying routine into your apartment
A storage system needs somewhere for wet equipment to pause. That might be a folding drying rack, a shower rail suitable for the load, or a washable mat beneath dripping footwear. Keep walkways clear and protect flooring from water.
- Unpack soon after returning. Remove wet clothing, food, rubbish, and damp equipment from bags.
- Separate items. Open the tent and rainfly as space allows, empty pockets, and loosen footwear.
- Clean according to care instructions. Remove dirt and food residue using methods suitable for each material.
- Allow everything to dry. Turn or reposition items so folds, seams, and undersides get airflow.
- Check before storing. Feel sheltered folds and inspect pockets rather than judging only the exposed surface.
If a tent cannot fit indoors all at once, dry its components separately and reposition them to expose every section. Keep damp fabric away from heaters and other direct heat sources. A fan can help circulate air, but airflow does not replace checking that the equipment is fully dry.
Leave a small basket for clean, dry items that need repair or replenishment. This prevents a broken buckle or depleted headlamp from quietly returning to the ready-to-pack shelf.
Store sleeping bags and other insulation loosely
For long-term storage, follow the manufacturer's instructions for sleeping bags, quilts, and insulated clothing. Many are best kept loosely in a large breathable storage sack or another suitable space, rather than left tightly compressed in their travel sacks.
In a small apartment, reserve part of an upper closet shelf for this purpose. A roomy storage sack can contain the insulation without forcing it into a dense bundle. Avoid piling heavy bins on top. If hanging is permitted, use the recommended loops or support method.
Sleeping pads need their own approach. Foam, self-inflating, and inflatable pads can have different storage requirements, including valve position and whether they should be rolled or unrolled. Check the instructions for your specific pad before assigning it a permanent spot.
When space is tight, prioritize appropriate storage for equipment that needs room. Compact metal cookware can tolerate a snug bin arrangement more readily than bulky insulation can tolerate being squeezed into the same-sized space.
Create a grab-and-go area for day hikes
Give frequently used hiking gear the easiest location to reach. An empty daypack on a hook, a small accessory tray, and a nearby place for bottles can be enough. Keep the headlamp, navigation equipment, and other regular essentials together so you can check them quickly.
Store bottles and hydration reservoirs clean and dry according to their care instructions. Keep charging cables beside the relevant electronics, and check charge levels before a trip. A stored kit still needs a fresh check for weather, route, food, water, and supplies.
A short list inside the closet door can help: “Refill water, check weather, check light, pack food.” This is more useful than trying to leave every consumable permanently packed.
Keep fuel and maintenance needs in the plan
Fuel needs a suitable location of its own. Follow the container label, appliance instructions, and applicable building rules. Do not automatically put fuel canisters or liquid fuel into a sealed gear bin, beside a heat source, or in an exit route simply because that space is convenient.
Likewise, clean and store water filters according to their specific instructions, including any drying, sanitation, or temperature requirements. Keep a note with the filter if it needs attention before its next use.
A workable layout for one small closet
Try a roomy sleeping-bag storage sack on the upper shelf, labeled kitchen and shelter bins on the middle shelves, and heavier equipment below. Hang an empty daypack on a suitable side hook. Use one shallow under-bed container for dry seasonal accessories, and bring out a folding rack when wet gear comes home.
After a few trips, adjust whatever slows you down. Move the awkward bin, simplify a label, or bring a frequently borrowed item forward. A useful system makes equipment easy to retrieve, easy to check, and easy to put away—even when you arrive home tired.