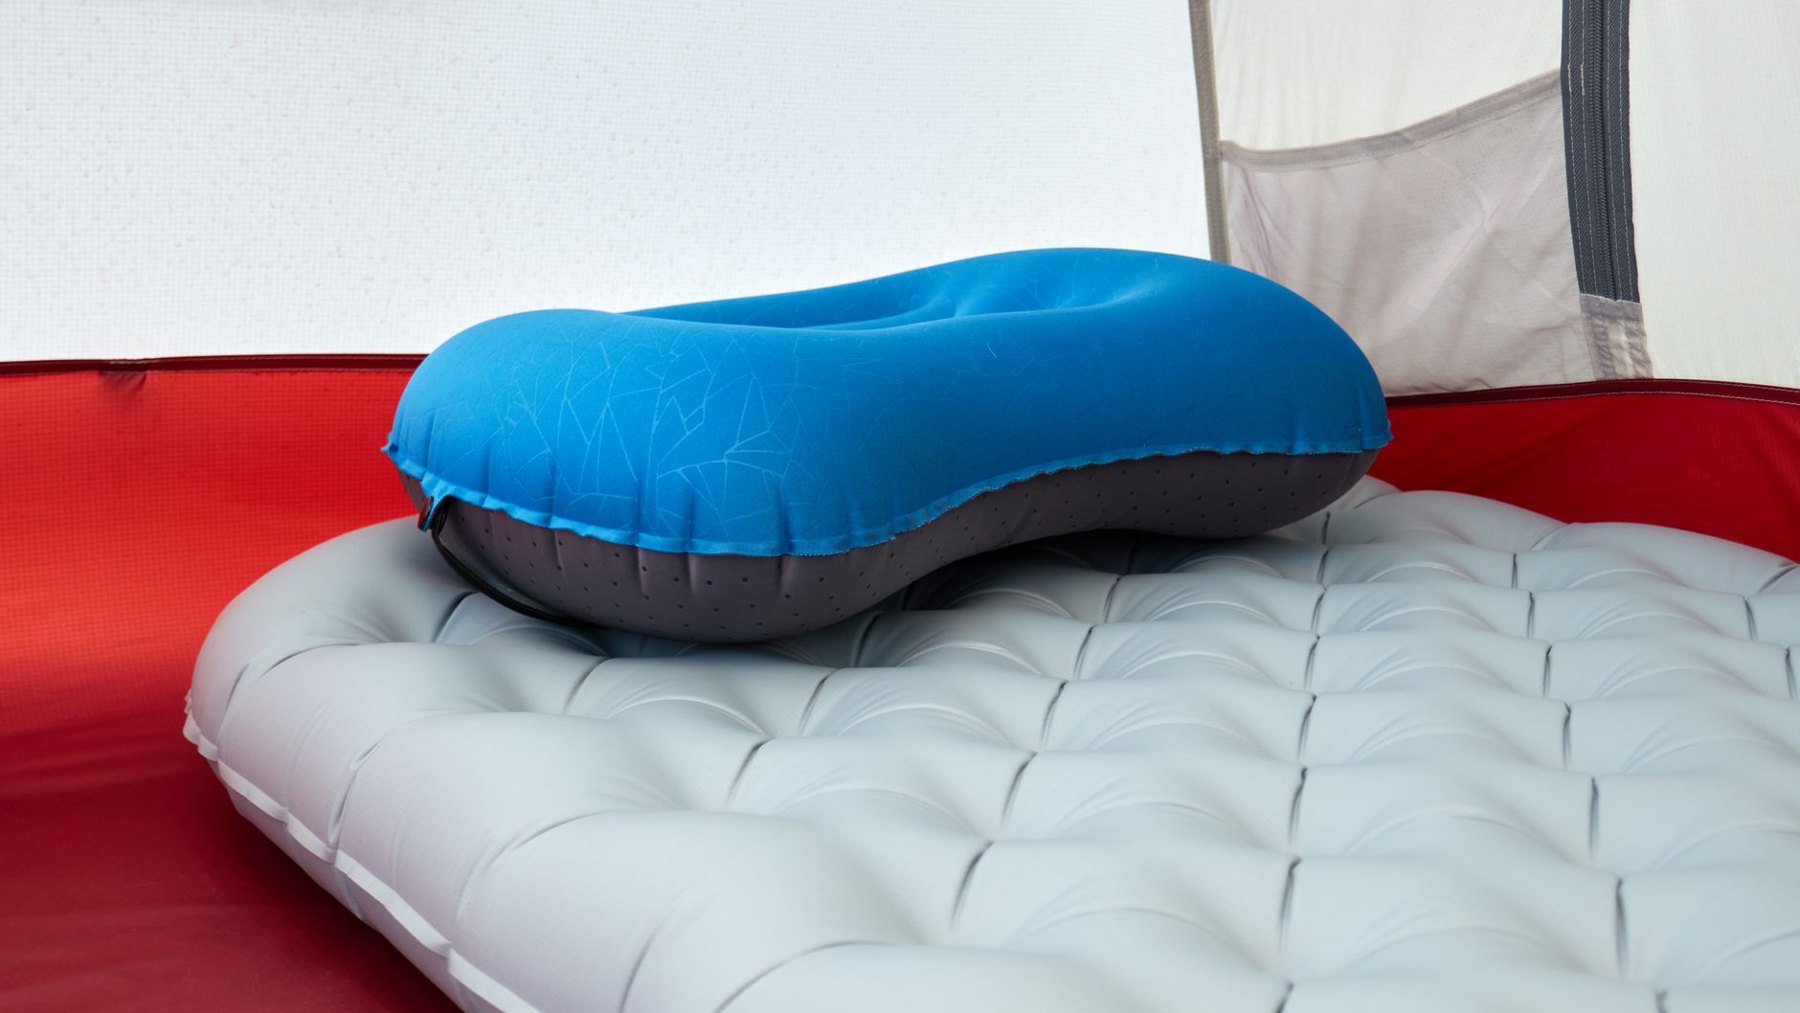
If your hip presses into the ground when you roll onto your side, adding more air may make the pad feel hard without solving the fit problem. You need enough clearance beneath your hip, enough room to keep your knees and elbows supported, and a surface that yields without collapsing.
When choosing an inflatable sleeping pad for side sleepers, compare thickness, usable width, baffle layout, insulation, and adjustable firmness together. A thick pad can still feel awkward if it is narrow or difficult to tune. Start with your sleeping position, then decide how much weight and packed bulk you can carry.
Thickness: leave room for your hip to sink
Side sleeping concentrates pressure around the shoulder and hip. An inflatable pad needs enough depth to let those areas settle into the surface while keeping them clear of the ground. Advertised thickness is a useful starting point, but it does not tell you how supportive the pad feels under your body.
Internal construction, inflation level, and your position all affect the result. The important question is whether you can release enough air for comfort without bottoming out. If the only setting that keeps your hip off the floor feels rigid, try a different thickness or construction.
During a fit test, distinguish between touching the ground while sitting up and touching it while lying in your usual sleeping position. Sitting puts your weight over a smaller area. A pad that briefly bottoms out as you sit may still support you comfortably all night; evaluate its performance while lying down.
Width: check where your knees and elbows land
Length is easy to check, but width deserves equal attention. Side sleepers may bend their knees, bring one leg forward, or hold an arm beside their pillow. Those positions can use more space than the pad’s shape suggests.
Compare dimensions at the shoulders, hips, and lower legs. A tapered pad saves material and packing space, but its narrower foot section may leave a bent knee unsupported. A rectangular pad gives you more freedom to change position, at the cost of additional material and potentially more packed bulk.
- For a curled sleeping position: check that your forward knee stays supported.
- For frequent rolling: leave room to turn without repeatedly reaching an edge.
- For arms beside your head: check shoulder width with your pillow in place.
- For a shared tent: compare both pads’ dimensions with the tent floor, including any taper.
Usable width matters more than the widest measurement. Rounded edges or raised outer chambers can change how much of the surface feels stable. Try lying near an edge to see whether it supports you or encourages you to slide off.
Baffle layout: judge the surface by feel
Baffles divide the pad into chambers and help control its shape. You will encounter horizontal tubes, lengthwise chambers, and smaller interconnected cells. Their appearance alone cannot tell you which will feel best.
Pay attention to where your shoulder and hip settle. Does a raised section create an uncomfortable pressure point? Do you feel balanced when you turn? Does the surface move enough to disturb your position? Two pads with similar dimensions may feel quite different because of their internal construction.
Raised side chambers may provide a useful sense of the boundary, but they do not replace adequate width. Likewise, a textured surface may feel reassuring to one sleeper and distracting to another. Whenever possible, compare pads using similar firmness and the same sleeping position.
Insulation: choose for the ground beneath you
Comfort includes warmth. A pad can cushion your hip yet provide too little insulation for the conditions. Your sleeping bag and pad work together, so consider the overnight forecast, likely ground conditions, and whether you tend to sleep cold.
Where available, compare R-values measured using the same recognized test standard. R-value describes resistance to heat transfer; a higher value indicates greater insulating resistance. It is not a personal temperature guarantee, and pad thickness alone does not establish warmth.
For summer camping, think about the actual destination. A warm evening at a low-elevation campsite and a cool night in the mountains call for different planning. Check the manufacturer’s intended-use guidance alongside the reported insulation information. If a listing provides only a broad seasonal label, treat that as less informative than a clearly identified test result.
Adjustable firmness: look for small, controlled changes
The most useful firmness is the setting that lets your shoulder and hip settle while keeping your body supported. Fully inflating a pad is a starting point for adjustment, not necessarily the best sleeping setting.
A valve that releases small amounts of air makes tuning easier. Check whether you can reach it while lying down, operate it without losing too much air, and close it securely. Separate inflation and deflation functions may be convenient, but their usefulness depends on how easily you can control them.
Air cooling after inflation can leave a pad feeling softer. Let it settle before deciding on your final setting. If support drops noticeably or repeatedly, check the valve closure and investigate for a leak instead of assuming the pad simply needs more air.
A practical fit test for hip pressure
Use this test on a clean, firm surface where trying the pad is permitted. A thick carpet or mattress can hide pressure problems. Bring your usual pillow, or something of similar height, so your neck position does not distract from the pad assessment.
- Inflate according to the instructions. Close the valve securely and check that the pad has expanded evenly.
- Lie in your normal side-sleeping position. Bend your knees as you usually would and place your arms naturally.
- Release air in small amounts. Pause after each adjustment and allow your body to settle.
- Check your hip and shoulder. Look for a setting where pressure eases without either area contacting the floor.
- Stay still for several minutes. Notice whether discomfort builds rather than judging only the first impression.
- Turn onto your other side. Check stability, edge support, and whether your knee or elbow slips off.
- Repeat with your sleeping setup. If practical, use your sleeping bag or quilt to assess movement and fabric noise.
If you cannot find a comfortable setting, identify the limiting factor. Ground contact suggests insufficient clearance or support at that firmness. A dangling knee points toward width or shape. Persistent pressure despite ample clearance may mean the surface construction does not suit you.
Balance sleeping comfort against packed bulk
Choose the pad that fits both your body and your trip. For car camping, a wider option may be an easy trade if storage space allows. For backpacking, extra width, insulation, and fabric can compete with other essentials for pack space.
Compare the complete packed setup, including its pump sack, stuff sack, and repair supplies. Check packed dimensions as well as weight: a light pad can still be awkward to fit inside a small backpack.
A useful comparison starts with two pads that meet your sleeping needs. Then assess their carrying cost. Choosing the smallest option first can leave you trying to solve a comfort problem with clothing or improvised padding later.
Inflation, repair, and packing checklist
Before leaving home
- Inflate the pad and check that its valve closes securely.
- Test your preferred firmness with your pillow and sleeping setup.
- Confirm whether an included pump sack fits the valve and learn how to use it.
- Pack repair materials compatible with the pad’s fabric and coating.
- Read repair instructions, including surface preparation and curing time.
- Practice deflating and packing the pad without forcing it into its sack.
At the campsite
- Check the pitching area and tent floor for sharp debris.
- Keep the pad away from stoves, sparks, and hot cookware.
- Follow the manufacturer’s inflation guidance and adjust firmness after settling in.
- Keep repair supplies accessible rather than buried beneath the rest of your gear.
After the trip
- Clean and dry the pad according to its care instructions before storage.
- Investigate unexplained air loss while you have time to locate and repair it.
- Follow the recommended storage method instead of assuming tightly rolled storage suits every pad.
For a final choice, return to three questions: Can your hip settle without reaching the ground? Can you turn while keeping your knees and arms supported? Does the pad provide suitable insulation in a package you can carry? Once those needs are met, valve convenience, noise, and packing ease can help you choose between otherwise comfortable options.