A camping hammock with a mosquito net solves one problem: keeping insects away from your sleeping space. You still need somewhere suitable to hang it, protection from rain, insulation underneath you, and a way to keep the net clear of your skin. Before choosing a hammock, picture the complete overnight setup rather than the fabric bed alone.
Start with your intended campsite and expected conditions. A warm evening at an established campground calls for different equipment than an exposed backpacking stop with overnight rain. Work through the choices below, then use the checklist to catch missing pieces before you pack.
Check whether your campsite supports hammock camping
Confirm that the campground or land manager permits hanging hammocks. Some places restrict tree attachments, allow them only in designated areas, or specify acceptable suspension equipment. Check the rules for your actual destination; permission at one campground does not establish permission elsewhere.
You also need suitable anchor points within the area where camping is allowed. Campsite photographs can help you ask better questions, but they cannot confirm tree condition or usable spacing. If the site cannot guarantee suitable anchors, have an alternative sleeping arrangement or choose a site that explicitly accommodates hammocks.
Assess anchors before unpacking
Look for living, structurally sound trees capable of supporting the setup. Avoid trees with visible decay, major damage, exposed unstable roots, or questionable footing. Inspect overhead for dead or hanging branches, and check the surrounding ground for hazards. If you cannot judge an anchor confidently, choose another location.
Follow the hammock and suspension manufacturers' requirements for tree size, spacing, attachment, and load limits. Never assume a fence post, picnic shelter, railing, or other built structure is a suitable anchor. Keep your setup clear of trails and neighboring campsites, and avoid trampling sensitive vegetation while finding the ideal hang.
Choose dimensions for sleeping comfort
For overnight use, hammock length deserves as much attention as packed weight. A short hammock may feel fine while sitting but leave you cramped when lying down. Compare the manufacturer's recommended user height with your own, and look for an opportunity to try the hammock before committing to it.
Width affects how much room you have to adjust your position. In many gathered-end hammocks, lying slightly diagonally can create a flatter resting position than lying directly along the centerline. Follow the design's instructions: bridge hammocks and other shapes may work differently.
A wider hammock provides more fabric for positioning, but it can also add weight and loose material around you. A model labeled “double” should not automatically be treated as a comfortable overnight bed for two people. Check its intended sleeping arrangement and load rating rather than relying on the label.
- Length: Is it appropriate for your height and intended sleeping position?
- Width: Can you shift position without fighting the fabric?
- Capacity: Does the stated limit cover the load placed in the hammock?
- Enclosed space: Does the net leave room around your face, shoulders, and feet?
Integrated versus separate mosquito nets
Integrated nets simplify the package
An integrated net attaches directly to the hammock, usually with a zippered opening. This reduces the number of separate components you need to match and can make setup easier to remember. Check whether the net is permanently attached, removable, or designed to stow away when insects are absent.
Pay attention to the doorway. You should be able to sit down, bring your feet inside, and close the zipper without awkward reaching. Consider where the zipper pull rests once closed and whether you can find it from inside in the dark. Repair options matter too, because damage to an attached net may affect the whole hammock system.
Separate nets offer flexibility
A separate net surrounds a compatible hammock and can sometimes move between different setups. That flexibility is useful if you already own a hammock or want to leave the net behind on suitable trips. The tradeoff is another item to size, suspend, pack, and inspect.
Check how the net closes around suspension lines and how you enter it. A net that is too short or narrow may press against you or leave openings. Confirm compatibility with the hammock's full dimensions, suspension arrangement, and any underquilt you intend to use.
Fit matters as much as net style
Look for mesh intended for the insects you expect, especially where very small biting insects are a concern. Check the manufacturer's stated coverage rather than assuming every mosquito net performs identically. Keep mesh away from exposed skin where possible, and inspect seams, closures, and suspension openings for gaps. A net works only when its openings are properly closed.
Match the suspension to the hammock and the trees
Use tree straps and connectors intended for hammock suspension, with compatible attachment points and appropriate load ratings. Choose broad tree-contact straps that meet local requirements. Avoid running bare cord or wire directly around bark.
Check what comes in the package. “Suspension included” may describe only part of the system, and a pictured accessory may be sold separately. Lay out the straps, connectors, and hammock ends at home so you can identify every connection and confirm the adjustment range.
Follow the manufacturer's guidance for suspension angle, sag, and maximum hanging height. Pulling a hammock extremely tight is not a reliable way to create a flatter bed and can place excessive force on the system. Hang low enough that a failure would have limited consequences, keep the area underneath clear, and load the hammock gradually before settling in.
Choose a tarp that covers the occupied setup
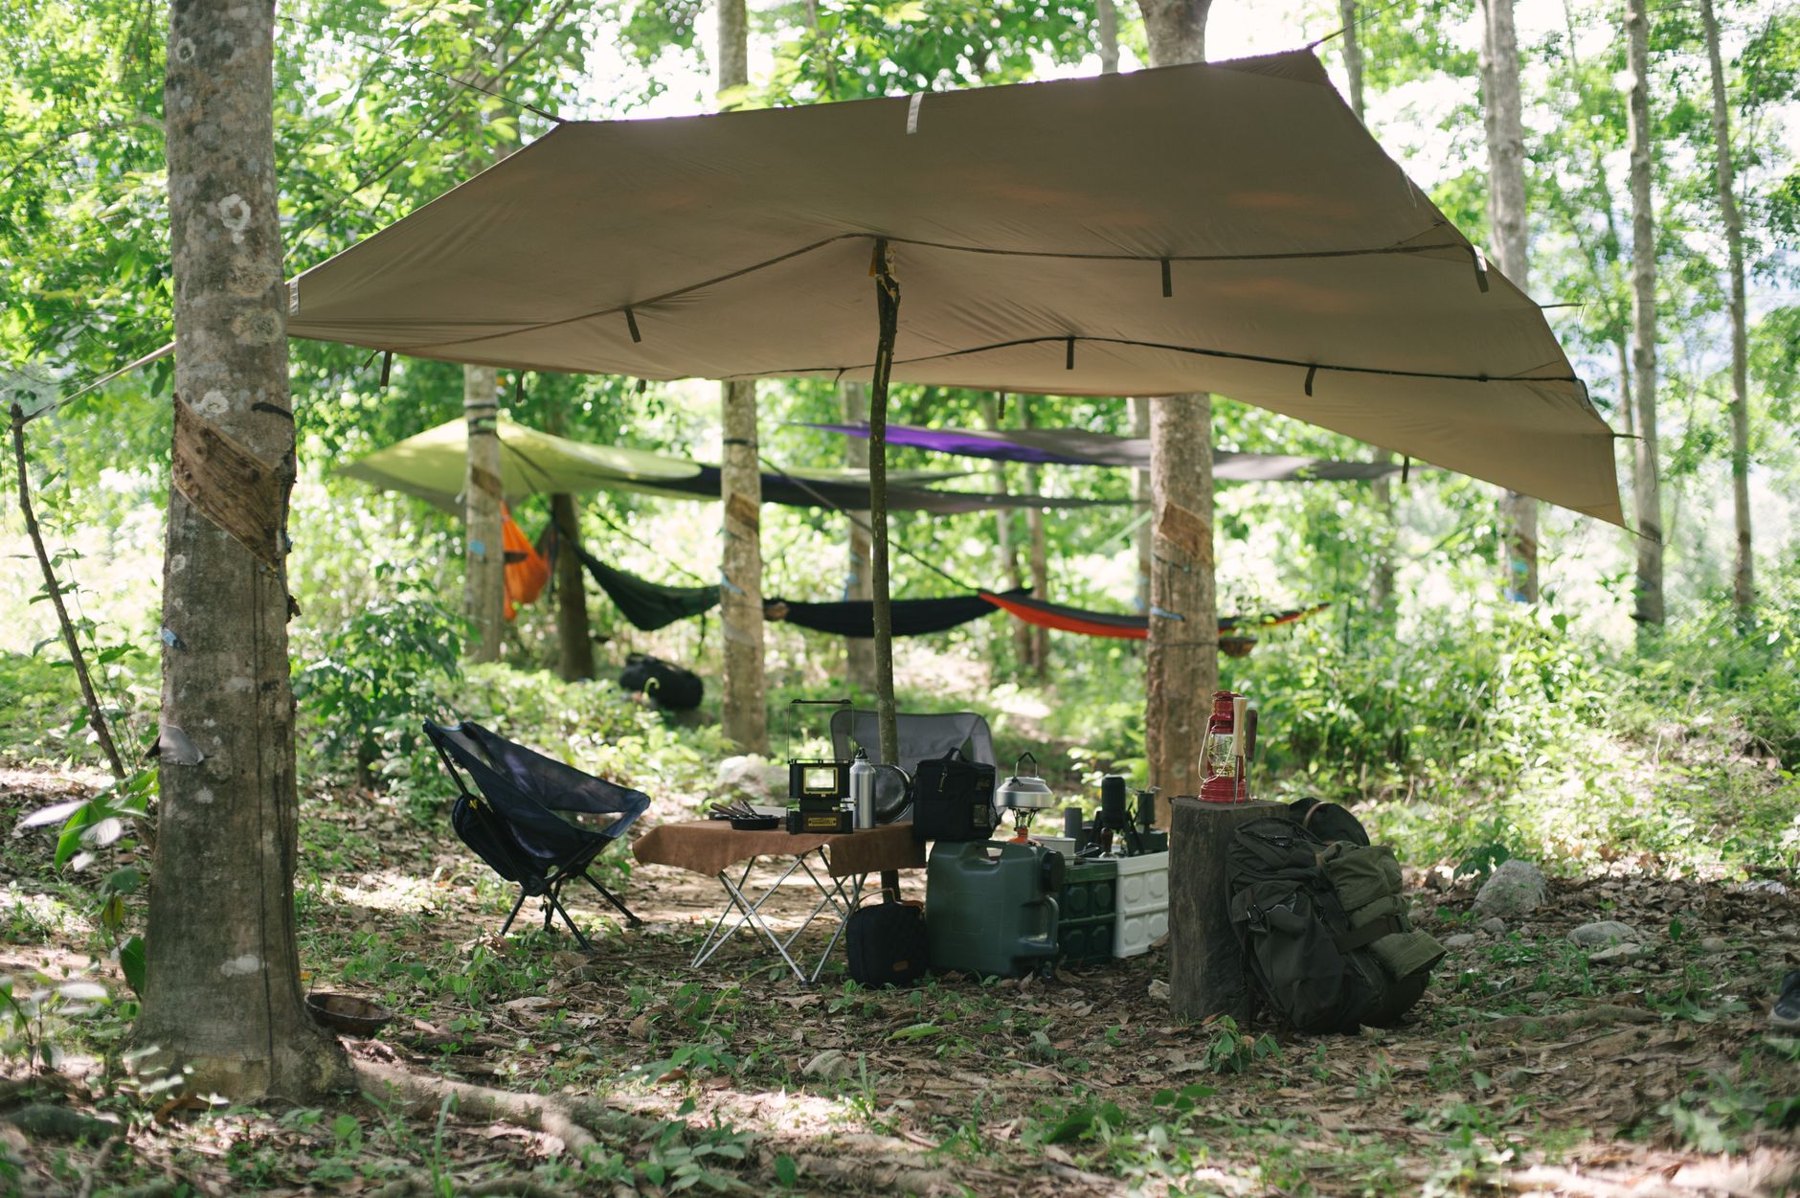
A mosquito net is not a rain cover. For trips where rain is possible, plan a separate tarp or a compatible weather cover. Compare the tarp's coverage with the hammock as it hangs, including the ends where suspension extends toward the trees.
A small tarp saves packing space but leaves less margin for shifting wind and imperfect positioning. A larger tarp, or one with end panels, offers more shelter at the cost of extra material, stakes, and adjustment. Consider whether you also want sheltered space to enter the hammock or handle wet clothing.
Practice positioning the tarp over the hammock and tensioning its guylines according to its instructions. Check that rain can drain without pooling, that the tarp does not rub against the bug net, and that your entry side remains usable. Keep ventilation in mind when lowering the sides for coverage. Use compatible drip lines where recommended to help interrupt water traveling along suspension toward the hammock.
Plan insulation underneath you
A sleeping bag alone may not provide enough warmth in a hammock. Your body compresses the insulation beneath you, reducing its ability to trap warm air. Moving air underneath the hammock can make the shortfall noticeable even when the evening initially feels comfortable.
An underquilt hangs outside the hammock and provides insulation without being flattened beneath your body. Fit is crucial: gaps can admit cold air, while an overly tight adjustment can compress the insulation. Follow the maker's setup guidance and check coverage around your shoulders, hips, and feet.
A sleeping pad is another option, particularly if you already own one or need equipment that also works on the ground. The compromise is positioning: a pad may shift or leave your shoulders outside its insulated area. Some hammocks include a sleeve or double-layer construction to help hold it in place. Test the combination before relying on it overnight.
Choose both top and bottom insulation for the expected overnight conditions, allowing for your own warmth needs and forecast uncertainty. A net and tarp do not replace insulation.
Complete hammock camping setup checklist
- Site plan: Confirmed hammock rules, suitable campsite options, and a backup if anchors are unavailable.
- Hammock: Appropriate dimensions, intact fabric and stitching, and a suitable load rating.
- Bug protection: Integrated or compatible separate net, required supports, and working closures.
- Suspension: Suitable tree straps, compatible connectors, and all required attachment components.
- Rain shelter: Correctly sized tarp, ridgeline or specified supports, guylines, tensioners, and stakes.
- Bottom insulation: Fitted underquilt or a pad that works with your hammock.
- Top insulation: Sleeping bag or quilt matched to the expected conditions.
- Small essentials: Headlamp, appropriate repair supplies, and weather protection for packed gear.
- Storage plan: A dry place for footwear and equipment that does not overload the hammock or net.
Do a full practice setup before departure
Assemble the complete system somewhere suitable before your trip. Add the insulation, close the net, and lie in your normal sleeping position. Check whether your shoulders feel squeezed, your feet press against the mesh, or the pad slides when you turn.
Then practice getting out and back in with the tarp pitched. Put your light within reach, decide where shoes will go, and inspect every loaded connection. If you are starting with short summer trips, prioritize a comfortable fit, reliable suspension, and weather coverage before trimming small amounts of pack weight. The useful setup is the one you can assemble correctly and sleep in comfortably.