A tent can take most of your camping budget while leaving everyone sleeping on thin blankets and hunting for a flashlight after dark. For a first family car-camping trip, divide the budget across five jobs: staying dry, sleeping comfortably, preparing food, seeing at night, and keeping equipment organized.
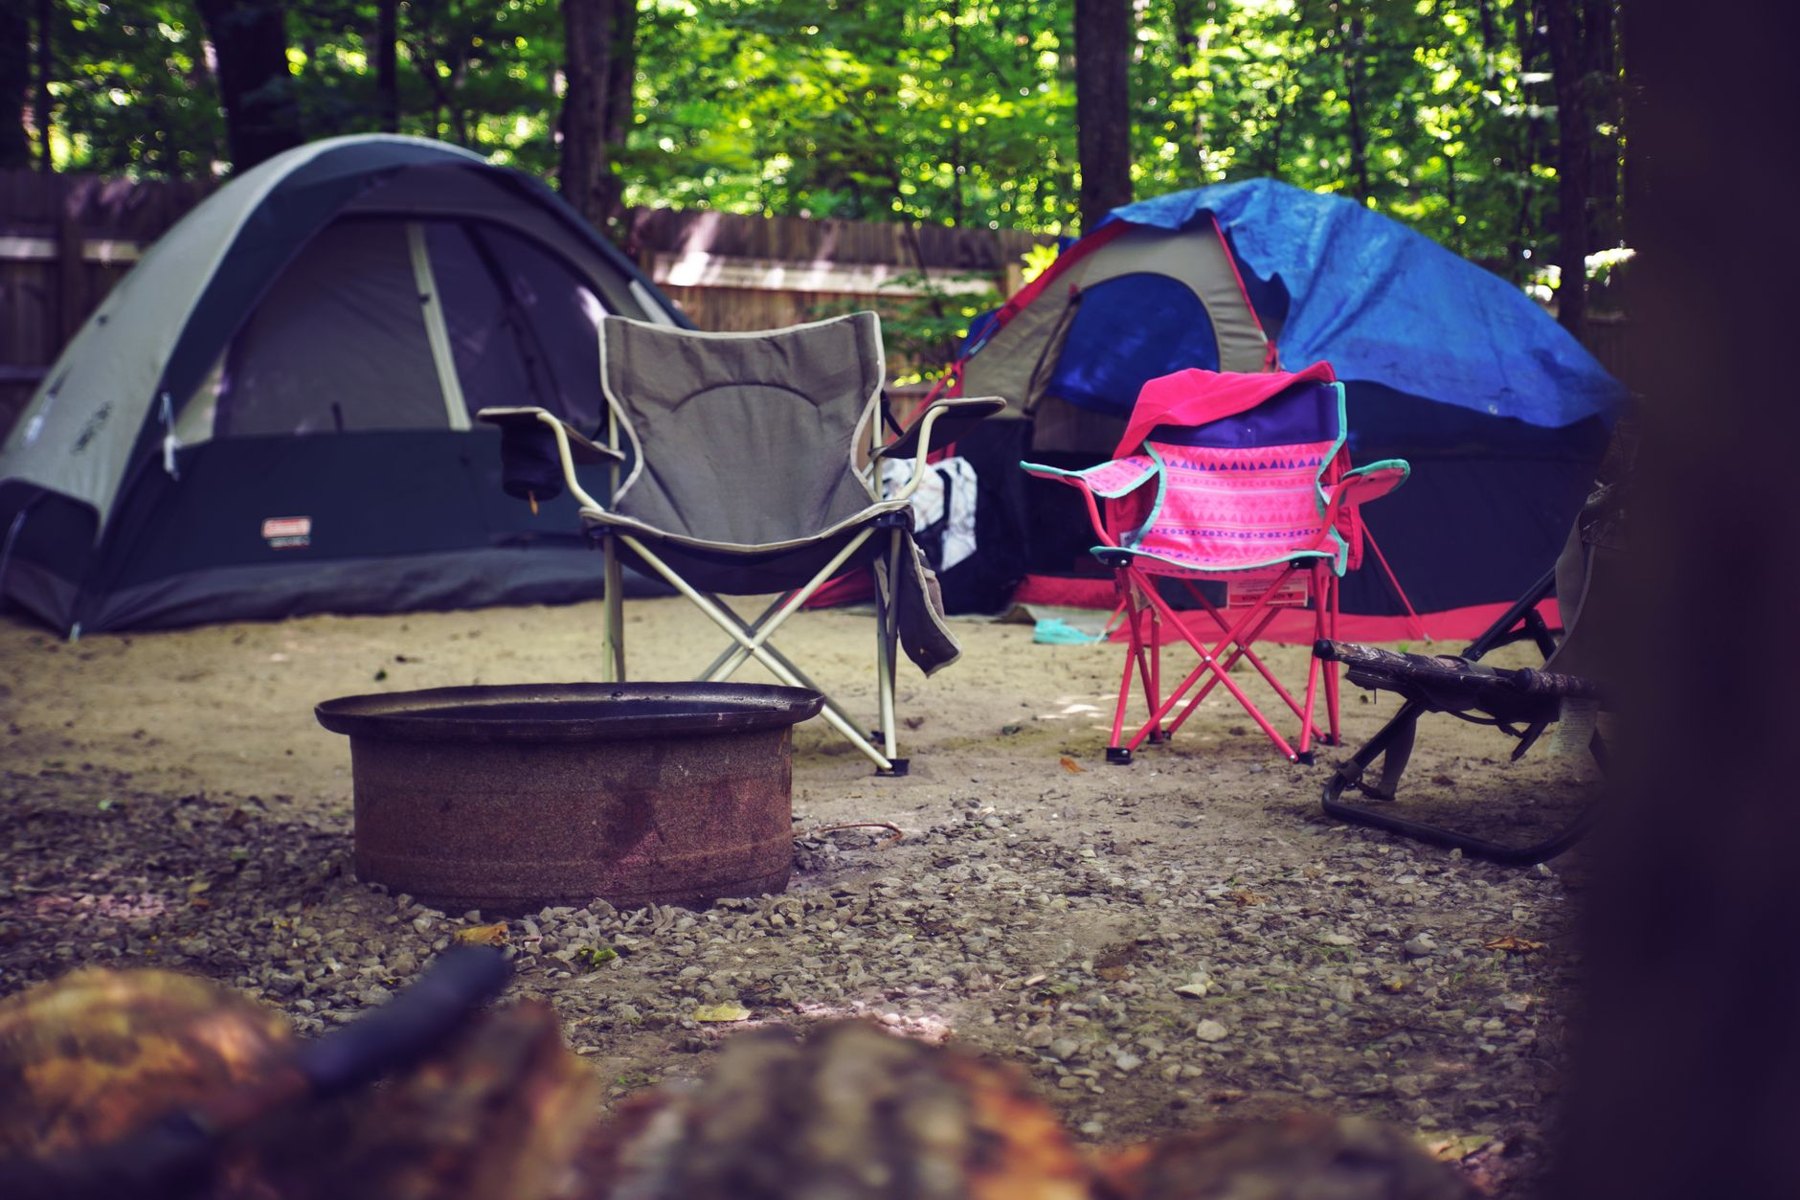
Start with a short trip at an established campground with toilets, drinking water, and parking near your site. Confirm those facilities before packing. A simple destination lets you work out what your family actually uses before investing in equipment for more demanding trips.
1. Make a household inventory before shopping
Pull out anything you already own that could serve a camping purpose: bedding, reusable plates, a saucepan, water bottles, flashlights, folding chairs, and sturdy storage boxes. Write down the gaps. This prevents small purchases from consuming money needed for shelter and sleeping equipment.
Organize the list into three groups:
- Needed for this trip: a suitable shelter, a sleeping setup for each person, weather-appropriate clothing, food and water arrangements, lighting, and basic hygiene and first-aid supplies.
- Dependent on the campsite or menu: a stove, cooler, water container, chairs, and extra shade.
- Comfort upgrades: a large lantern, matching cookware, camping furniture, decorative lights, and additional storage accessories.
For example, a family staying at a site with a picnic table may need no dining furniture. A one-night trip with meals that require no cooking may not need a stove. Check what the campground provides before treating either item as essential.
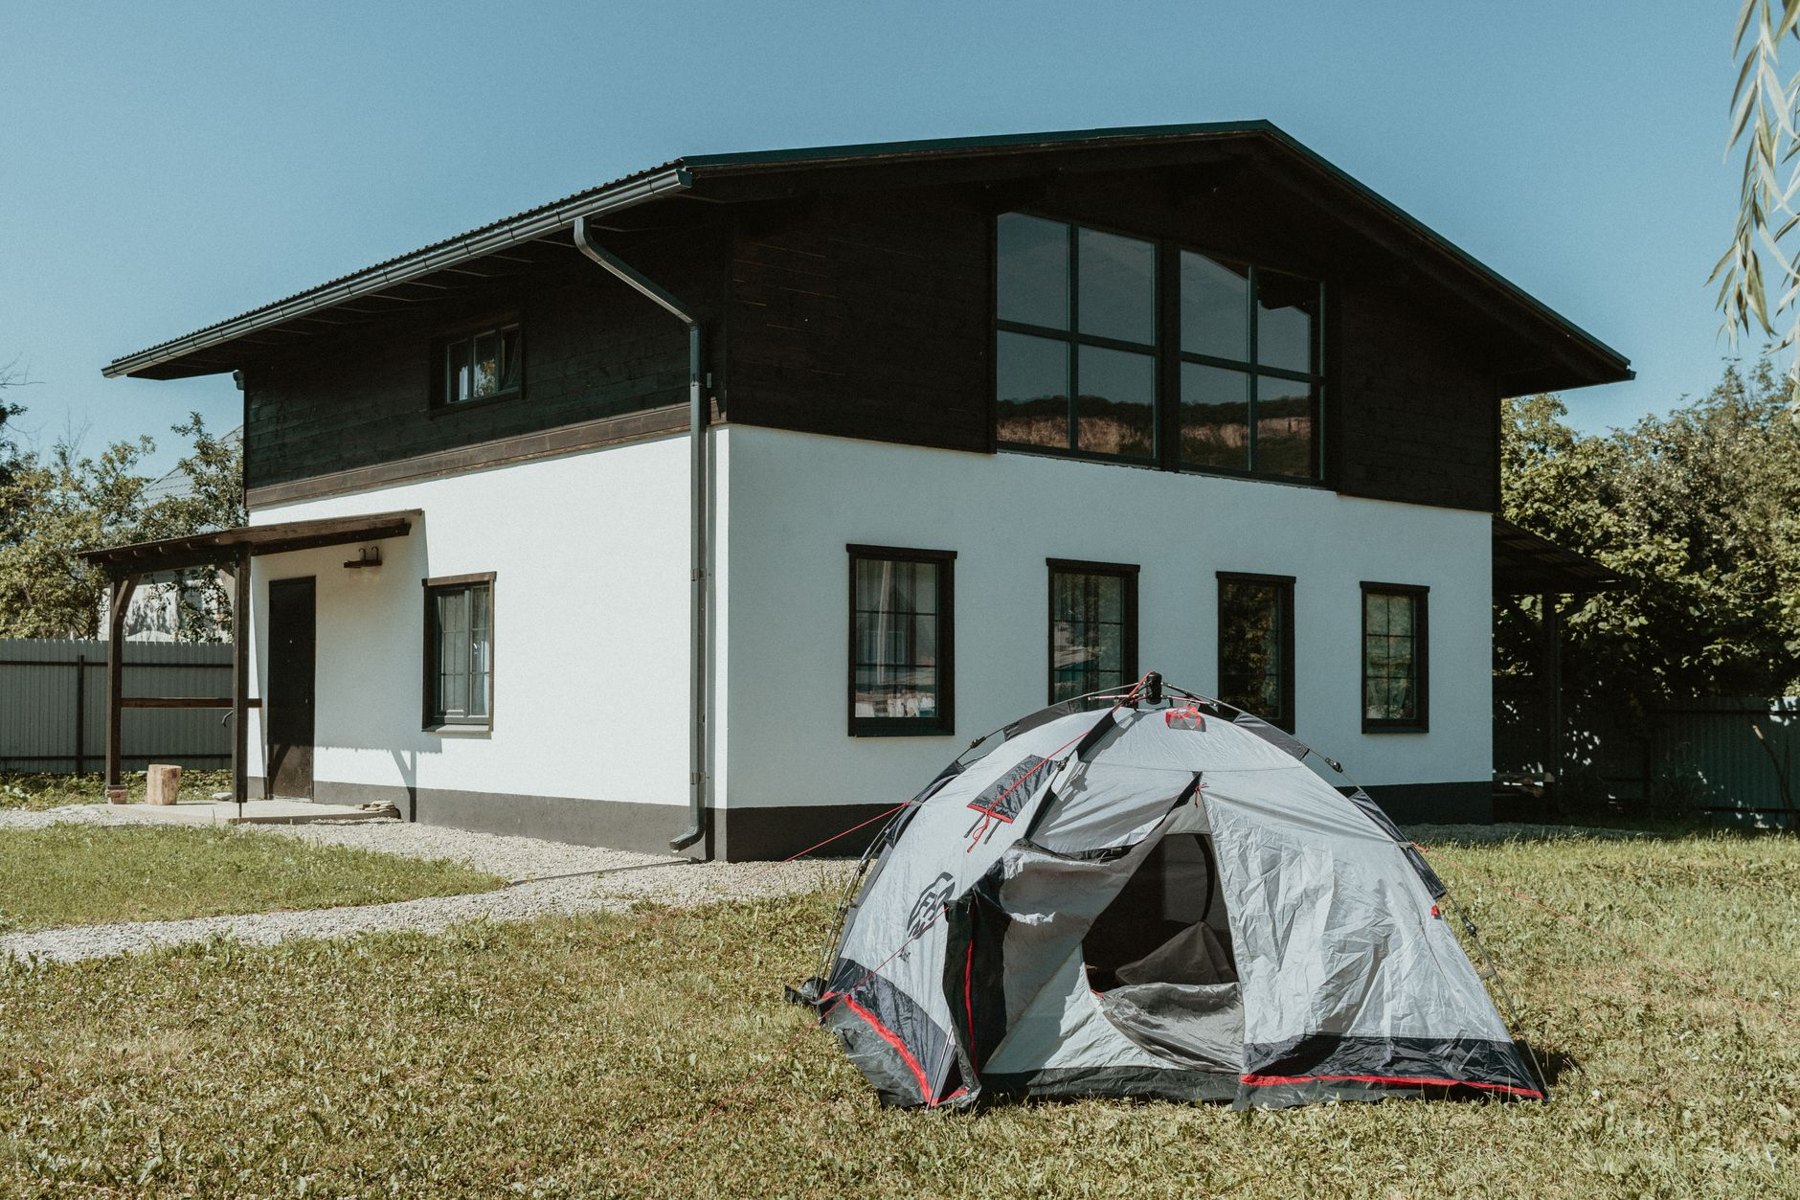
2. Secure a suitable tent, preferably by borrowing first
Your first shelter should fit the people using it, the expected weather, and the campsite. For car camping, packed weight usually matters less than usable space, straightforward setup, and condition. There is little reason to pay extra for backpacking weight savings if the tent will travel from the trunk to a nearby pitch.
Do not choose by the advertised person count alone. Compare the floor dimensions with your actual sleeping pads or mattresses. Allow for the door opening, sloping walls, and somewhere to keep shoes and small items without blocking the exit. More floor space can help, but a larger tent also needs a larger pitch and more room in the car.
Borrowing a complete tent is a useful first step. Ask the owner to demonstrate its setup, then pitch it yourself before departure. Check the poles, clips, stakes, zippers, rainfly, and any required guylines. Look for holes, damaged seams, or peeling coatings.
If buying used, request permission to inspect the tent fully assembled. A low purchase price can lose its appeal if important parts are missing or replacements are difficult to find. A groundsheet is useful when appropriate for the tent; keep it tucked beneath the floor so exposed edges do not collect rainwater.
3. Put sleeping comfort ahead of campsite accessories
Build a complete bed for each person. That means cushioning underneath, sufficient insulation for the expected overnight conditions, and suitable bedding on top. A thick-looking mattress is not necessarily designed to insulate against cold ground, so check its intended use.
For a mild-weather trial trip, existing blankets or duvets may be workable if you can keep them dry and have enough warmth for the forecast. They are bulky, but bulk is often an acceptable tradeoff in a car. Sleeping bags become more useful when you need easier packing, individual bedding, or equipment suited to cooler conditions.
When comparing sleeping bags, read the manufacturer's temperature information and sizing guidance. Avoid choosing solely by the lowest temperature printed on the packaging. Consider who will use the bag, what they will wear, the sleeping pad underneath, and whether they tend to feel cold.
Test inflatable beds and pads at home before the trip. Check that they hold air and that you have the correct pump, power source, or inflation bag. A familiar pillow from home is a sensible comfort item; a specialized camping pillow can wait.
A practical sleeping-budget tradeoff
If you must choose between a roomier premium tent and better sleeping pads, first establish whether a less expensive or borrowed tent meets your shelter needs. Once it does, improving the beds may address a more immediate comfort problem. Buy for the weakest part of the setup instead of upgrading every item together.
4. Let the menu determine the cooking kit
Write the meals before buying cooking equipment. Breakfast might be cereal and fruit, lunch sandwiches, and dinner a simple one-pot meal. This gives you a clear equipment list and reduces washing up.
A basic setup may include:
- One suitable pot or pan with a lid.
- A stirring utensil, serving spoon, and can opener if needed.
- Reusable bowls or plates, mugs, and cutlery from home.
- A small cutting board and safely stored kitchen knife.
- Dishwashing supplies and a way to collect rubbish.
- Drinking water and a refill plan confirmed with the campground.
If your meals require a stove, choose one that supports your cookware securely and uses fuel you can obtain. For car camping, ease of use and stability may be more useful than the smallest packed size. Include the correct fuel and any ignition equipment specified by the manufacturer.
Operate fuel-burning stoves outdoors, away from tents and other enclosed spaces, following the manufacturer's instructions and campground rules. Keep children clear of the cooking area, and let equipment cool before packing it.
A cooler is necessary when your menu includes food that requires refrigeration and you have no other suitable arrangement. Borrow one initially if possible. Plan how food will remain cold throughout the trip, keep raw ingredients contained, and follow applicable food-safety guidance. If that arrangement is uncertain, simplify the menu.
5. Give lighting a clear job
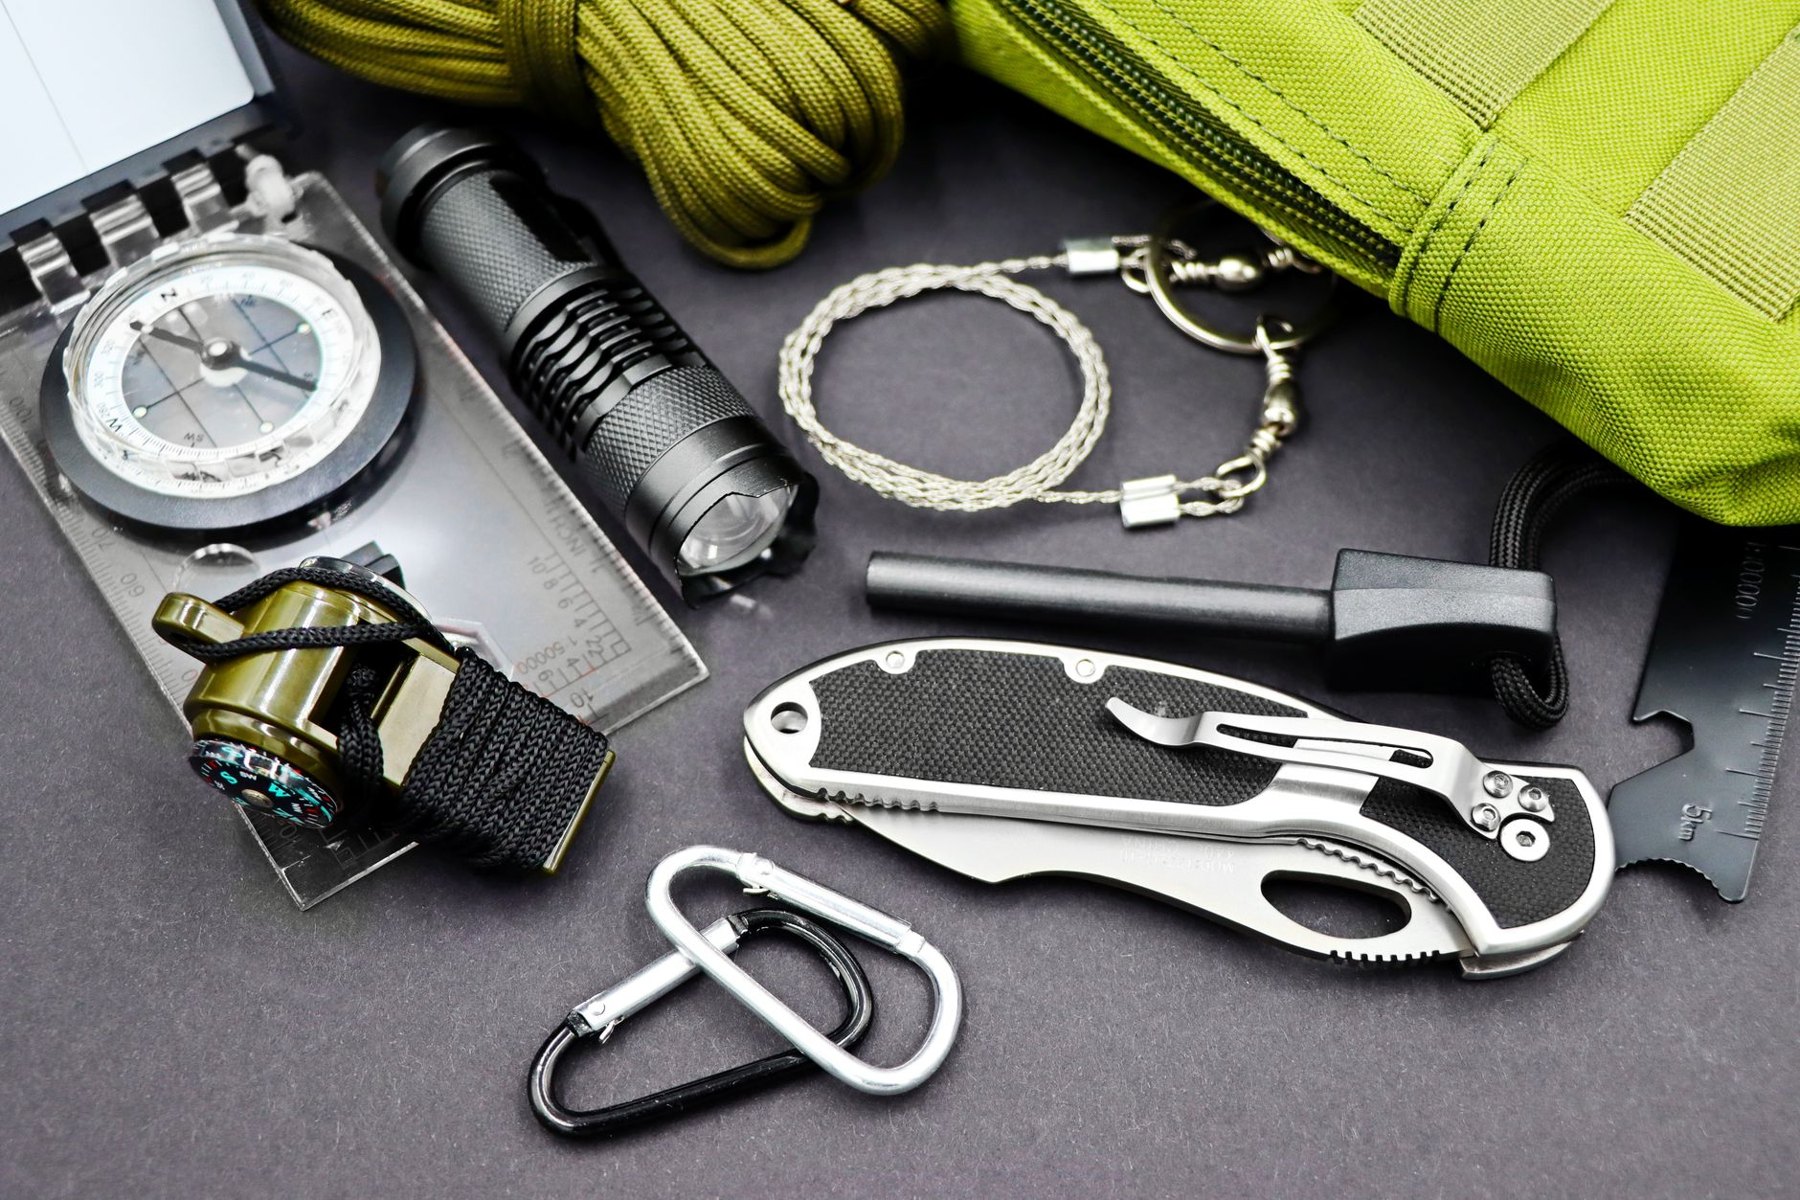
Start with dependable lights for moving around after dark. A headlamp leaves hands available for carrying bedding, helping a child, or finding a zipper. Existing flashlights can also work if everyone knows where they are stored.
Check batteries or charge levels before leaving, and carry an independent backup light. A phone flashlight is convenient, but relying on one device for navigation, communication, and every lighting task creates an avoidable weak point.
A shared lantern is a useful later purchase for meals or quiet time at the table. Look for simple controls and a low setting rather than choosing only by maximum brightness. Rechargeable lights make sense when their runtime and charging arrangements fit the trip.
6. Use simple storage that fits your car
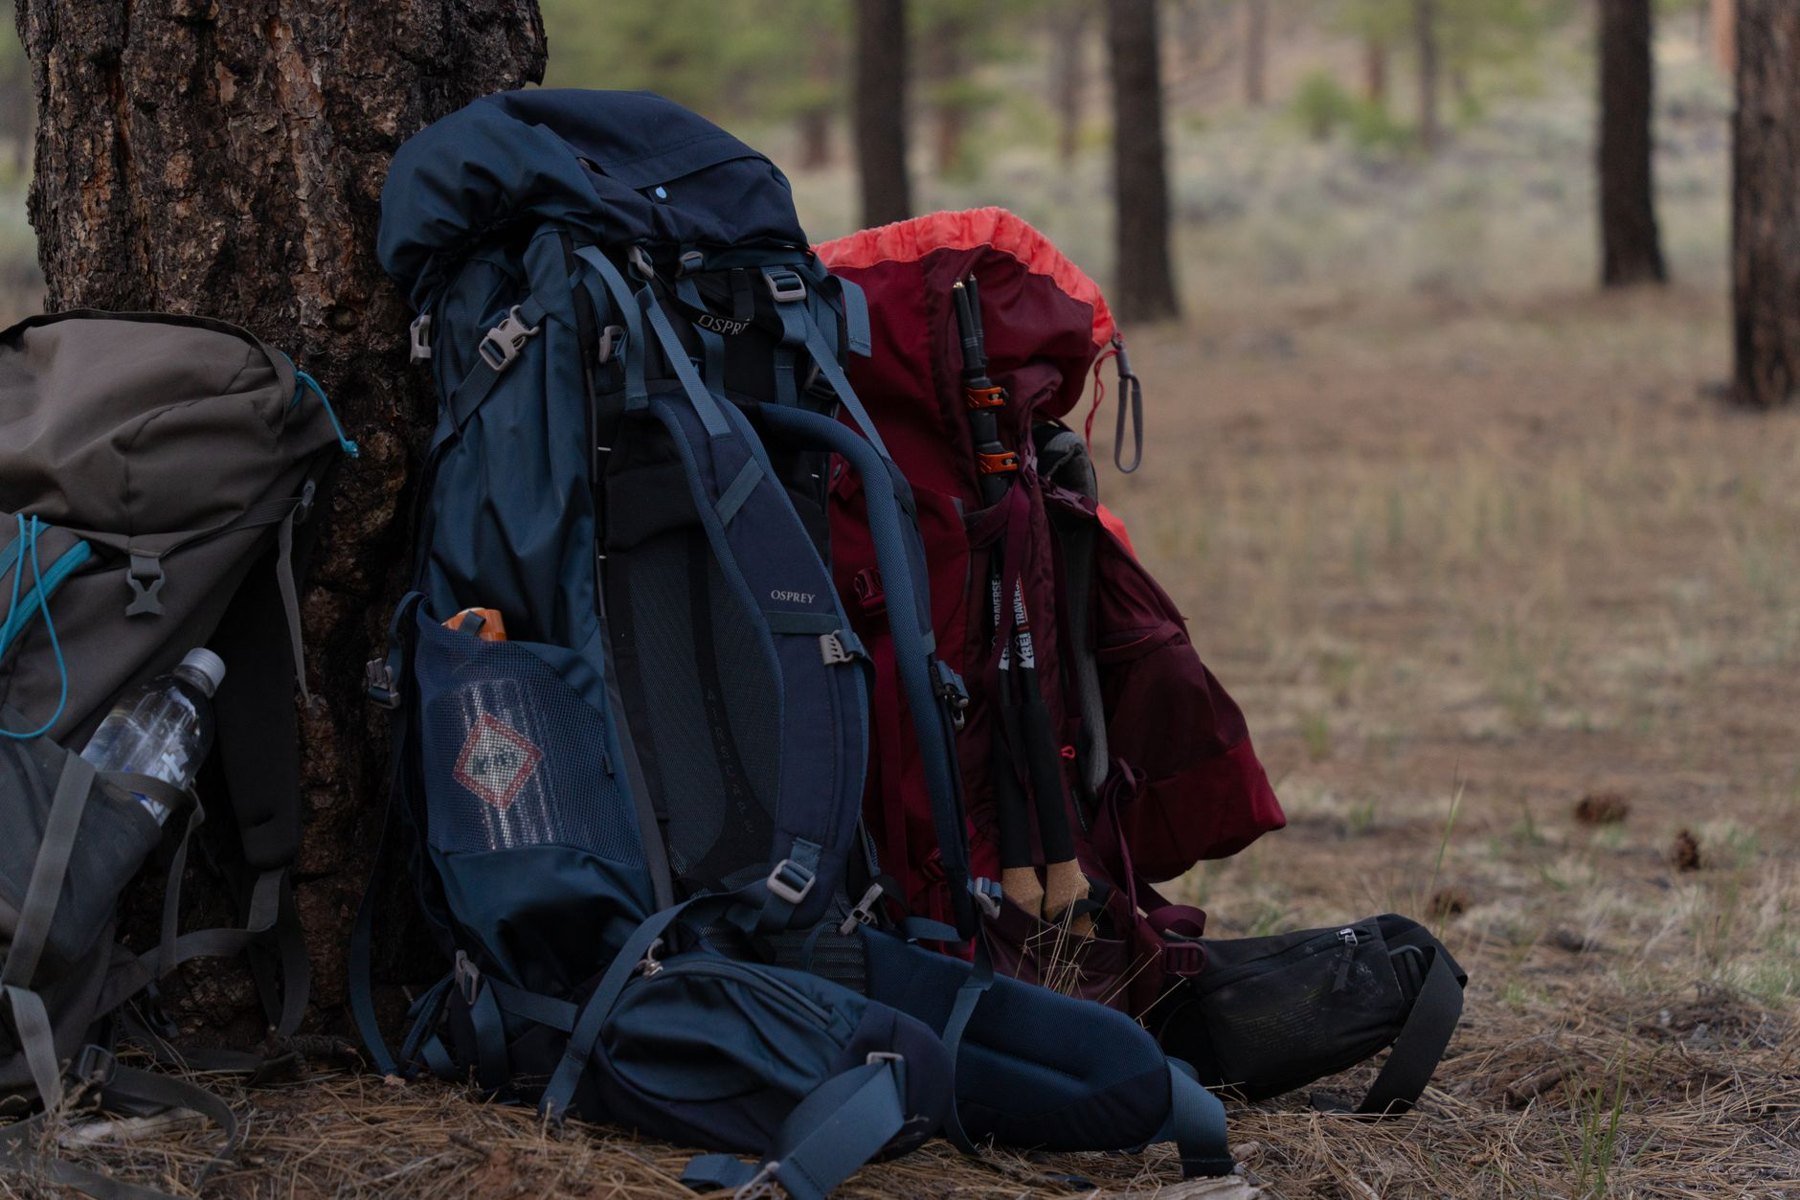
Start with household boxes, sturdy bags, and a clear packing system. Keep cooking equipment together, bedding protected from moisture, and frequently needed items accessible. Separate food from toiletries, rubbish, and cleaning supplies.
For a first trip, three labeled containers may be enough: kitchen, campsite equipment, and clothing. Pack the tent where you can reach it on arrival. Keep lights, rainwear, and first-aid supplies accessible without unloading the entire trunk.
Follow the campground's food-storage requirements, including any wildlife precautions. A general storage tote should not be assumed to meet those requirements. Before buying large containers, measure your car's cargo area and check that the lid can open when packed.
7. Borrow selectively and inspect used equipment
Borrow items that help you discover preferences: tents, chairs, coolers, and sleeping pads. Agree on the return date, photograph or list the included parts, and return everything clean and dry. A borrowed setup is most useful when you can practice with it beforehand.
Used chairs, washable cookware, and intact storage boxes are straightforward candidates for inspection. Tents and inflatable bedding need more time to assess. With a used stove, obtain the correct instructions and verify that its condition and operation can be checked safely; pass on equipment with uncertain fuel components or unresolved damage.
Evaluate the complete cost rather than the listing price alone. Missing poles, an unavailable pump, replacement valves, or repairs can erase the saving. If you cannot establish that an item works for its intended purpose, keep looking.
8. Buy the next upgrade after the first trip
Keep a short note during the weekend: what was missing, what was awkward, and what stayed unused. Turn specific problems into your next shopping list.
| What happened | What to consider next |
|---|---|
| Someone slept poorly | Check cushioning, insulation, bedding, and sleeping space. |
| Meals took too much effort | Simplify the menu before adding cookware. |
| Finding things was frustrating | Improve labels and packing order. |
| Evenings felt uncomfortable | Consider seating, warmer layers, or shared lighting. |
Pack and test the full kit once at home, including the beds inside the tent. Leave optional furniture behind if it crowds out essentials. After that first weekend, you will have a much clearer reason for each purchase—and a better chance of buying gear your family will keep using.