A rain jacket can keep showers out yet feel clammy halfway up a summer climb. The challenge is choosing a shell that balances rain protection with ways to release body heat, then deciding how much durability and coverage you need to carry.
Start with the trip you actually take. A short walk with easy exits calls for different compromises than a full day on an exposed route. Compare jackets over the light layers you hike in, and pay particular attention to features you can adjust while wearing a backpack.
Decide what role the jacket will play
Before comparing fabrics or packed sizes, decide whether the jacket is mainly backup protection or something you expect to wear for hours. That distinction makes the rest of the decision easier.
- Emergency shell: For occasional showers on shorter outings where shelter or a return route is reasonably accessible. Low weight and small packed size may take priority over pockets, adjustment, and abrasion resistance.
- Regular hiking shell: For changeable conditions and trips where you may walk through sustained rain. Give more attention to ventilation, hood stability, coverage, and comfort beneath a pack.
- Shell for remote or exposed routes: Choose around the consequences of prolonged exposure. A minimal jacket deserves closer scrutiny when retreat is difficult.
These are intended uses, not fixed product categories. A packable jacket can still have useful adjustments, while a heavier shell can still have a frustrating hood. Compare the actual construction rather than relying on labels such as “ultralight” or “technical.”
Compare ventilation before counting pockets
During a humid climb, moisture inside your jacket may come from perspiration as well as rain entering through openings. Breathable fabric helps manage water vapor, but it does not guarantee a dry interior at every effort level. Mechanical ventilation gives you more direct control over heat.
Look for openings you can use while moving
Underarm zippers let you release heat without opening the front of the jacket completely. Check whether you can reach and operate them with a backpack on. A vent that is awkward to close when rain intensifies may get less use than its feature list suggests.
The main zipper also matters. A two-way zipper can let you open the lower front while keeping the upper chest covered, although it adds complexity and is not essential for every hiker. Adjustable cuffs offer another way to release heat when conditions allow.
Some jackets use mesh-lined pockets for ventilation. Check whether the manufacturer intends them for that purpose and whether your backpack hip belt blocks them. Opening pockets may also expose their contents to rain.
Treat breathability ratings as supporting information
If two jackets list breathability figures, check the test methods before treating the numbers as directly comparable. When that information is missing, avoid choosing solely on the larger number. Usable vents, room for movement, and a front zipper you can adjust easily may be more helpful decision points.
On the trail, vent before you become overheated. Reducing effort on a steep section can also help manage perspiration when opening the jacket would admit too much rain.
Check whether the hood follows your head
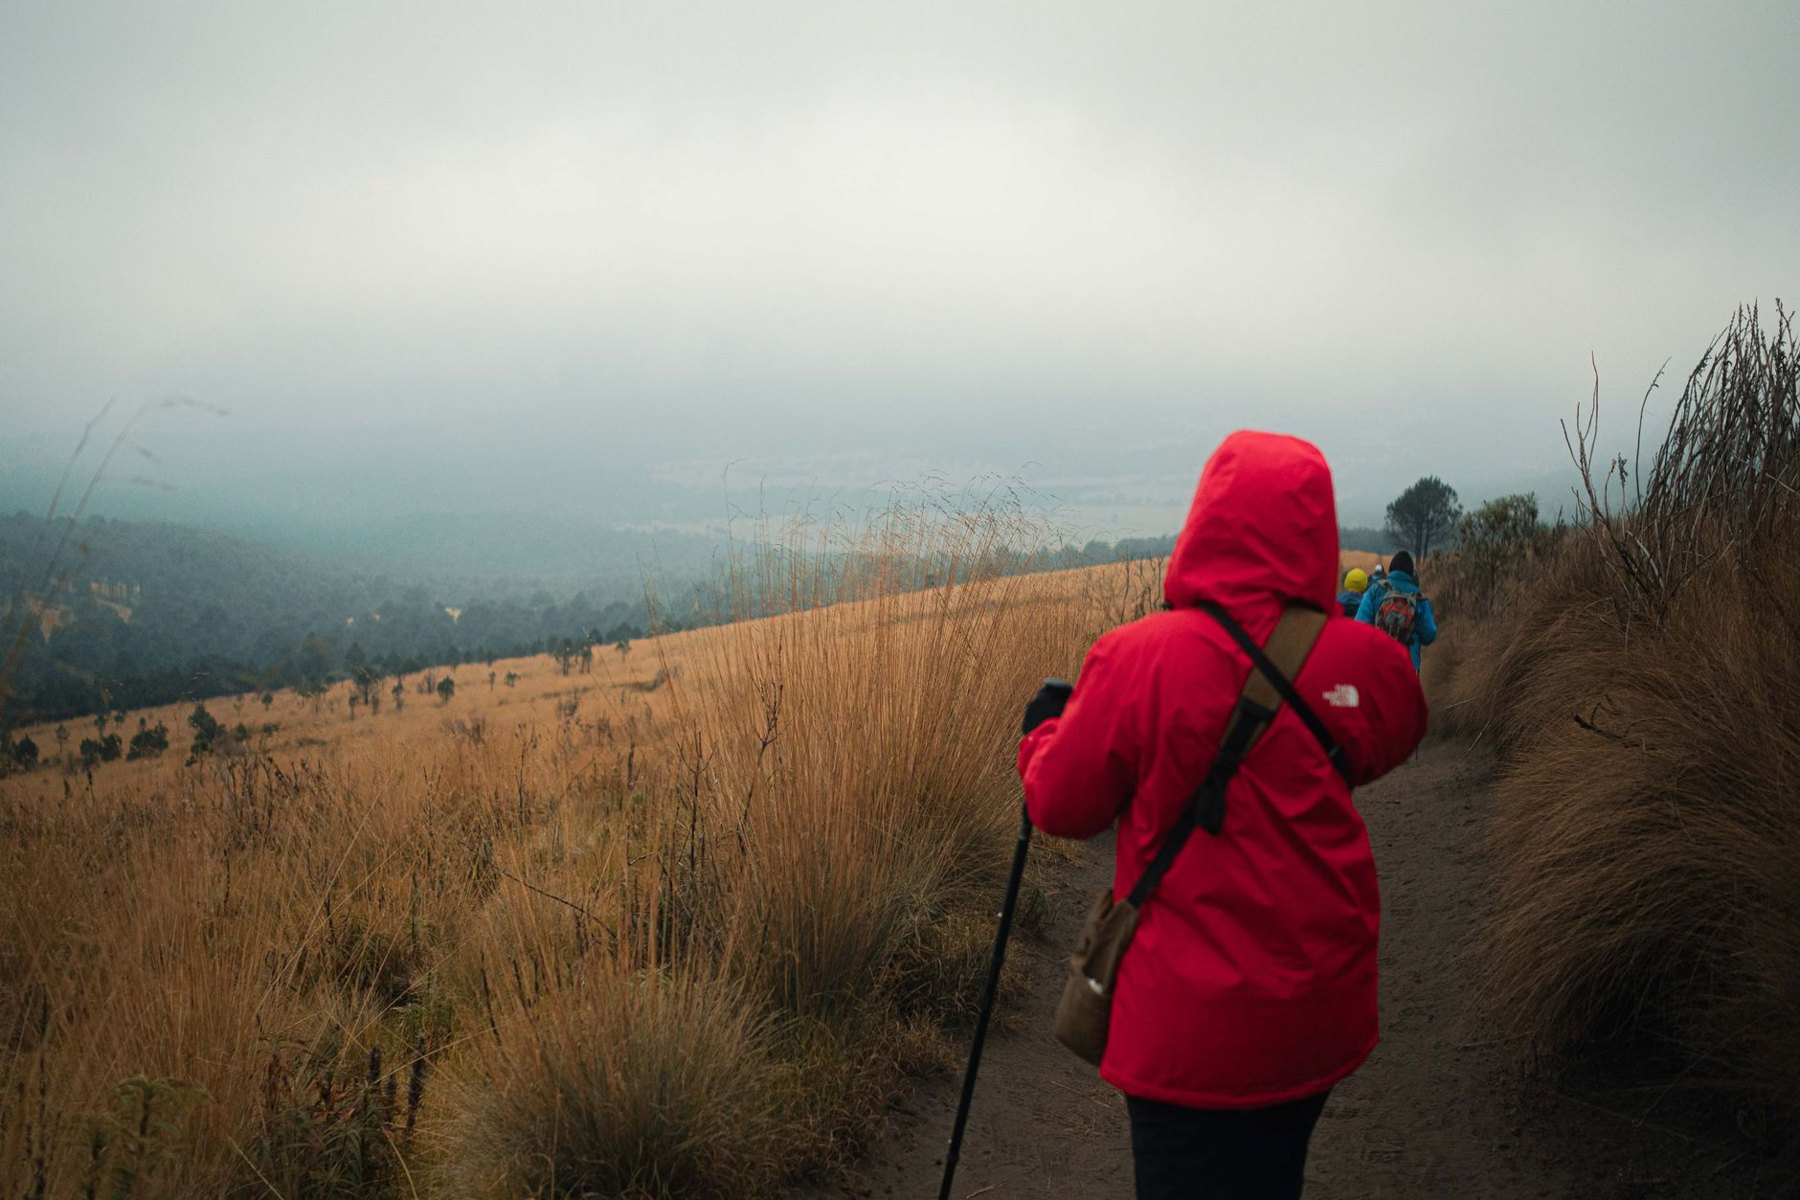
A hood should protect your head without forcing you to look through its side panel every time you turn. An oversized hood can shift across your eyes; a tight one can restrict movement or pull at the collar.
Try this simple fitting sequence with the jacket zipped:
- Adjust the hood around your face without cinching it tightly.
- Use any rear adjustment to reduce excess volume.
- Turn your head left and right, then look up and down.
- Check that the brim stays clear of your eyes and the collar remains comfortable.
- Repeat while wearing the cap or light hat you normally bring.
A shaped or stiffened brim can help direct drips away from your face. Adjustment placement matters too: controls should be easy to find, and loose cords should stay clear of your eyes.
A helmet-compatible hood may have more volume than a walker needs. If you hike without a helmet, check that it adjusts securely to your head rather than assuming extra space is useful.
Inspect seam sealing and rain entry points
Waterproof fabric is only part of a rain jacket. Stitching creates holes, so check whether the jacket has fully sealed seams. A description that mentions only selected or “critical” seams needs closer attention when you want protection for extended wet-weather walking.
Look at the main zipper, pocket closures, cuffs, and hem as well. Zippers may rely on a protective flap, a water-resistant design, or both. Avoid assuming that every closure is watertight simply because the jacket fabric is waterproof.
- Main closure: Check that it closes smoothly and that any flap lies properly over it.
- Pockets: Consider how exposed they are and protect moisture-sensitive items separately.
- Cuffs: Look for enough adjustment to manage runoff without uncomfortable pressure.
- Hem: Check whether it can be secured without pulling the jacket upward or restricting your stride.
A water-repellent finish helps rain bead on the outer fabric, while the waterproof barrier serves a different role. When the outside becomes saturated, the jacket can feel heavier and clammy. That does not, by itself, establish that water has leaked through the barrier.
Balance low weight against fabric durability
The lightest jacket is appealing until its intended use conflicts with your route. A shell carried mostly inside a pack faces different demands from one worn beneath shoulder straps while pushing through vegetation.
Fabric denier describes yarn thickness; it is not a complete durability score. Fabric construction, reinforcement, and jacket design also matter. Use denier as one clue where provided, rather than proof that one jacket will outlast another.
For maintained trails and occasional use, a delicate, highly packable shell may be a reasonable compromise. For frequent hiking with a loaded backpack, consider a fabric and construction intended for repeated wear. Pay attention to the shoulders, hips, and cuffs, where contact and abrasion are likely.
Understand construction labels without overvaluing them
You may see two-layer, 2.5-layer, and three-layer descriptions. These refer to how the outer fabric, waterproof barrier, and inner protection are arranged. A 2.5-layer design typically uses a protective treatment on the inside, while a three-layer design bonds an inner backing to the waterproof assembly.
Those labels help explain construction, but they do not rank every jacket for comfort or longevity. Compare the inside feel against bare forearms, the manufacturer's intended use, and the care instructions alongside weight.
Test the fit with your hiking layers and pack
A shell that fits neatly while standing can pull tight when you reach forward or climb. Try it over your usual summer shirt and the light insulating layer you may carry for stops or cooler conditions.
Raise both arms, reach forward as though holding trekking poles, and bend to adjust your shoes. Watch for the hem lifting excessively, sleeves retreating above your wrists, or tightness across the shoulders.
Then put on your backpack. Fasten the chest strap and hip belt as you normally would. Check whether you can reach the pockets, whether the hood still turns comfortably, and whether fabric bunches beneath the straps. Higher pockets may remain accessible above a hip belt, but their usefulness depends on your particular pack.
Allow enough space to move and layer comfortably without leaving so much excess fabric that it flaps or interferes with your hands. A longer back hem can improve coverage when bending, provided the overall cut allows a comfortable stride.
Compare emergency shells with extended-use jackets
| Feature | Packable emergency shell | Jacket for extended rain |
|---|---|---|
| Main priority | Easy to carry on every outing | Comfort and protection during prolonged wear |
| Ventilation | May rely mainly on the front zipper | Look for usable vents and adjustable openings |
| Hood | Check carefully for limited adjustment | Prioritize stable fit and clear visibility |
| Fabric | May require more care around abrasion | Choose construction suited to repeated pack contact |
| Coverage | Check whether a short cut suits your use | Prioritize coverage through normal hiking movements |
The tradeoff is often worth making in either direction. A compact shell that you consistently carry can suit brief, sheltered outings. If you expect to spend much of the day wearing it, additional ventilation, adjustment, and coverage may justify more space in your pack.
Make the final choice with five checks
- Match the trip: Consider expected exposure, time in rain, pack load, and options for retreat.
- Check protection: Confirm waterproof construction and seam sealing in the product details.
- Try the controls: Adjust the hood, cuffs, hem, and vents with your backpack on.
- Move in it: Test reach, bending, sleeve coverage, and space over light layers.
- Read the care label: Make sure you can follow its washing, drying, and water-repellency maintenance instructions.
Choose the jacket whose compromises fit your walks. For summer hiking, a hood that stays in place and ventilation you can actually use deserve at least as much attention as a small packed size.