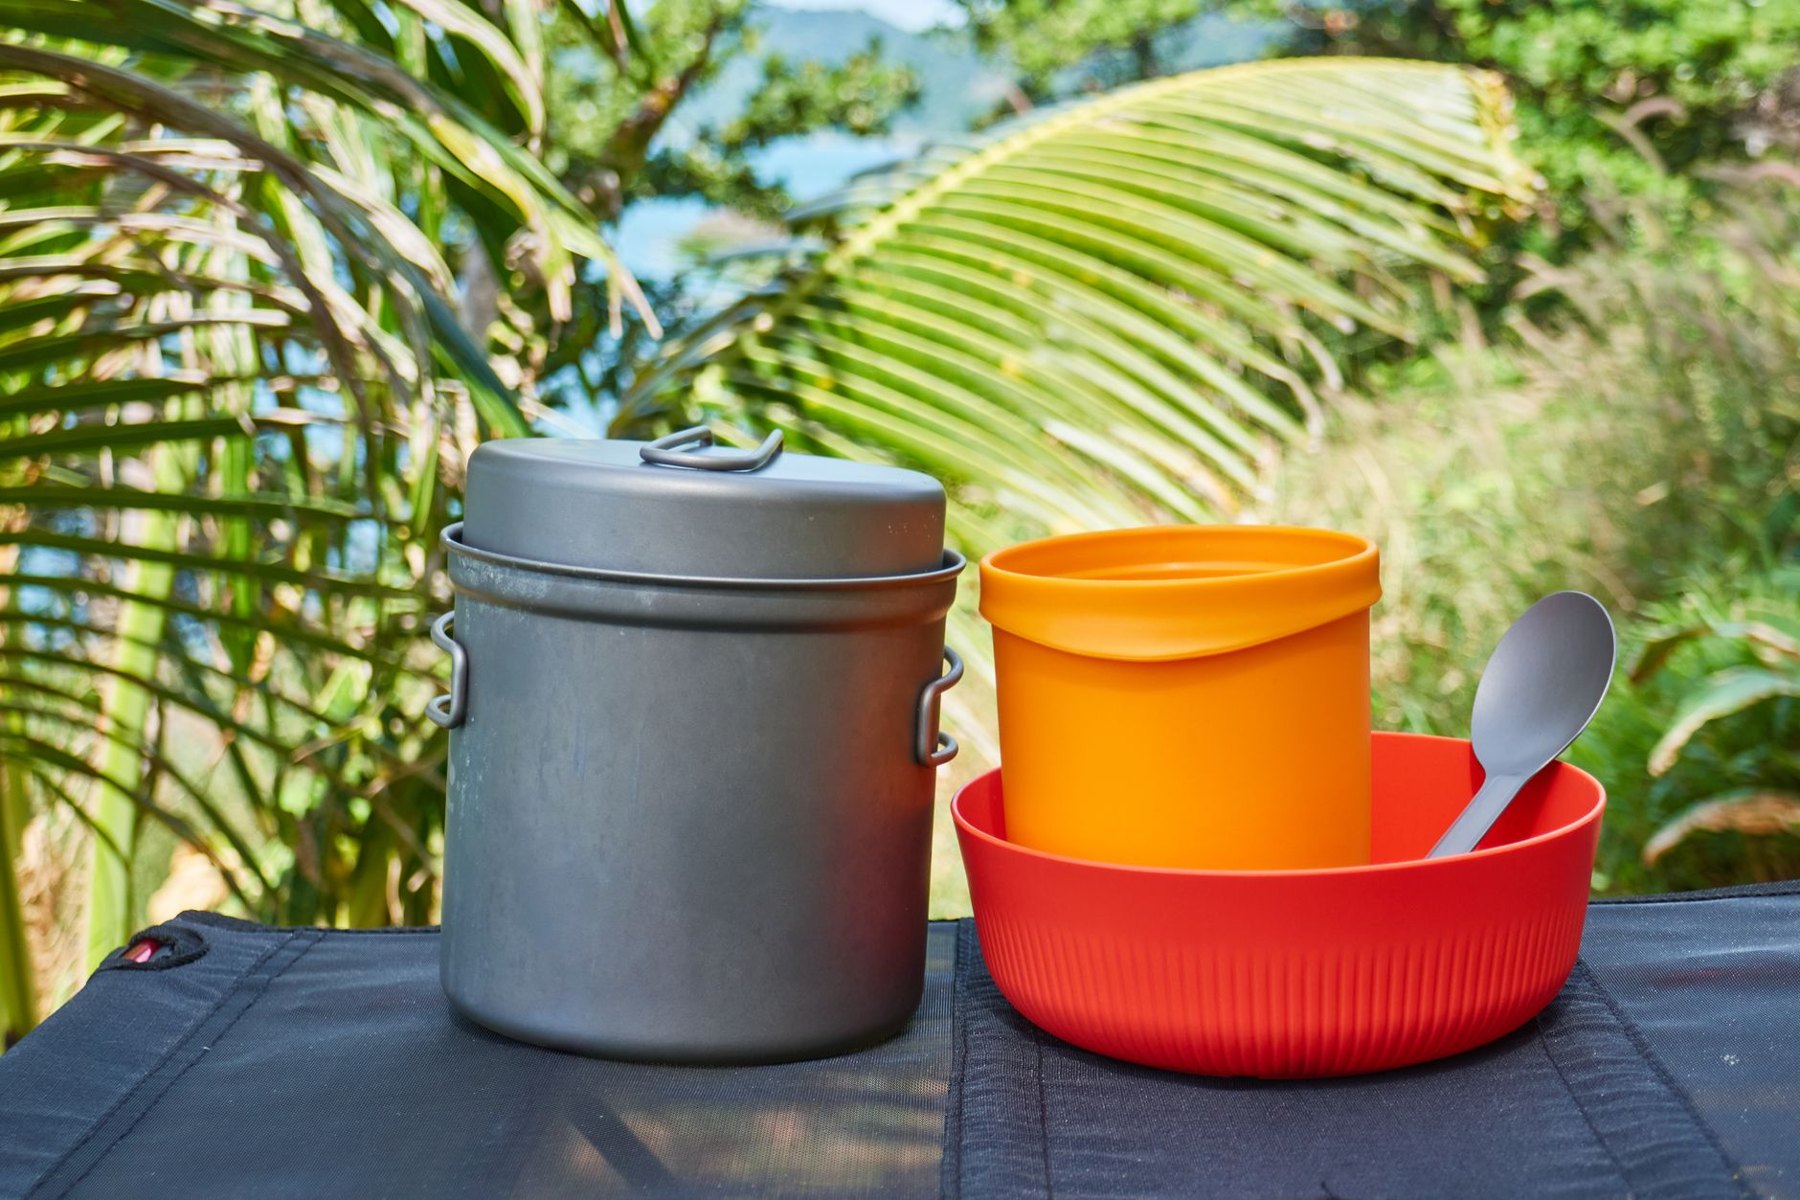
Two mugs, a tiny pot, and a pair of spoons can handle coffee and instant oatmeal. Add pasta with vegetables or eggs for breakfast, and that same kit starts to feel cramped. The useful starting point for camping cookware for two is your most demanding regular meal: how much space it needs, whether it requires simmering, and whether both people need to eat at once.
Write down one breakfast and one dinner before choosing cookware. Then build the smallest kit that cooks those meals comfortably. A little spare pot capacity is usually more useful than an extra pan you rarely unpack.
Start with how you prepare dinner
Boiling water for separate meals
If dinner means adding hot water to two meal pouches, the pot only needs to heat the water those meals require. Check the preparation instructions and add the quantities together. Decide whether you also want hot drinks from the same boil or are happy to heat a second batch.
For this style of cooking, one pot with a lid may be enough. You can eat from the pouches, so separate bowls become optional. A kettle is convenient for pouring, but a pot leaves more room to change your menu later.
Cooking a shared meal
Cooking noodles, rice dishes, soup, or porridge needs more working space. Dry ingredients expand, stirring pushes food up the sides, and a full pot is awkward to move. Choose capacity for the finished meal plus room to stir, rather than matching the pot to the water quantity alone.
One-pot dinners keep the kit compact. Meals with separate components introduce another decision: bring a second vessel, or cook in stages. For example, prepare a sauce first and transfer it to bowls before cooking pasta. That saves packed space, though it adds handling and may leave the sauce cooling while you finish.
Choose a practical pot capacity
As a starting point, consider roughly 1 to 1.5 liters for a water-focused kit and 1.5 to 2 liters for shared meals. These are planning ranges, not guarantees: appetite, recipes, and drink preferences matter more than the number of people printed on a cookware box.
- Around 1 liter: compact for modest water boils, but restrictive for cooking two portions together.
- Around 1.5 liters: worth considering for simple meals and moderate portions, provided you leave stirring room.
- Around 2 liters: gives more flexibility for soups, bulky ingredients, and larger appetites, at the cost of packed volume.
Listed capacity may describe the vessel filled to its rim. Your useful cooking volume will be lower. Before a trip, prepare a typical two-person meal in a kitchen pot and measure how much room it occupies. This simple check is more informative than guessing from product photographs.
Shape matters too. A wide pot makes stirring and eating easier, while a tall, narrow pot can fit neatly inside a pack. Match the base to your stove supports and the manufacturer's cookware guidance. A large pot perched on small supports is a poor trade for extra capacity.
Compare aluminum, stainless steel, and titanium
Material affects weight, heat distribution, durability, and cleaning, but construction matters alongside it. A thin pot and a thick pan made from the same metal can behave quite differently.
| Material | Main advantages | Main tradeoffs | Useful starting point for |
|---|---|---|---|
| Aluminum | Relatively light; conducts heat readily | Thin walls can dent; surface care depends on the finish | Mixed boiling and simple meal preparation |
| Stainless steel | Durable; uncoated interiors tolerate everyday utensils well | Often heavier; thin bases can develop hot spots | Car camping and frequent shared cooking |
| Titanium | Lightweight cookware options; corrosion resistance | Thin pots need close attention when cooking thick food | Backpacking menus centered on boiling water |
Aluminum for an adaptable kit
Aluminum is a sensible material to consider when you want one pot for both boiling water and cooking dinner. Its heat conductivity helps spread heat, although a thin base over a concentrated flame can still scorch food.
Check whether the cooking surface is bare, anodized, or coated. Those finishes have different care requirements. If you choose a nonstick surface, pack compatible utensils and keep other nested items from rubbing against it. Follow the maker's cleaning instructions instead of assuming every aluminum pot accepts the same treatment.
Stainless steel for durability
Stainless steel suits campers who prioritize robust cookware and do not need to minimize every ounce. An uncoated pot can be a straightforward choice for shared meals and regular washing.
It still needs attention on a small camping burner. Stainless steel does not spread heat as readily as aluminum, and a thin base can concentrate heat beneath thick sauces. Some cookware combines materials in the base to improve heat distribution; check the actual construction and total weight.
Titanium for a water-first menu
Titanium is appealing when carrying weight matters and most meals begin with boiling water. Lightweight titanium pots often use thin walls, making them convenient to carry but less forgiving for foods that stick.
You can cook in titanium, but porridge and thick sauces call for gentle heat and frequent stirring. If shared cooking is central to your trips, compare the weight of complete kits rather than choosing by material alone. A slightly heavier pot that handles your meals well may be the better fit.
Look closely at lids and handles
A lid helps retain heat during boiling and keeps debris out of dinner. Choose one that sits securely and has a grip you can operate with the hand protection you carry. A tiny lid tab may be awkward with gloves.
Strainer holes are useful for pasta, but they do not make draining automatically secure. You still need a reliable way to hold the lid while controlling a hot pot. If that feels awkward, choose meals that absorb their cooking water or use a separate straining method.
Folding handles save space, but inspect their attachment and clearance. They should feel stable with a loaded pot, not just an empty one. Keep handles and any protective coverings away from the flame, and do not assume a covered handle will stay cool.
A removable pot gripper can serve several vessels, though it becomes an essential item to keep track of. Check its compatibility with each rim and include its weight when comparing kits.
Build the nesting arrangement from the inside out
Nesting reduces packed bulk only when the pieces fit without forcing the lid closed. Check internal diameter, usable height, and the space taken up by folded handles or lid hardware.
- Choose the main pot. Let meal capacity determine its size.
- Add two eating vessels if needed. Bowls can also hold chopped ingredients or a finished sauce.
- Check mugs against your routine. Separate mugs let you drink while dinner cooks.
- Fit utensils into the remaining space. Protect coatings and avoid wedging hard edges against the pot.
- Pack the stove only if it fits safely. Let it cool and clean it before storage.
If you plan to carry a fuel canister inside the pot, verify the exact canister dimensions and follow the fuel and stove manufacturers' storage guidance. Do not assume every canister in a nominal size category will fit. A thin cloth can reduce rattling and protect surfaces; dry it and the cookware before storing the kit between trips.
Decide whether a frying pan earns its space
A frying pan earns its place when your menu regularly includes eggs, pancakes, or sautéed ingredients. Otherwise, it can become a bulky lid that rarely gets used.
Some sets include a lid designed to double as a pan. Check its cooking area, handle, and stability on your stove. A shallow lid may work for a small task while being frustrating for two portions. If frying matters, a dedicated pan may be worth the extra space. If it does not, keep the kit centered on one pot.
Two compact kits to build around
For backpacking with mostly hot-water meals
- One lidded pot sized for your combined water needs.
- Two spoons, long enough for your meal containers.
- Two mugs if hot drinks are part of the routine.
- A small cleaning cloth and suitable hand protection.
Add bowls only when your food needs them. Test whether one boil covers dinner before relying on the arrangement outdoors.
For shared meals and weekend camping
- One lidded pot with room for two portions and stirring.
- Two bowls, two spoons, and two mugs.
- One cooking utensil compatible with the pot's surface.
- A small cleaning kit and suitable hand protection.
- A frying pan only when the planned menu uses it.
Cook a complete dinner with the packed kit before leaving. Notice whether you can stir comfortably, lift the full pot securely, serve both people, and wash everything with the supplies you intend to carry. Adjust the pieces that cause friction. The compact kit worth keeping is the one that makes your usual meals easy.