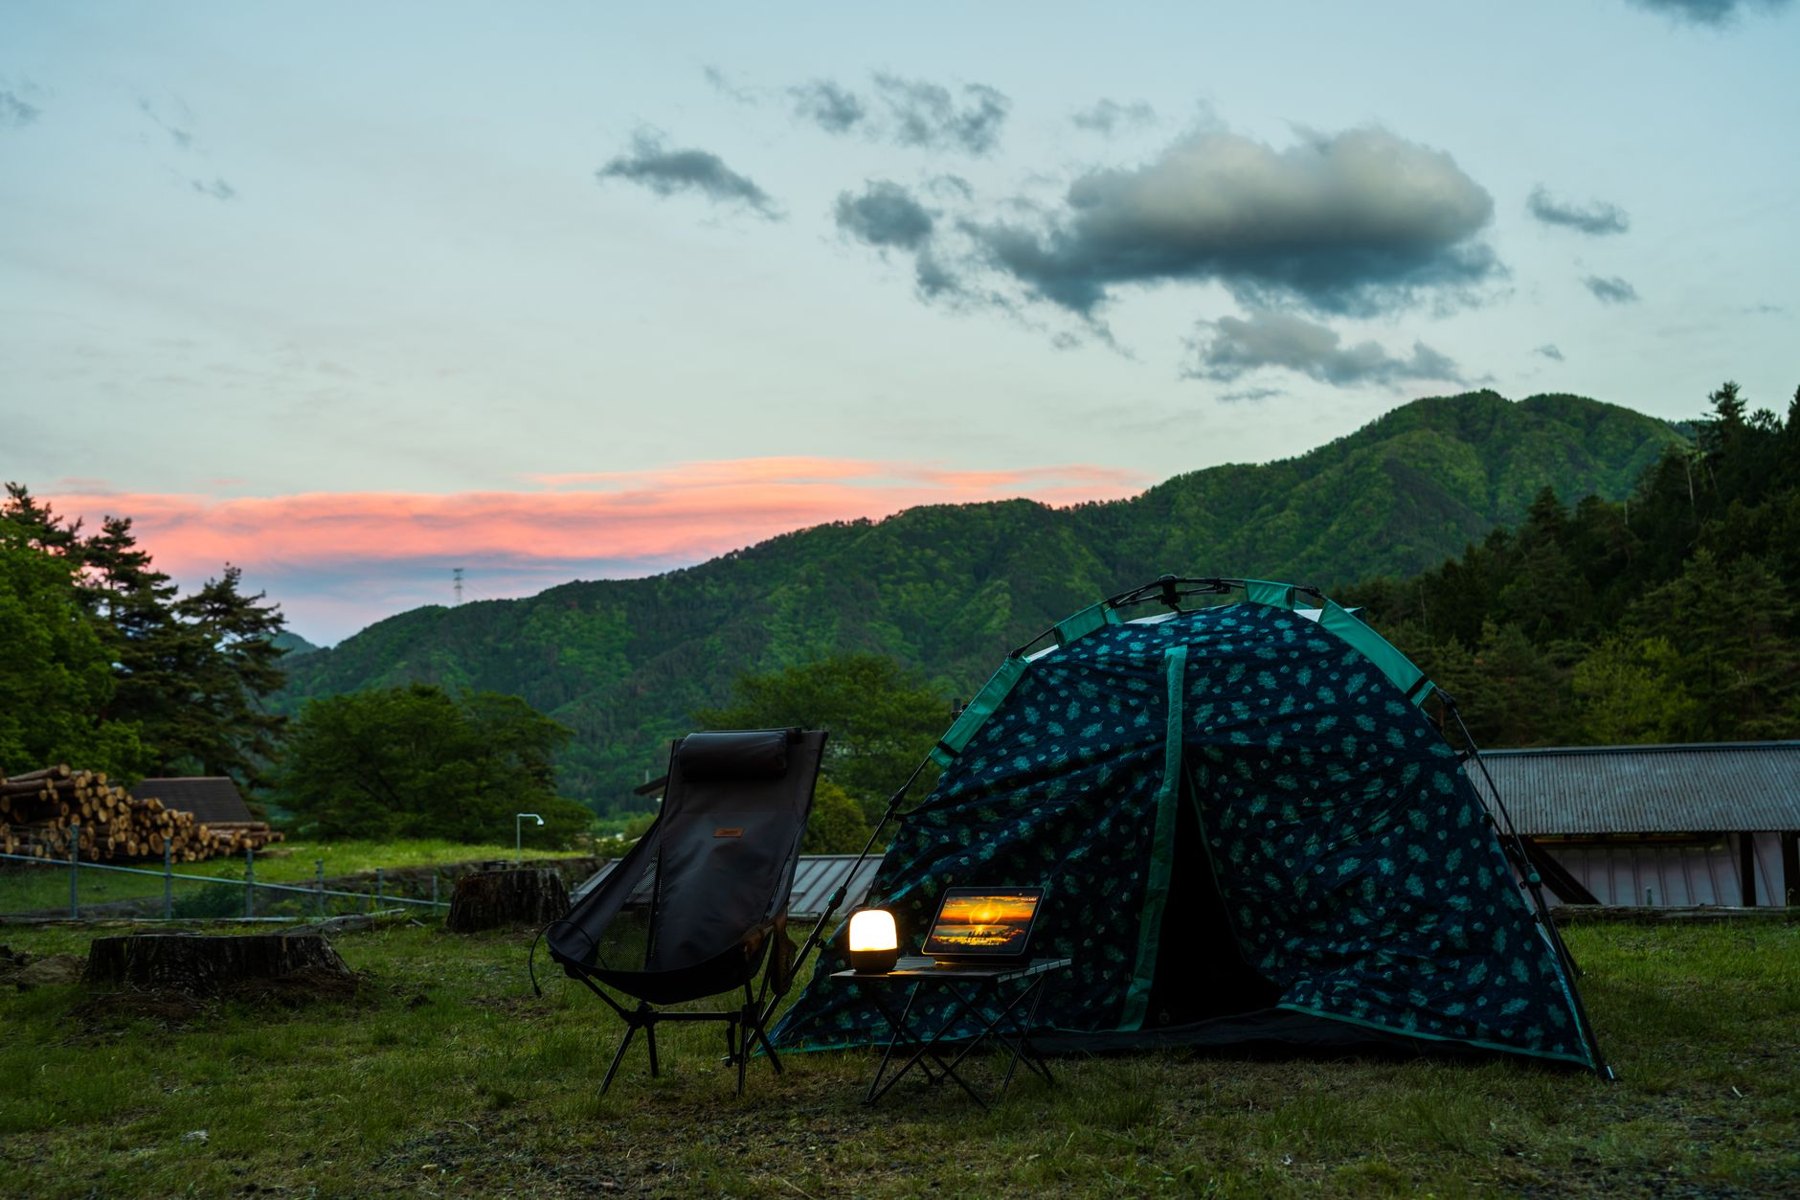
A lantern that lights up an entire picnic table can feel painfully bright when it hangs above your sleeping bag. And a long advertised runtime may tell you little about whether you can cook, read, and tidy camp without recharging. Start with three questions: where will the lantern sit, what do you need to see, and how long must it provide that level of light?
Those answers make the specifications easier to interpret. For most trips, useful low settings, comfortable light distribution, and a secure hanging point deserve as much attention as maximum brightness.
Choose the job before choosing the lantern
Think through an ordinary evening at camp. You might prepare dinner at a table, move into the tent to read, and leave a gentle light on while everyone settles down. One adjustable lantern can cover those jobs if it is easy to move and dim. A group spread across several areas may be better served by separate lights.
| Use | Features to prioritize | Placement to try |
|---|---|---|
| Tent reading | Low brightness, diffusion, accessible controls | Beside your shoulder or securely overhead |
| Picnic-table meals | Broad light, stable base, adjustable output | Above the table or away from direct eye level |
| Shared campsite lighting | Flexible mounting, useful medium setting, suitable weather protection | Near the active gathering area |
If you need light while walking, keep a headlamp available. Carrying a lantern occupies a hand, and lighting the campsite does not ensure that roots and uneven ground along a nearby path will be visible.
Read brightness figures in context
Lumens describe light output, but the number alone does not tell you how comfortable or effective a lantern will be. A bright, exposed light source can create glare. A diffuser spreads the light, while a shade or directional panel can help put it onto a table instead of into your eyes.
Look for information about intermediate settings rather than comparing maximum output alone. A powerful top mode may be useful for a brief cleanup, yet unnecessary for most of the evening. A well-chosen medium setting is often the one that matters most.
Check the bottom of the brightness range
For tent use, ask how dim the lantern can go. A product described as dimmable may still have a lowest setting that feels excessive inside a small tent. Stepped controls are straightforward when the levels suit your needs; continuous adjustment offers more flexibility but can take longer to set.
Also check whether the lantern remembers its previous setting. Restarting at full brightness can be disruptive when someone is already asleep. A separate low-light shortcut is useful, provided its operation is clear and easy to remember.
Consider light quality
Warm-colored light may feel more comfortable for relaxed evening use, while some campers prefer a more neutral appearance for food preparation and reading. Adjustable color settings offer choice, but they also add controls. Prioritize comfortable diffusion and usable brightness before paying attention to decorative modes.
Match runtime to a realistic evening
Never compare runtime figures without checking the associated brightness setting. A long runtime on the lowest mode does not establish how long a lantern will illuminate a dinner table. Look for separate figures for low, medium, and high, along with any explanation of how those figures were measured.
Check whether the documentation describes brightness reductions during operation. A lantern may reduce its output as it runs, so a stated duration does not necessarily mean steady brightness throughout. If the manufacturer provides an output-over-time chart, it can be more informative than a single runtime claim.
Build a simple lighting schedule
For a two-night trip, list your expected use before deciding how much battery capacity you need:
- Meal preparation and washing up on a practical working setting.
- Conversation or games at a lower setting.
- Reading inside the tent with the light dimmed.
- A reserve for delayed meals, packing after dark, or an extra evening.
As a planning example, two hours of table lighting and one hour of tent reading each night adds up to six hours across two nights. Those hours use different settings, so they should not be treated as six hours at minimum brightness. Compare your schedule with the documented modes and leave room for uncertainty.
For an unfamiliar lantern, check its endurance at home using the settings you expect to use. Note when the light becomes too dim for the task, not just when it finally switches off.
Make charging fit your camping routine
A familiar charging connector reduces packing friction, especially when your other equipment uses the same cable. Still, the connector shape does not establish charging speed or compatibility with every power source. Read the lantern’s input requirements and confirm that your intended charger or power bank can supply them.
- Charging time: Check the stated conditions, including the required adapter.
- Battery indicator: Look for a display you can interpret before leaving home.
- Operation while charging: Confirm support if this matters to your setup.
- Port access: Make sure the cable can connect without making the lantern unstable.
- Battery servicing: Check whether replacement is supported and how it is handled.
A lantern with a USB output can provide backup charging for another device, but that uses energy otherwise available for lighting. Avoid counting the same battery reserve twice. If your phone and navigation equipment already depend on a power bank, include lantern charging in that plan.
Charge and inspect the lantern before departure. Follow its temperature and charging guidance, and keep connections dry. Do not assume weather protection remains the same when a port cover is open.
Choose mounting options you can actually use
A hanging hook looks convenient until it does not fit the attachment point available at camp. Check the hook opening, handle movement, and whether the light hangs level. For use inside a tent, confirm that the tent attachment point can support the lantern’s weight.
A flat base matters for table use. A tall, narrow lantern may be awkward on a crowded surface, especially with a cable attached. Consider the whole setup: plates, cookware, elbows, and the space needed to reach the controls.
Other mounting features have specific limits. A magnetic base needs a suitable metal surface. A threaded mount needs a compatible support. An integrated clip needs enough clearance to close securely. Choose these features around your actual camping equipment rather than an imagined perfect campsite.
Place the light to reduce glare and shadows
Inside the tent
Start at the lowest setting that lets you read comfortably. Try positioning the lantern slightly behind or beside your shoulder so your hands do not cast shadows across the page. Overhead placement can spread light more evenly, but keep the lantern securely attached and follow clearance instructions.
Avoid resting it among loose bedding or clothing. Keep the controls reachable so you can switch it off without disturbing the rest of the tent.
At the picnic table
Try elevating the lantern on a secure support so it illuminates the tabletop without sitting directly in everyone’s line of sight. If it must stand on the table, move it away from the busiest serving area and adjust the brightness from a seated position.
Check shadows while someone is preparing food. Moving the lantern to one side can improve visibility more than turning it up. Keep it clear of stoves, hot cookware, and places where spills are likely.
Around a shared campsite
Light the area people are using. A single bright lantern may leave nearby ground in shadow while shining into neighboring pitches. Lower output, more deliberate positioning, or a second small light can give a group more useful coverage.
Before settling in, walk a short distance away and look back. Adjust lights that shine toward other tents, and switch off unnecessary lighting when the gathering ends.
Read weather protection carefully
Look for a clearly stated ingress-protection rating and the manufacturer’s explanation of suitable use. Broad terms such as “outdoor” or “weatherproof” give you less to work with. Splash resistance should not be treated as permission to submerge a lantern or leave it standing in water.
Check whether the stated protection depends on port covers being fully closed. Inspect covers and seals before a trip, and choose a sheltered location when practical. After wet use, follow the drying instructions before charging or storage.
A practical buying checklist
When comparing rechargeable camping lanterns, work through these points in order:
- Identify the main job: tent reading, table lighting, or group use.
- Check the lowest setting and the available intermediate levels.
- Match runtime information to the settings you expect to use.
- Confirm charging requirements and include a suitable cable.
- Check that the base or hanging system fits your campsite setup.
- Read weather-protection conditions and care instructions.
- Try the controls, placement, and expected runtime before departure.
For tent-focused trips, favor gentle light and easy controls. For meals and games, give more weight to broad illumination and stable placement. For shared camps, consider whether two modest lights would serve the group better than one powerful lantern. Choose around the evening you want to have, then make sure the battery and mounting options support it.