A stove that fits inside your mug can still make an awkward cooking setup if the fuel canister, pot, and lid need separate space. Before comparing burners, lay out everything required to prepare one meal: stove, compatible fuel, cookware, ignition source, and any manufacturer-approved accessories. Compactness is a property of that whole kit.
For a useful starting point, write down two things: how many people you will cook for and whether you will mostly boil water or cook food in the pot. Those answers narrow the choice between an upright canister stove, a remote canister stove, and an integrated system more effectively than choosing the smallest burner.
1. Match the stove design to your meals
Upright canister: a small burner with a simple setup
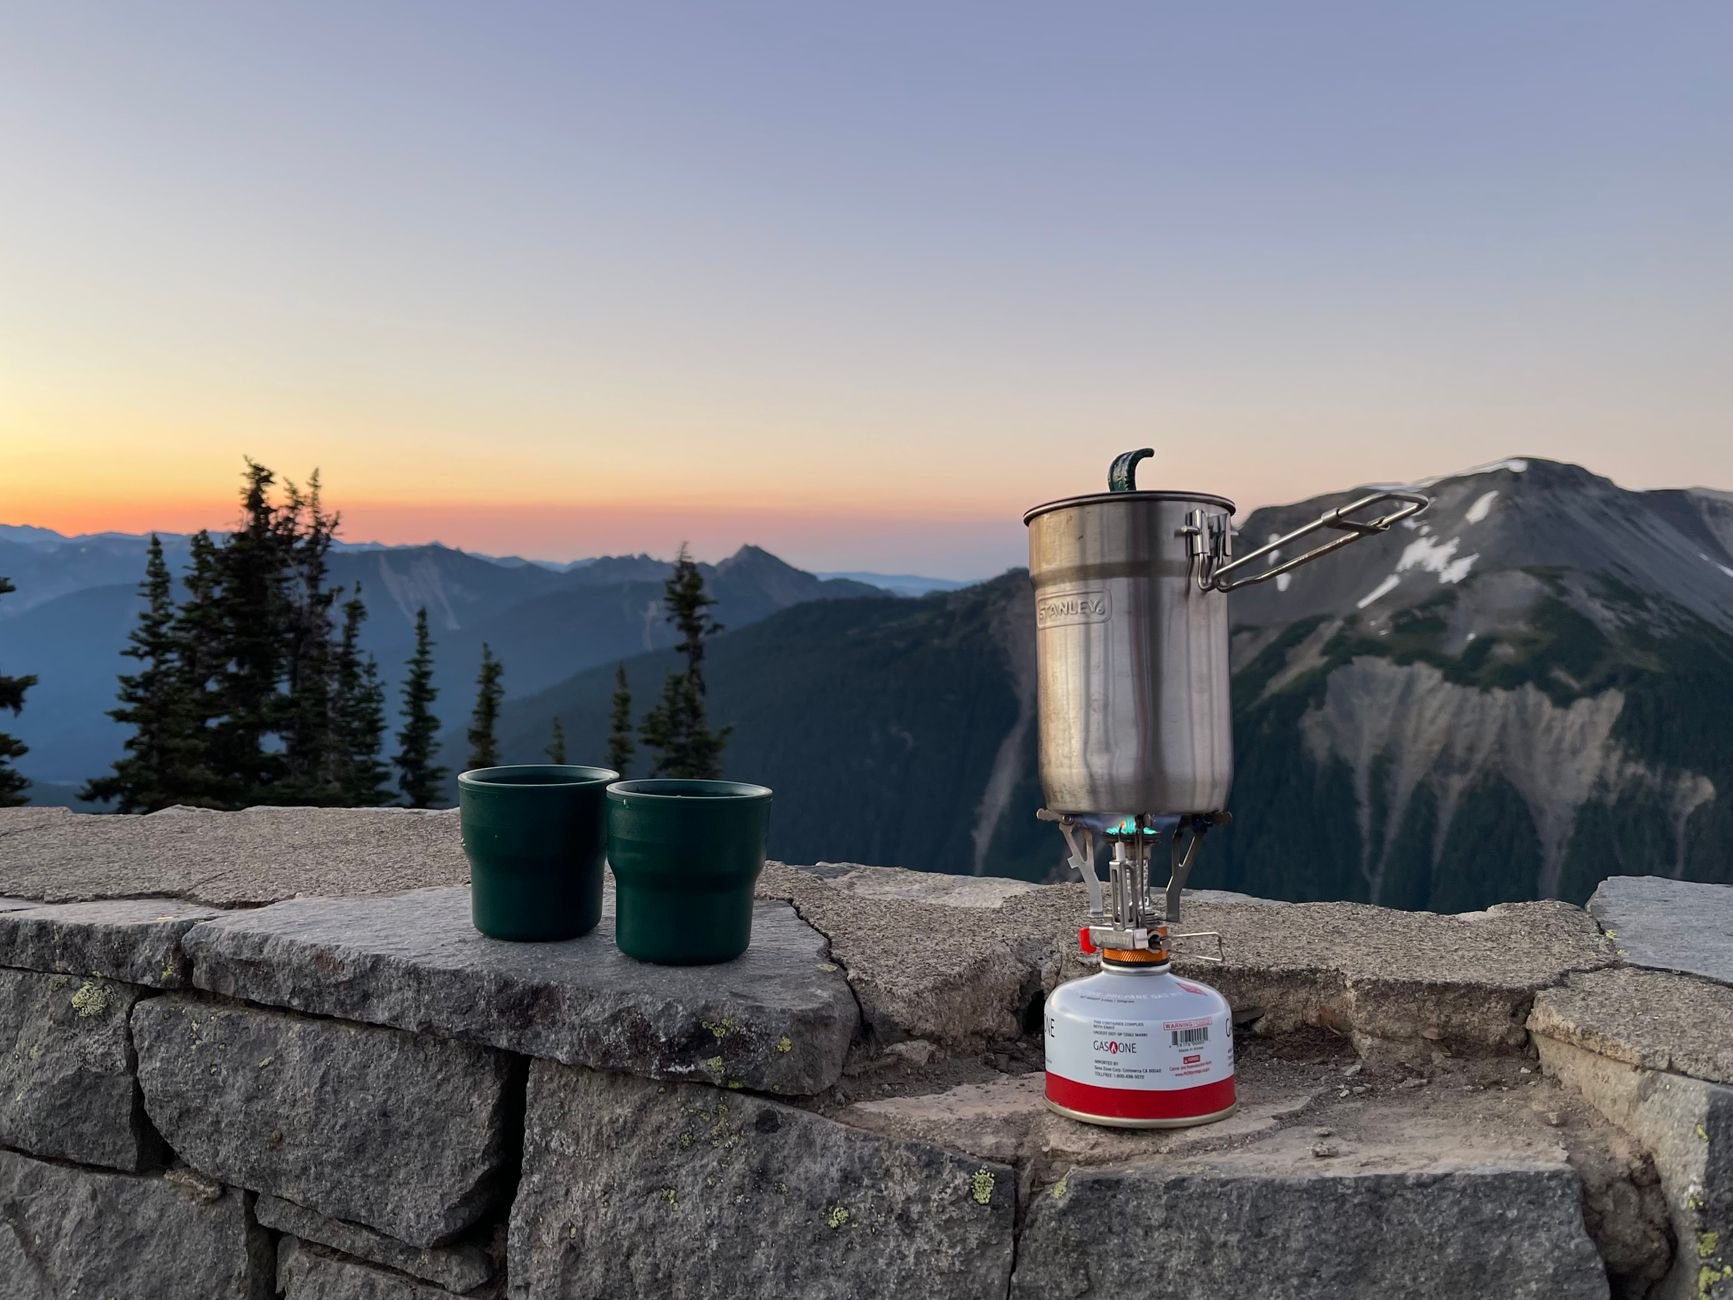
An upright canister stove attaches directly to the top of a compatible fuel canister. Many designs have folding pot supports and pack into a small space, making this a useful category to consider for solo trips with modest cookware.
The tradeoff is height. The pot sits above both the burner and the canister, so the setup needs a firm, level surface. A broad pan or a large pot can feel awkward on small supports. Check the stove manufacturer's cookware limits rather than assuming that a pot is suitable because it balances on the burner.
Upright designs suit hikers who want a straightforward kit and mostly prepare hot drinks, instant food, or simple one-pot meals. Simmer performance varies by model; a compact burner is not automatically a good choice for cooking rice or gently heating a thick sauce.
Remote canister: a lower cooking platform
A remote canister stove connects to its fuel canister through a hose, allowing the burner to sit separately on the ground. The lower cooking position and spread-out supports can make this design appealing for larger pots or meals that require stirring.
The hose, legs, and burner create a different packing problem from a small screw-on stove. Some remote models fold neatly; others need their own space alongside the cookware. Inspect the packed shape and protect the hose from tight bends or crushing.
Do not assume that every remote canister stove supports inverted-canister operation. That capability depends on the specific design and its instructions. If cold-weather use matters, investigate the exact stove and fuel combination rather than relying on the remote layout alone.
Integrated system: a matched burner and pot
An integrated stove combines a burner with purpose-designed cookware, often including a heat exchanger and a nesting storage arrangement. This category is worth considering when your meals mainly involve adding hot water to food or making drinks.
The matched components can simplify packing, but the system still has a fixed shape and volume. Check whether the fuel size you intend to carry fits inside, which accessories must be removed, and whether a protective layer is needed between stored components.
Some integrated systems offer useful cooking control; others are better suited to boiling water. Cookware flexibility also varies. If you want to use a separate pan, confirm that the manufacturer permits it and whether an additional support is required.
2. Compare the complete cooking kit
| Design | Packing consideration | Stability consideration | Cooking consideration |
|---|---|---|---|
| Upright canister | Small folding burners may nest inside existing cookware | A tall setup needs careful placement and suitable pot dimensions | Check low-flame control for meals beyond boiling water |
| Remote canister | Allow room for the hose, legs, and burner | A lower platform can help with larger cookware | Check burner spread and how easily the valve can be reached |
| Integrated system | Matched parts may nest neatly but retain a fixed packed shape | A tall pot still needs a secure base | Confirm simmer performance and approved cookware options |
Use this comparison as a shortlist, then examine individual models. Category labels do not tell you the pot support dimensions, valve sensitivity, or usable cooking capacity.
3. Check packed size with your actual gear
Measure the inside of your pot, including the space lost beneath a recessed lid. Compare that with the stove's folded dimensions and your intended fuel canister. A burner that fits by itself may not fit alongside the fuel and ignition source.
- Pack as you will travel. Include the lid, handle, lighter, protective pouch, and any required supports.
- Check the closure. The lid should close securely without forcing components together.
- Protect vulnerable parts. Avoid pressure on valves, ignition components, and fuel hoses.
- Consider access. A tightly nested kit may be inconvenient if you frequently stop for hot drinks.
A slightly larger package can be a sensible trade if it is easier to unpack, assemble, and use. For two people, shared cookware may also make more sense than two separate miniature systems.
4. Evaluate stability and simmer control separately
Stability depends on the ground, the stove footprint, the cookware, and how much food or water is inside it. Small pot supports and a tall, narrow pot deserve particular attention. A compatible canister stand may improve the base of an upright setup, but it does not remove the need for level ground and careful handling.
When inspecting a stove without lighting it, check that approved cookware sits securely and that the controls are accessible. Follow the manual for any operating test. Think about routine actions: stirring dinner, lifting a lid, or turning the valve while wearing gloves.
Simmer control matters when food stays in the pot. Oats, pasta dishes, and sauces need different handling from water intended for a meal pouch. Look for clear manufacturer information about low-output operation and suitable cookware. Burner pattern and pot construction also affect how evenly heat reaches food; a responsive valve alone cannot guarantee even cooking.
If your menu consists of coffee and meals rehydrated with hot water, you can give less priority to delicate simmering. If cooking is part of the enjoyment of camp, accept some additional packed bulk for a setup that handles your preferred pot comfortably.
5. Let trip length shape your fuel plan
For a short overnight trip, convenience and packing simplicity may carry the most weight. On a longer trip, fuel planning becomes more important because every additional cooking session draws from the same supply.
Build your estimate around your menu: how often you will heat water, the amount needed, and whether food must simmer afterward. Include drinks and washing water if you intend to heat those too. Conditions and cooking habits affect consumption, so avoid treating a headline boil-time figure as a complete fuel budget.
Use the manufacturer's fuel-planning guidance as a starting point, then learn from controlled outdoor use of your own kit. Account for uncertainty and any reserve appropriate to your route. If you cannot establish a reliable estimate before departure, simplify the menu and choose an itinerary where resupply or an early exit is practical.
Confirm fuel availability before choosing the stove
Identify the exact fuel and connection specified by the stove manufacturer. Similar-looking cartridges are not necessarily interchangeable. Check availability near your departure point and at any planned resupply stops, especially when traveling somewhere unfamiliar.
If your journey involves flights or other transport services, verify their current fuel rules before packing. Plan how to obtain compatible fuel after arrival. Avoid making an otherwise suitable stove depend on a cartridge you have not confirmed you can buy.
6. Apply essential outdoor-use precautions
Operate a camping stove outdoors, away from enclosed or partly enclosed spaces. Do not cook inside a tent, tent vestibule, vehicle, or shelter. Combustion can produce carbon monoxide, and a flame creates a fire and burn hazard near fabric and equipment.
- Follow the stove and fuel manufacturer's instructions for assembly, ignition, operation, shutdown, and storage.
- Choose firm, level ground with clearance from dry vegetation, clothing, packs, and other combustible material.
- Check applicable fire restrictions and stove rules for your destination before departure.
- Inspect connections and seals as instructed. Do not light the stove if you smell fuel or suspect a leak.
- Use only approved wind protection. An improvised enclosure can trap heat around the fuel canister.
- Keep the stove attended, keep people clear of hot cookware, and allow components to cool before packing.
Wind is a reason to reconsider your cooking location, not to move into a tent. If you cannot establish a safe outdoor setup, use food that does not require cooking.
A practical choice for three common trips
Solo overnight with hot drinks and pouch meals: compare a small upright burner and an integrated system. Decide which complete kit fits your pack better and works with your preferred eating arrangement.
Two people cooking a shared dinner: give pot support, usable capacity, and simmer control more weight. A remote canister design is worth considering, alongside other models explicitly approved for your cookware.
Several days with mixed meals: settle the menu and fuel resupply plan first. Then choose the most compact setup that comfortably supports those requirements. The right stove should make your planned meals straightforward without demanding awkward packing or precarious cooking.