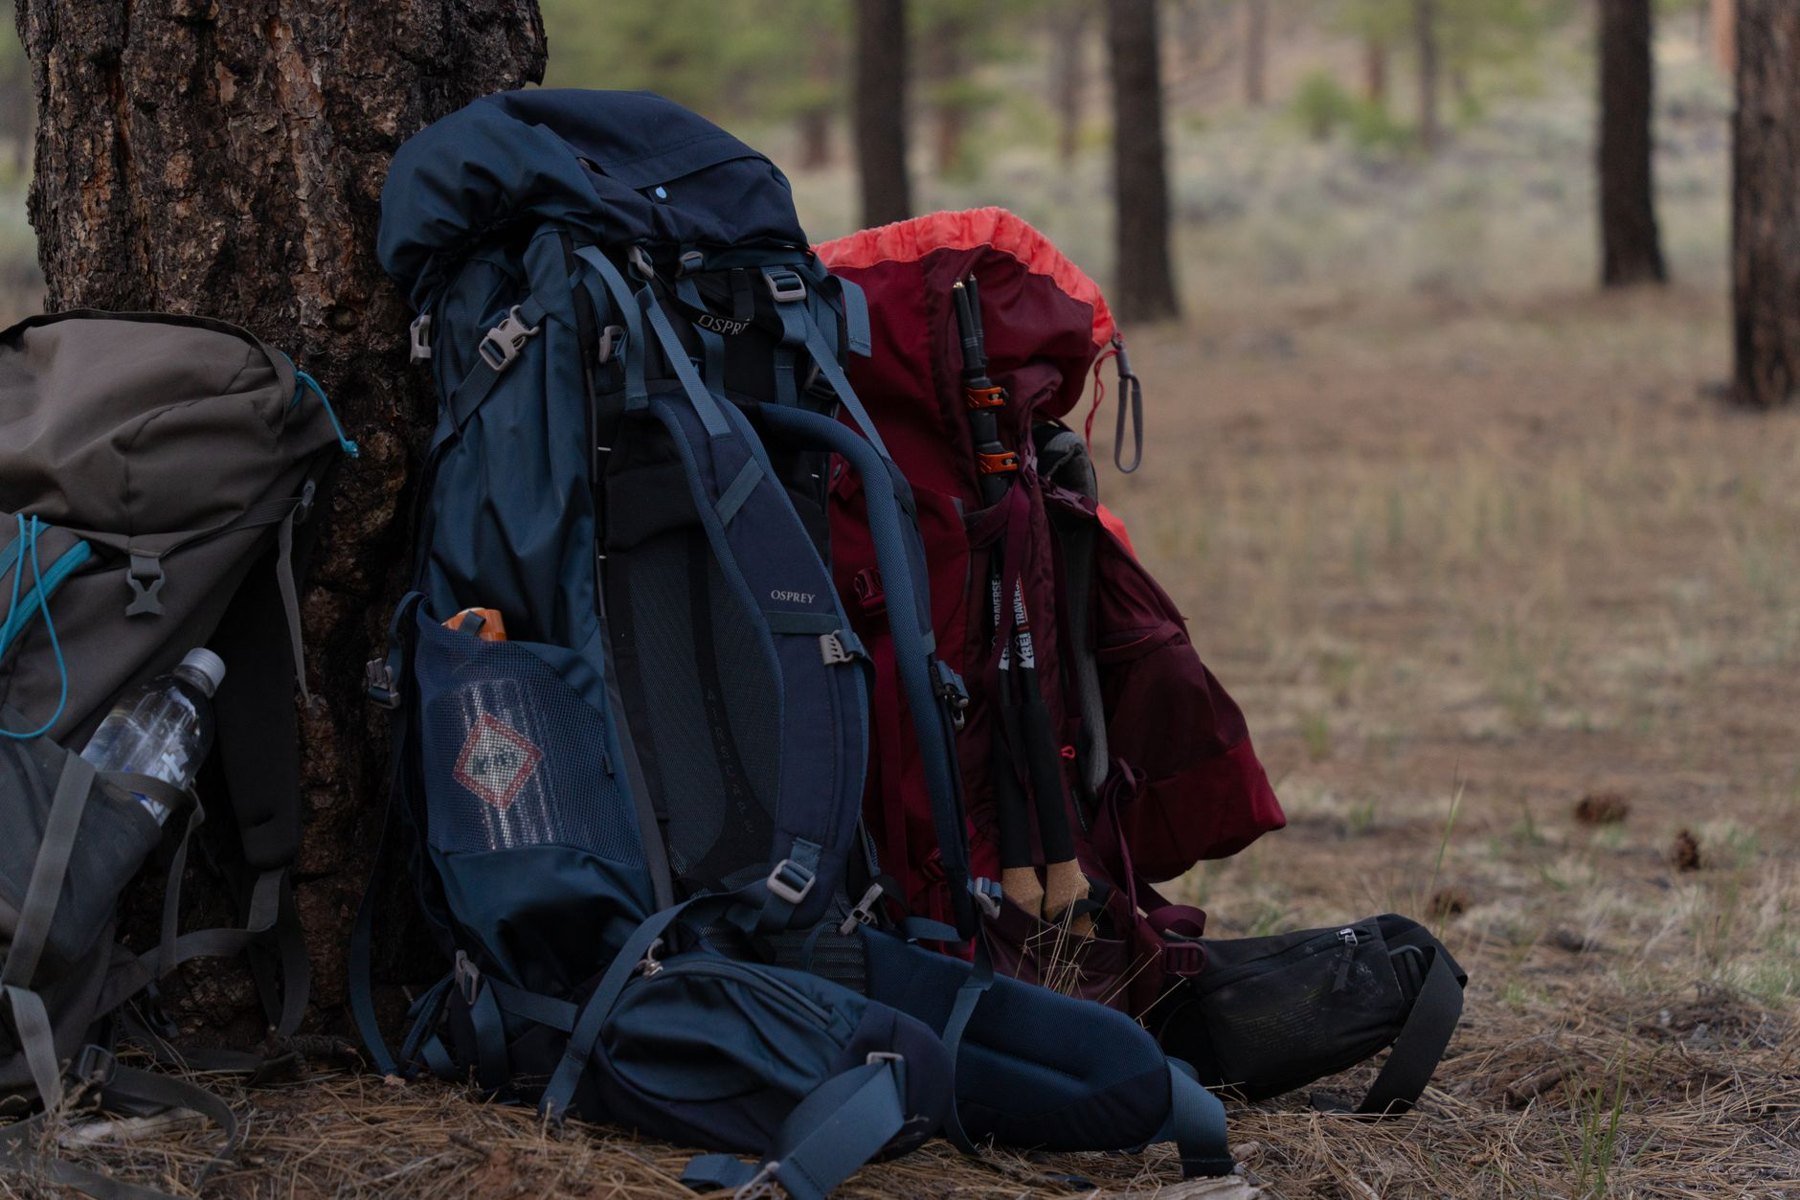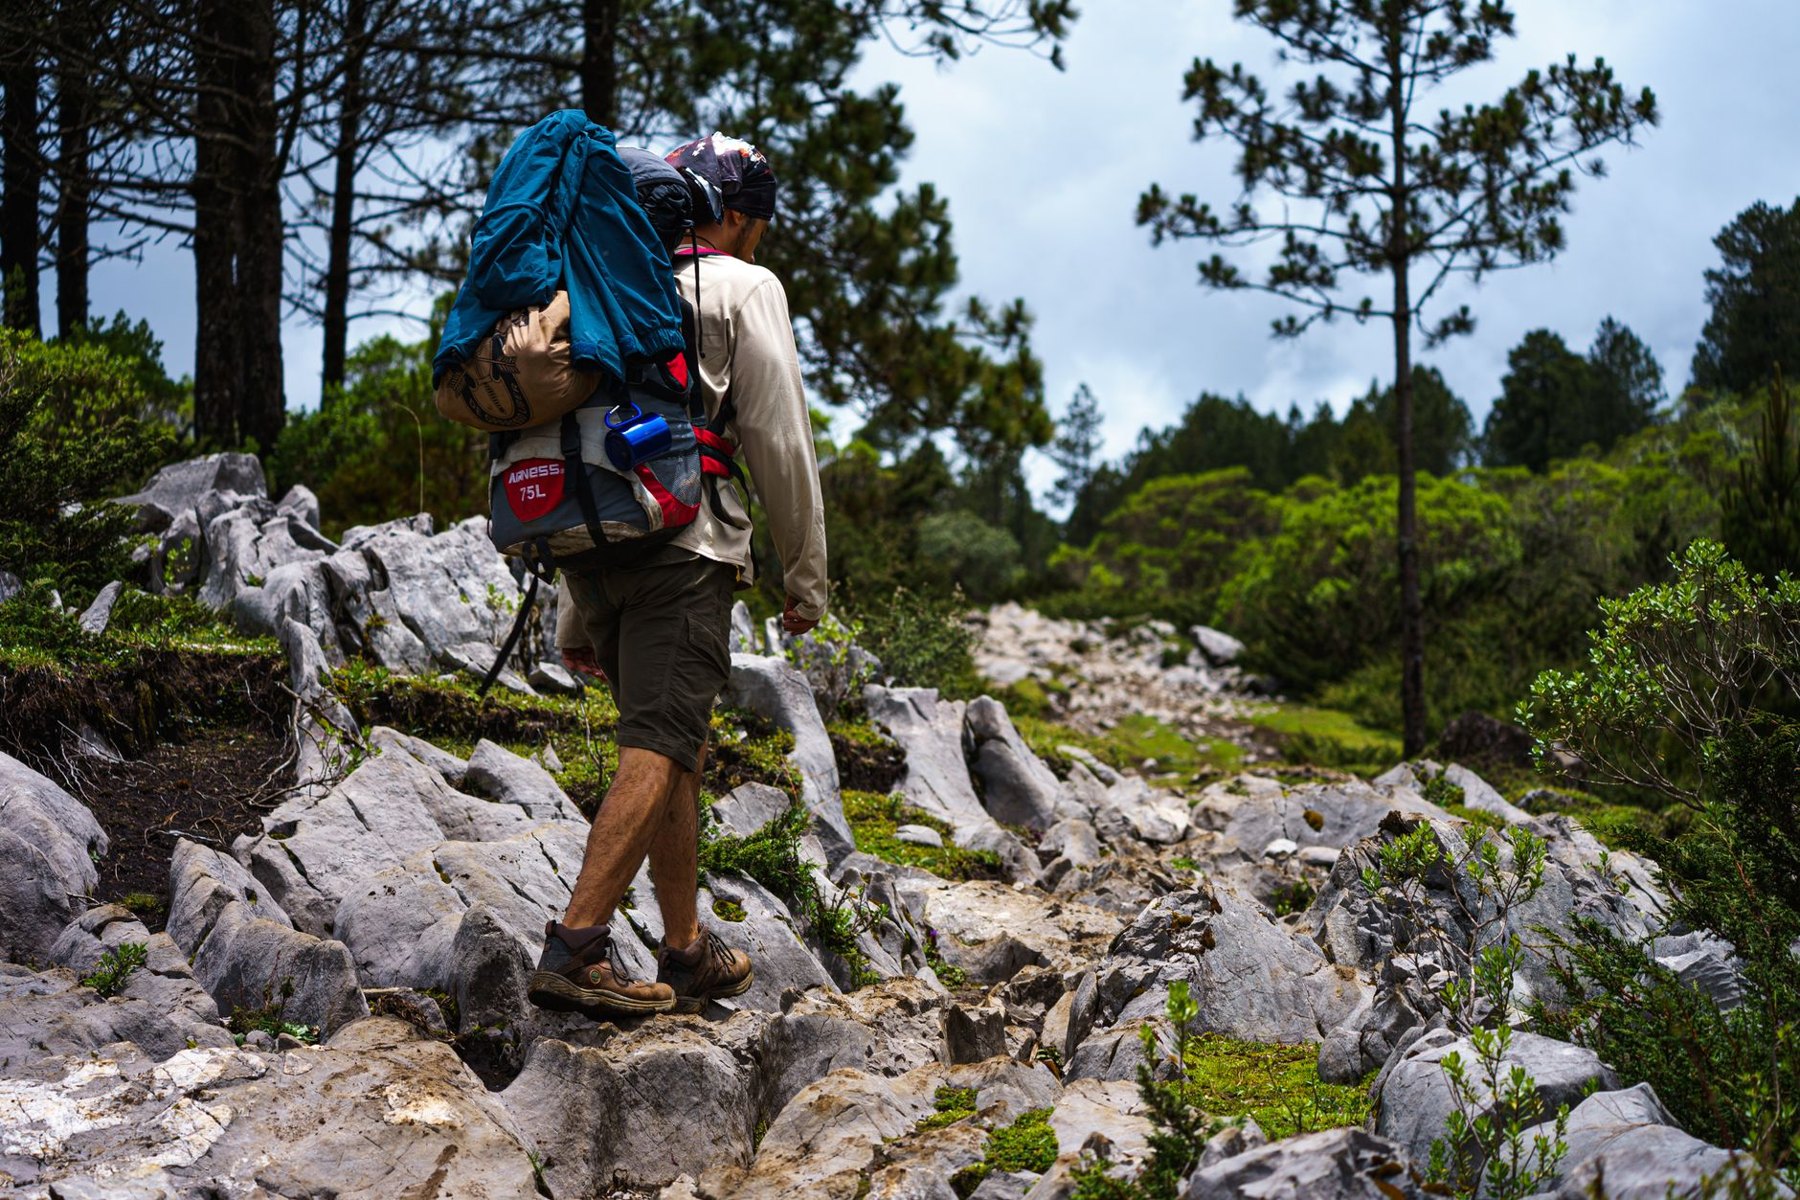
A discounted backpack is only a good deal if it fits comfortably with your overnight gear inside. A roomy main compartment and plenty of pockets cannot make up for a hip belt that slips or shoulder straps that pull in the wrong places. Start by gathering what you expect to carry, then compare packs by fit, support, and usable space.
For a first overnight trip, the aim is straightforward: find an affordable pack that holds your equipment securely, lets you reach frequently used items, and stays comfortable while walking. You do not need every attachment or the lightest materials. You need a pack that works with your body and your load.
Start with your gear, not a capacity number
Before shopping, lay out your shelter, sleeping bag, sleeping pad, clothing, cooking kit, food, and water containers. Include small essentials such as your headlamp and first-aid supplies. If you have not bought everything yet, borrow comparable equipment or note the packed dimensions of the larger items.
Sleeping gear and shelters can vary considerably in bulk. A beginner using a bulky sleeping bag may need more space than someone carrying compact equipment for the same trip. Shared gear matters, too: carrying half a two-person shelter creates a different packing problem from carrying the entire shelter yourself.
Use advertised capacity to narrow the field, then check what that number includes. Depending on the manufacturer, external pockets may contribute to the stated total. A pack with a generous stretch pocket can offer useful storage without having an equally generous enclosed compartment.
- Main compartment: Can it hold the bulky equipment that needs protection?
- Food space: Is there room for the full trip’s food, not just your camping equipment?
- Water storage: Can it accommodate your intended bottles or reservoir?
- Required equipment: Will any destination-specific food container or other bulky item fit?
Avoid buying substantial extra capacity simply because it is discounted. Empty space can tempt you to bring unnecessary items, and an oversized pack may be awkward to compress around a smaller load.
Measure torso length before choosing a size
Your height alone does not determine backpack size. Two people of similar height can have different torso lengths and need different harness settings.
Follow the manufacturer’s measuring instructions. A common approach measures along the back from the prominent vertebra at the base of the neck to a point level with the top of the hip bones. A helper makes this easier. Compare the result with the size chart for the exact pack you are considering.
An adjustable torso system can be valuable on a budget backpack because it gives you room to refine the fit. However, adjustment is useful only if the available range suits you. Do not assume that moving the shoulder harness to its highest or lowest position will rescue the wrong size.
If your measurement falls between sizes, try both with weight inside. Pay attention to where the hip belt sits and how the shoulder straps wrap around your shoulders. The size label matters less than the resulting fit.
Check the hip belt before judging the padding
For an overnight load, look for a hip belt that grips securely around your hips and works with the pack’s support structure. Thick padding may feel inviting in the shop, but it does not guarantee that the belt will stay in position while you walk.
Center the padded belt around the top of your hip bones as a starting point, then refine its position according to the pack’s fitting guidance. Tighten it firmly enough to feel secure without pinching. The padded sections should wrap around your hips rather than ending too far back.
Check the adjustment range in both directions. You should be able to tighten the belt adequately without running out of strap, with enough room to accommodate the clothing you expect to wear.
A useful fit check: with the loaded pack supported by the hip belt, ease the shoulder straps slightly. The pack should still feel supported at your hips rather than immediately sliding down. This is a starting check, not a substitute for walking in the pack.
Match load support to what you will carry
A lightweight backpack is not automatically an easier backpack to carry. Its frame, back panel, hip belt, and shoulder harness need to work together under your expected load.
For beginners carrying conventional overnight equipment, a supportive framed pack is often a sensible place to start. Frameless designs can suit carefully managed lighter loads, but require more attention to packing and equipment choices.
Compare the manufacturer’s load guidance where available, and include food and water when estimating your total. Then test the pack near that expected weight. A pack that feels comfortable with a few clothing items inside may behave differently when loaded for a trip.
| Feature | What to check | Budget tradeoff |
|---|---|---|
| Frame or stays | The loaded pack maintains its shape and feels supported at the hips. | Accept some extra pack weight for comfortable support. |
| Shoulder harness | Straps follow your shoulders without concentrated pressure. | Prioritize suitable shape over plush-looking padding. |
| Back panel | No hard objects or structural edges press into your back. | Choose comfort before elaborate ventilation features. |
| Compression straps | They secure a partly filled pack without blocking essential access. | Simple, effective straps are enough. |
Prioritize features you will use on the trail
Once fit and support are right, evaluate convenience. A few well-designed features usually help more than a long list of extras.
Accessible water storage
Bring your intended bottles when trying a pack. Check whether the pockets hold them securely and whether you can remove and replace them yourself. If you prefer a reservoir, inspect the sleeve, hanging arrangement, and hose routing. Decide whether refilling it would require unpacking much of the bag.
A practical pocket layout
A large exterior pocket is useful for a rain layer or damp shelter fabric. Hip belt pockets can keep snacks and small items close, provided their openings suit what you want to store. Check pocket access while wearing the pack; a pocket that looks spacious on a shelf may be awkward to use under tension.
Simple access and secure closures
A top-loading compartment can be perfectly adequate for overnight trips. Additional access zippers may help you reach buried items, but also add complexity. Before paying more for multiple openings, consider whether packing frequently used equipment near the top would solve the same problem.
A workable rain-protection plan
Do not assume that water-resistant fabric makes the entire backpack waterproof. Seams, openings, and zippers also matter. Plan to protect your sleeping bag and spare clothing with a suitable pack liner or waterproof bags. If a rain cover is included, check that it fits the loaded pack, including anything attached outside.
Test a loaded pack in a repeatable order
Use your own gear when possible. Shop weights can help assess support, but your equipment reveals packing problems that dense weights may miss. Keep the load and its placement similar when comparing different packs.
- Set the torso adjustment. Use your measurement and the manufacturer’s fitting instructions.
- Position and fasten the hip belt. Establish a secure, comfortable fit around your hips.
- Tighten the shoulder straps. Bring the pack toward your body without pulling the hip belt out of position.
- Adjust load lifters if fitted. Make small changes rather than tightening them as far as possible.
- Set the sternum strap. Use enough tension to steady the shoulder straps while allowing comfortable breathing.
- Walk and move. Try stairs or an incline if available, turn, and bend gently to check stability.
Spend enough time wearing each candidate to notice pressure building. Look for hip belt slippage, rubbing near the neck, restricted arm movement, or a load that pulls backward. After adjusting, repeat the same movements. If comfort requires constant correction, try another size or design.
Save on extras rather than fit
Older colors, simpler pocket arrangements, and a slightly heavier design can be reasonable compromises. Paying less for a pack that cannot support your equipment is harder to justify.
When comparing sale or used packs, inspect the shoulder-strap attachment points, hip belt stitching, buckles, zippers, and fabric around the bottom. Look for tears, damaged webbing, or a bent support structure. Confirm that any removable frame parts and adjustment components are present.
For an online purchase, check the return conditions before loading or testing the pack. Keep an indoor trial clean and within those conditions.
Choose the backpack that passes three practical checks: it fits your torso and hips, carries your expected load comfortably, and holds your gear without awkward external bundles. If two affordable packs pass, let accessible water storage, straightforward organization, and ease of adjustment decide between them.